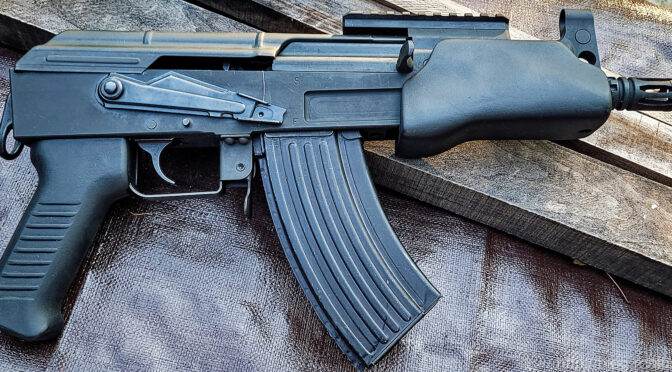
By popular demand we are bringing back our C39 Micro handguard that can also be fit to the Micro Draco. The purpose of this post is to share some fitment issues you need to be aware of and general guidance.
In my honest opinion, installing the Orca requires some expertise with woodworking or machining and is not something I would recommend to a novice. it is not just a drop in handguard like you would expect with an AR handguard for example.
| Safe Use Is Your Responsibility – This is a short handguard on a short pistol. Please be mindful of safety whenever you are shooting it. Do not let anyone with a weak upper body, grip or who can’t control the pistol, fire the pistol. |
Why You Must Fit the Handguard – A First-Hand Lesson
There are two reasons – first, there are a lot of things that can differ pistol to pistol and the pressure casting method we use has a tolerance that will require you to make some adjustments.
Second reason, the rear of the handguard must butt up against the front of the receiver to transfer the stress of recoil. If these surfaces do not contact each other, all of the stress will be placed on a small #8-32 screw that can’t handle the load and will shear off – I’ll show you what I mean.
Some time early this year, my friend Scott told me the screw sheared off when his wife was shooting his C39 Micro. This caused me to stop bringing the Orca handguard back until I sorted things out.
So, I finally had some time to look at it and the handguard wasn’t fully seated back against the receiver. His was the first Orca I made and I missed it. So, the Orca beat the heck out of the screw until it snapped off.
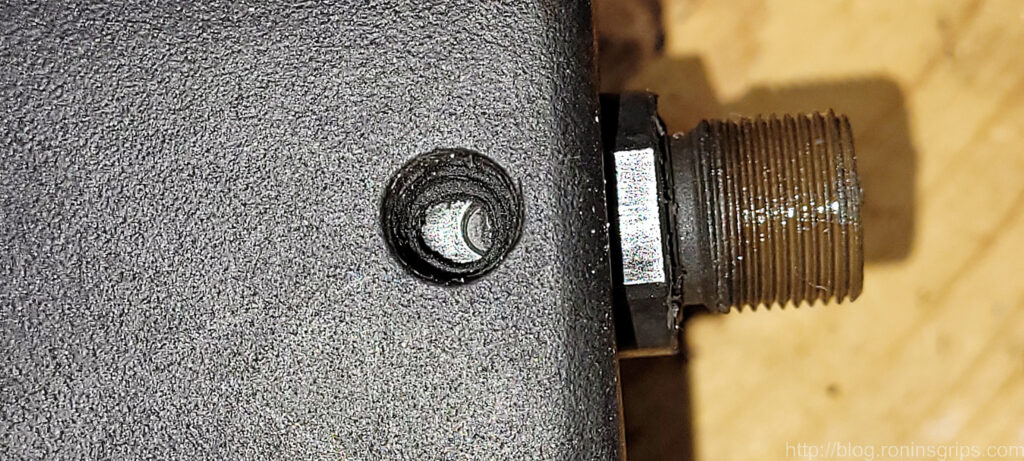
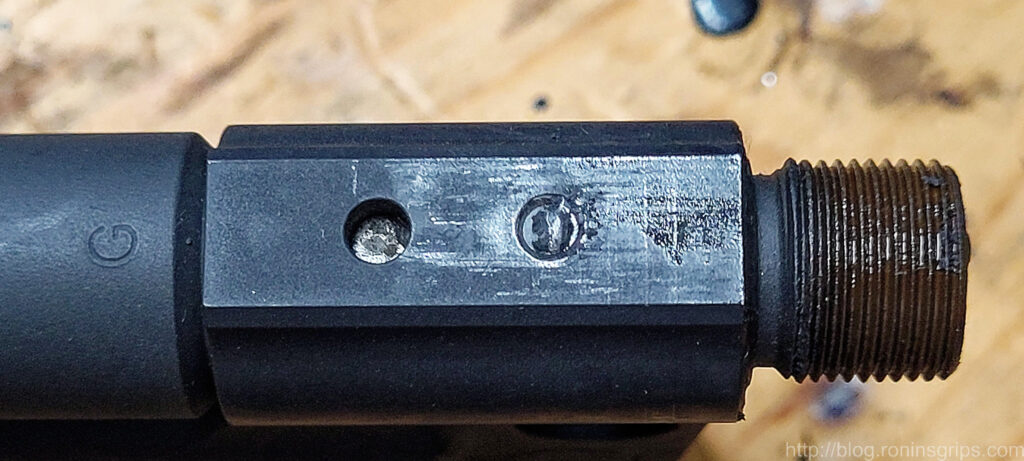
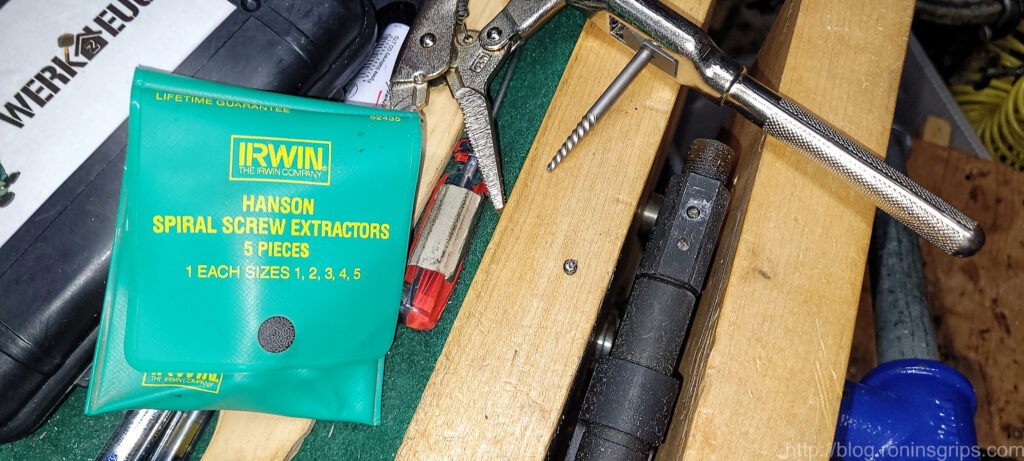
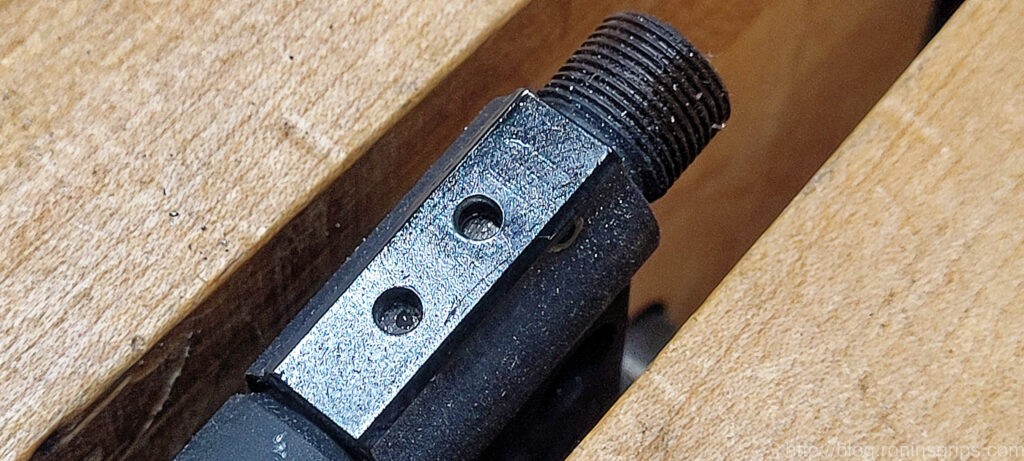
Fitting the Handguard the Right Way to a C39 Micro
Armed with what went wrong, I dug in. I had the original handguard and I also cast two new ones to test with. For those of you reading this to install an Orca on a Micro Draco, read this for information but there will be a section further down with a video you need to watch.
| Safety Brief: Before you do anything with your pistol, please make sure it is unloaded and safe. |
Okay, the plastic used is a temperature resistant glass fiber reinforced urethane. It does not like to bend or compress. Think of it as a hardwood with an attitude. It can be sanded, filed, whatever you like. Wear a dustmask to avoid breathing the dust – you don’t want to do that.
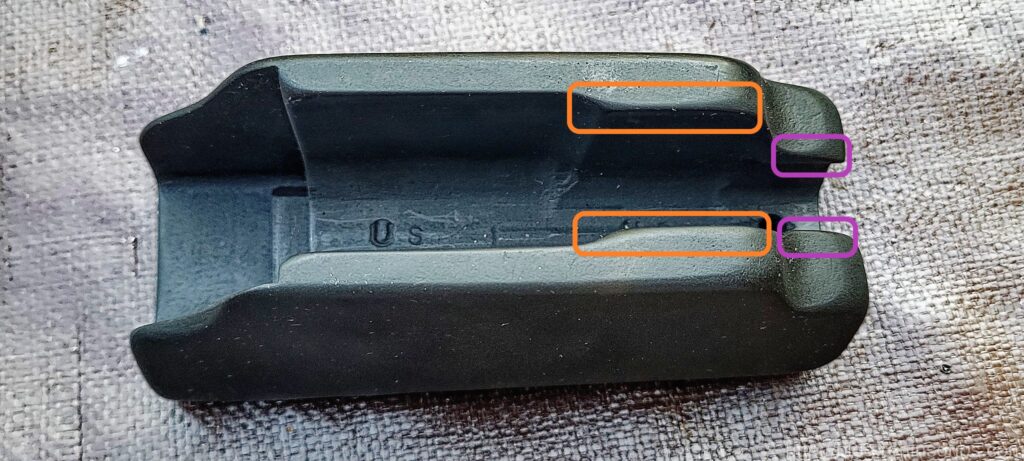
To fit the handguard, pretty much all you need is a file or sandpaper wrapped around a couple of paint stir sticks. I just use a file and you’ll see what in the photos.
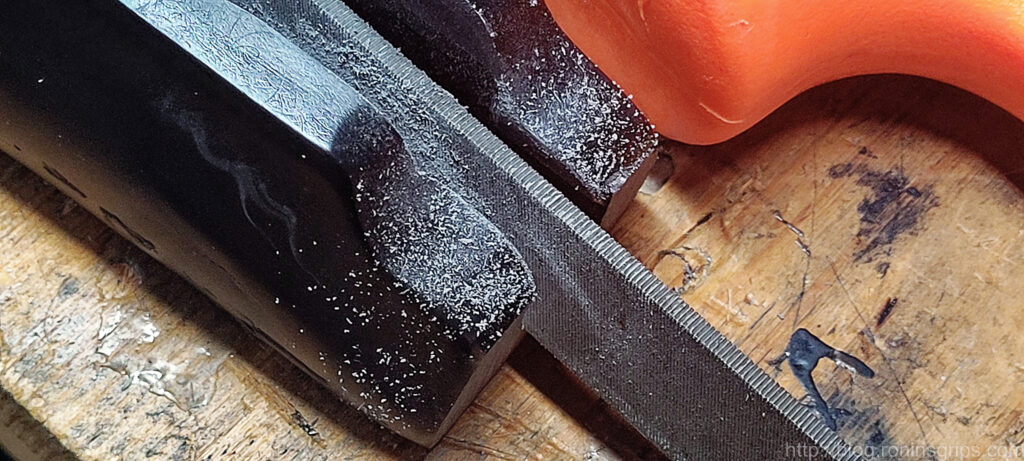
When removing material, do it equally with a few strokes from each side. If you slide the handguard on and the screw hole is off-center then you need to decide which side needs adjusting. Ideally, you don’t want to see that at all – remove material equally from both sides and do it slowly – don’t rush.
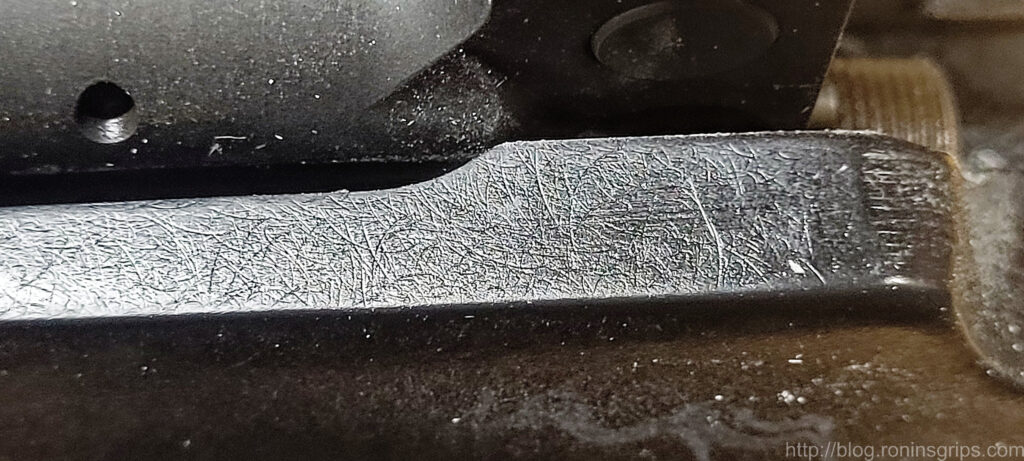
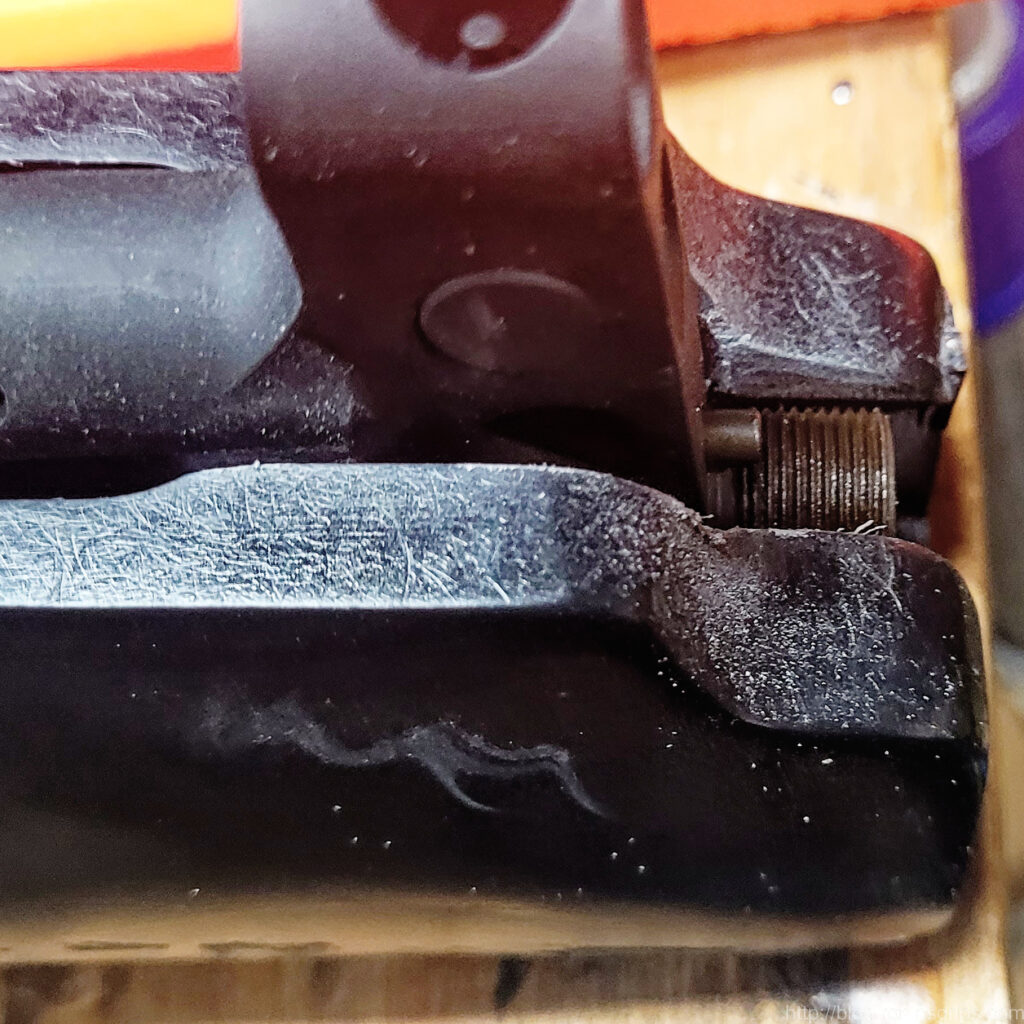
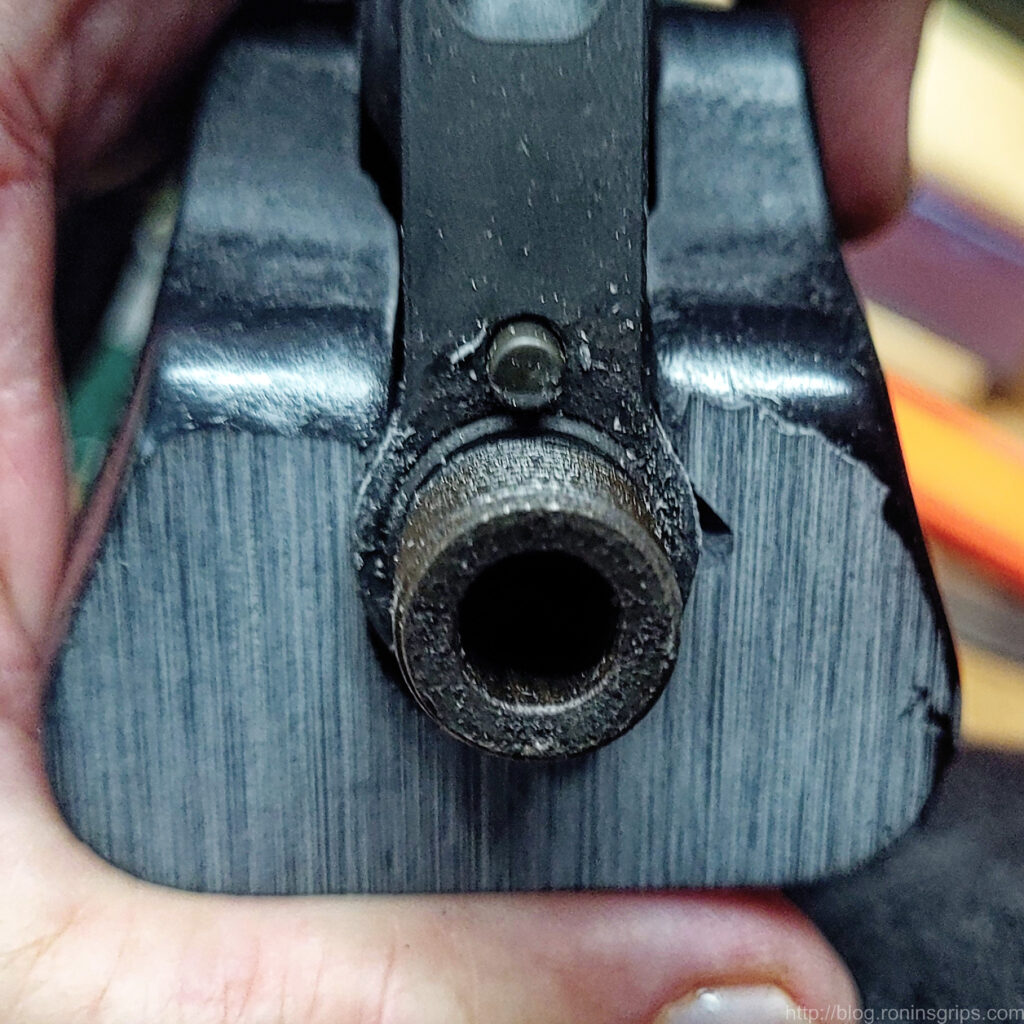
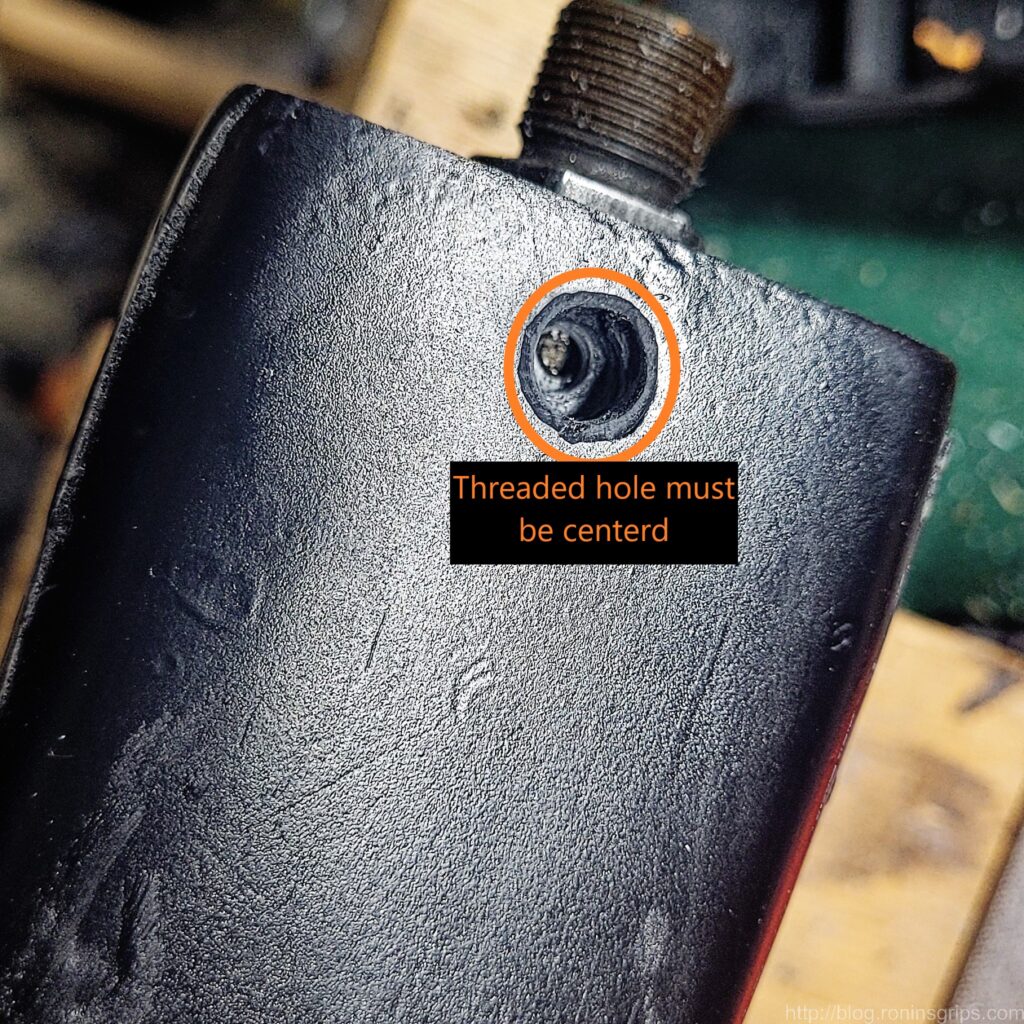
The trick is to test fit, remove a bit of material equally and test again. I have a dead blow mallet to tap the Orca on or off but it is not done forcefully – you want snug. If you try and force it, the plastic will snap sooner or later.
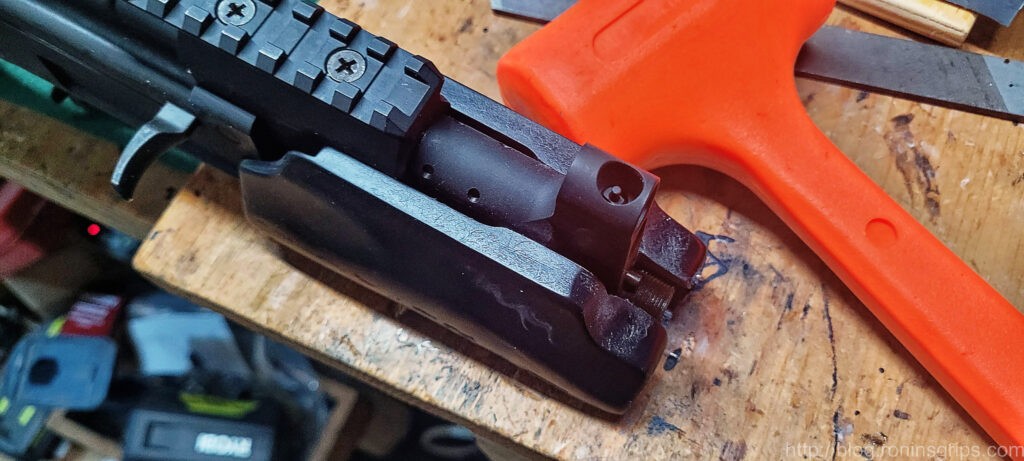
Depending on your pistol and how the fitting goes you may or may not need to add a shim. A shim is a thing piece of material that closes the gap between the handguard and the front of the receiver. It can be metal strips or a high temp gasket material. Just don’t use paper or cardboard or something that heat or oil/solvents can destroy.
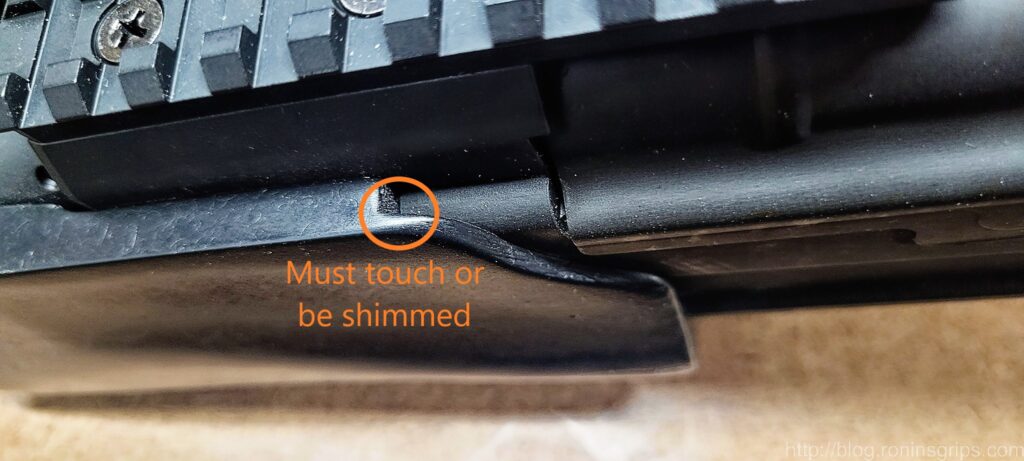
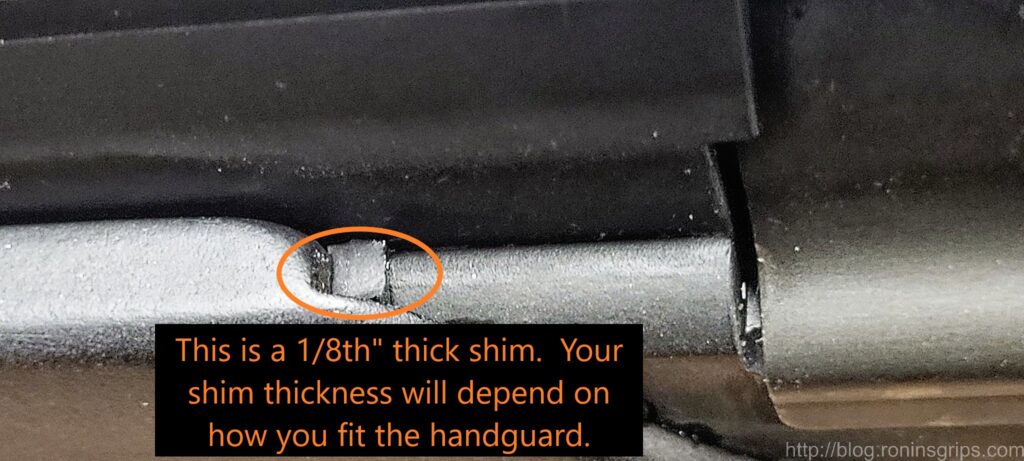
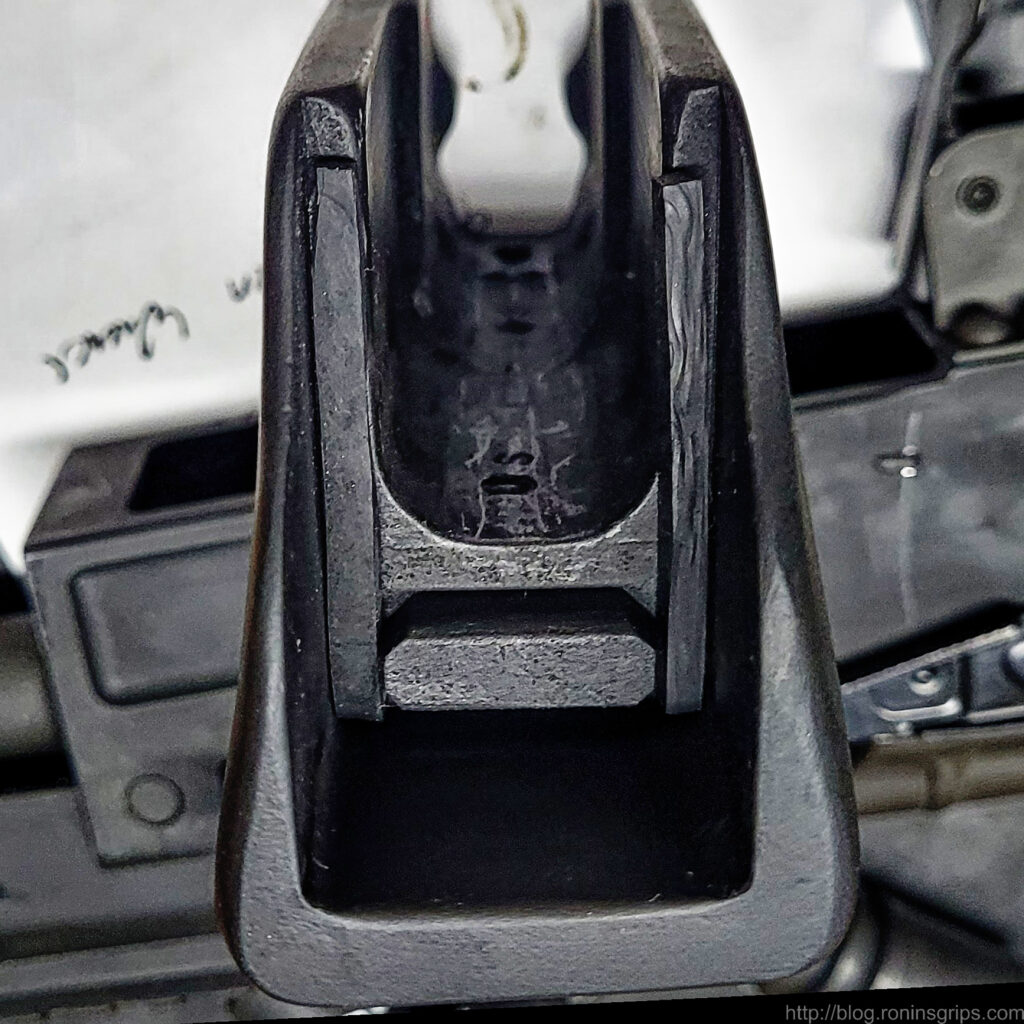
So that’s pretty much it for the C39 Micro – get the handguard to slide on centered over the threaded hole in the gas block and shim if needed to it seats fully.
Fitting the Micro Draco
A fellow did a real nice job documenting how he converted the Orca to fit a Micro Draco. He created this video and put it on YouTube so everyone can benefit from it:
In Conclusion
I hope this install guide helps you out!
