The Hatsan Gladius is a really cool bullpup precharged pneumatic (PCP) air rifle. One really neat feature is that you can simply unscrew the air cylinder and install another. A second cylinder is way easier to carry around than an air tank of you are hunting or doing pest control. Also, you can have different cylinders regulated at different pressures that are tuned for combinations of pellets and distances. Now the base rifle is not regulated and really all a spare cylinder does is give you a backup air source. I’ll cover installing a Huma regulator in another post but this one will focus on how to degas, or empty, the air cylinder of the Hatsan so maintenance can be done. For example, if you want to drain moisture, etc.
First, I need to give you a safety message. A Hatsan Gladius cylinder may contain up to 3,000 PSI of air pressure in it. This kind of pressure is dangerous. Do not mess around when you are working with high pressure air (HPA) or you may get injured or killed. Respect it and be cautious. If you haven’t read the manual for your Gladius, do so. If you lost your manual, click here for an online copy at Hatsan.
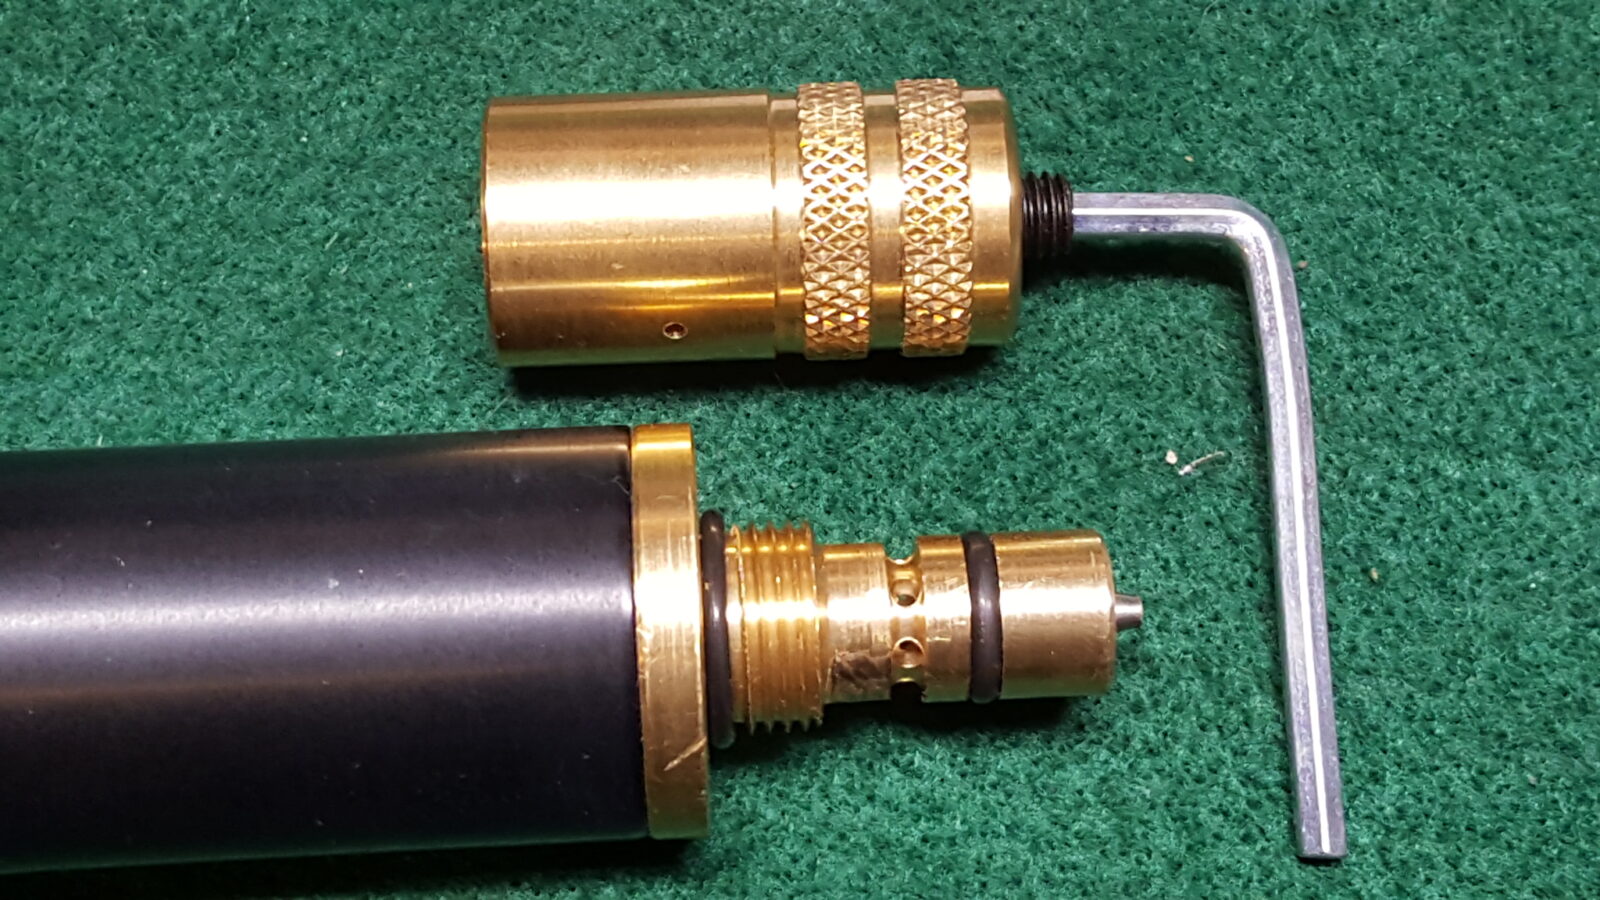
Okay, depressurizing the cylinder is very, very simple. Hatsan includes the tool you need in the small white tool box that came in the original case with your rifle. It consists of a heavy brass cap with a set screw in it and the appropriate sized Allen key. The first step is to back the set screw out so when you thread it onto the cylinder it does not touch the conical shaped nipple on the end of the cylinder. The third photo shows what the set screw will look like when you back it out. You want to be able to screw the brass cap on all the way without that set screw touching.
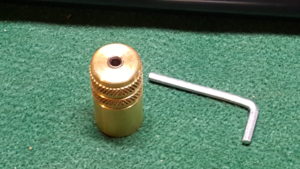
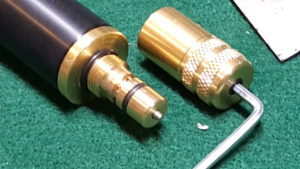
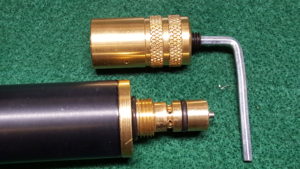
Next, thread the brass tool all the way onto the cylinder by hand. Do not turn the set screw until the cap is fully seated. Note the little vent hole shown in the next photo. This is where the air will vent.
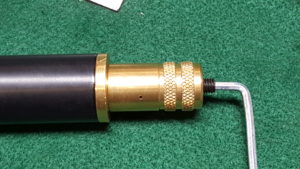
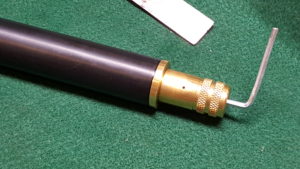
Now, turn the vent hole away from you and do NOT look straight at it to protect your eyes. Very slowly turn the set screw clock wise. As it threads into the body of the cap, it will depress the conical nipple and high pressure air will start to vent. It’s going to act like a jet and you will feel the cylinder move. I don’t advocate cranking it wide open so you don’t blow dust every where and you can maintain control of the cylinder. It will empty very fast. In the next photo, you can see the set screw turned in. The only reason the vent hole is showing is for the photo. Normally I have it turned away from me.
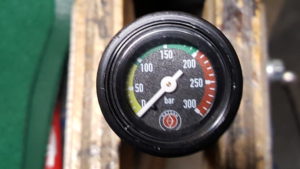
Last step – the cylinder should be empty when you no longer hear air exiting. Double check the gauge. To remove the end of the cylinder should be very easy because Hatsan uses some form of silicone grease on the threads and doesn’t tighten it much. If it is taking a ton of force, double check the gauge as there may be air in the cylinder.
That’s all there is to it. I hope this helps you out.
If you find this post useful, please share the link on Facebook, with your friends, etc. Your support is much appreciated and if you have any feedback, please email me at in**@*********ps.com. Please note that for links to other websites, we are only paid if there is an affiliate program such as Avantlink, Impact, Amazon and eBay and only if you purchase something. If you’d like to directly contribute towards our continued reporting, please visit our funding page.
