In the previous post I removed the front trunnion from the barrel assembly and was then ready to install the front and rear trunnion into the receiver that I had already riveted the trigger guard on. This post will focus on drilling the rivet holes needed for the front and rear trunnions.
Front Trunnion Rivet Hole Drilling
The AK-Builder Trunnion Rivet Hole Drilling Fixture makes locating of holes much easier than the methods I used when I first started. I mainly used the Post-It method where you would rub a Post-It note over the holes and then stick the note on the trunnion as a rough guide as to where to center punch and start drilling. Some guys also make little locator tooks out of spring steel but I never tried one of those.
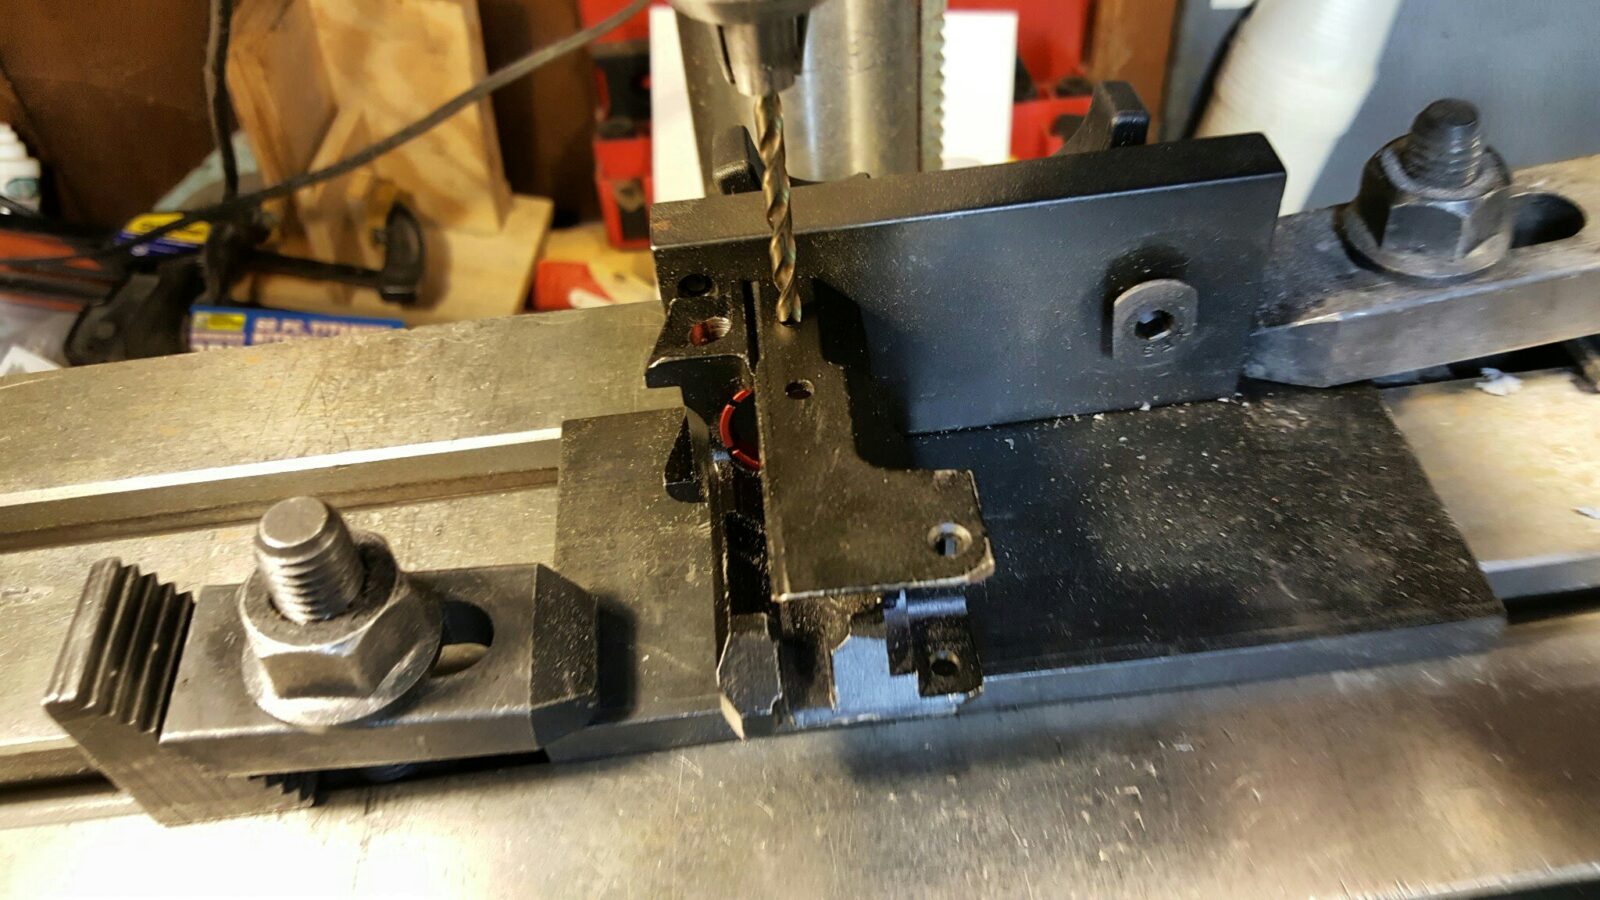
This jig is awesome. There is one very, very important thing you must do when using this jig – make sure you drill press table, column and the jig itself are secure. If the work can shift while you are sliding the receiver on or off, you are hosed and will drill a hole ut of position. I can’t stress this enough.
The jig is on an X-Y table on my drill press. An X-Y table gives you crank knobs like you have on a milling machine and allows for precise drilling. I use it all the time for drilling grips and other items. Basically you secure your item and then use the X-Y table and a spotting bit or whatever to get you right where you need to be. I wrote a post a while back about the table if you are interested. An X-Y table is not mandatory but boy does it help if you do a ton of drilling. Note, when you buy the table it will not come with any kind of fixture/clamp set. You will need to buy one that matches the size of the T Slots of the table you get.
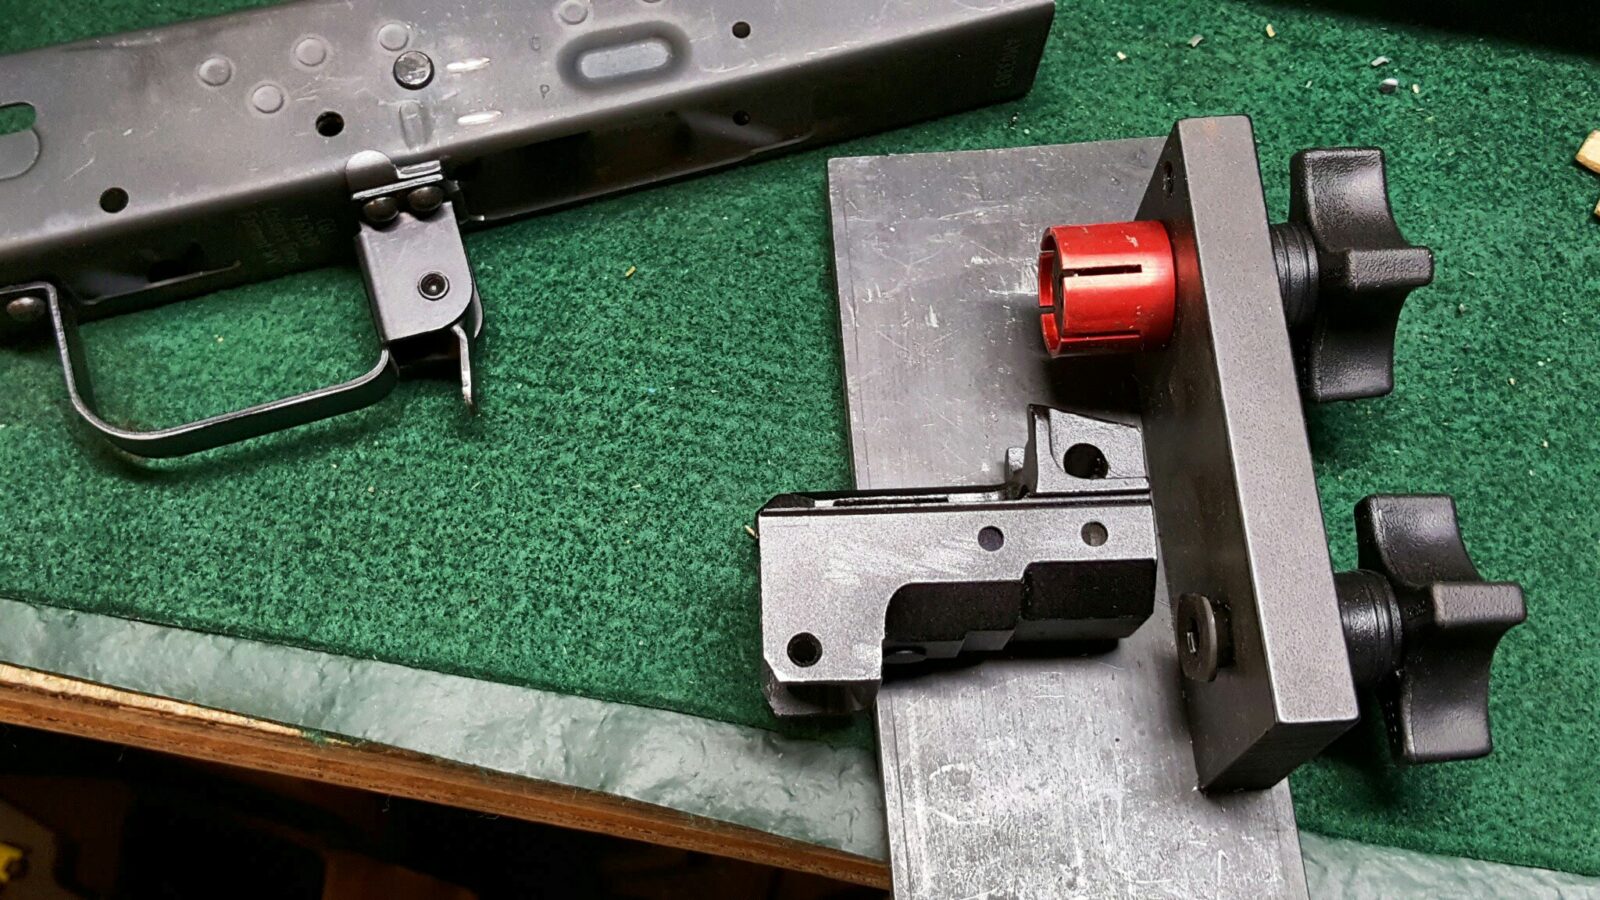
If you look at the next photo, you will see a red mandrel sized for AKM-type trunnions. You will slide the trunnion on to that all the way and turn the knob in the back to expand the mandrel and secure everything in place.

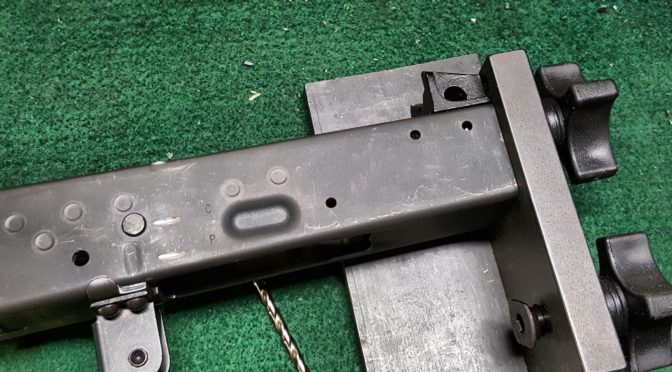
So you basically install the trunnion, locate the hole with your press, slide the receiver on and then run the drill down and make a hole in the same place. It’s that easy and that reliable as long as everything is secure. Again, that is the key part here.
I should point out that I prefer to use a center 135 degree cobalt drill bits and cutting oil when I do drill the holes.

Once I have all of the front rivet holes drilled, I move on to the back trunnion.
Rear Trunnion Installation
The rear trunnion is held in place by the other side of the fixture and the tab fits int the part of the rear trunnion where the operating spring guide would normally sit.
Again, make sure everything is secure or your hole locations will be messed up.

With that, it is now time to proceed to riveting in the next post.
If you find this post useful, please share the link on Facebook, with your friends, etc. Your support is much appreciated and if you have any feedback, please email me at in**@*********ps.com. Please note that for links to other websites, we are only paid if there is an affiliate program such as Avantlink, Impact, Amazon and eBay and only if you purchase something. If you’d like to directly contribute towards our continued reporting, please visit our funding page.
