| Please research and comply with all applicable federal, state and local laws and regulations before you undertake a build of any kind. I am very careful to understand what I must do to legally build pistols and rifles before I begin a project. I am not a lawyer and will not give legal advice. If you decide to build something, you accept all legal and regulatory liability. This post is for informational purposes only. Please be careful and please be legal. |
When I was a kid in the 70s and 80s, the Ingram Mac-10 and 11 submachine guns (SMGs) were in tons of TV shows and movies. You could see these iconic blocky little SMGs everywhere with their equally famous two stage suppressors. So, they must have been amazing – right? Well, the truth is their reliability wasn’t that great, they had an insanely high cyclic rate that could dump a 30-32 round mag in about 1.5 seconds and a very short barrel. So, iconic was a big “yes” but effective … well, not so much.
I’m not going to cover the history of Gordon Ingram and the various businesses that inherited the Military Armaments Corporation (MAC) M10 and M11 designs. If you want that, click on the following to open a new tab: Wikipedia MAC-10, Wikipedia MAC-11, or Modern Firearms Ingram MAC-10/MAC-11 plus, IMDB has quite a list of movies that had the MAC-10 featured.
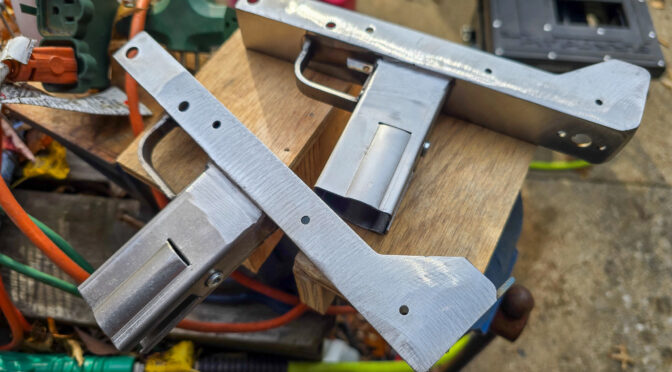
This is the first post of a series wherein your’s truly felt like building something, had a fit of nostalgia and decided to do a MAC-11 in 9mm. This was partly triggered by seeing a lot of really cool printed 3D pistol designs that utilized a MAC-11 upper. I don’t have a 3D printer because I don’t have time to learn one and my wife also told me in no uncertain terms that I was not to buy one … although she may forget this one day 🙂 If you are into 3D printing, search for “MacDaddy 3D Print” and you’ll find the many variations of it.
So, on a whim, I googled Mac-11 kits one day and found receiver options that could be bent from a flat or welded together. I didn’t feel like either buying a flat bending jig or making one but I can weld somewhat. If you know the slam “he’s a grinder, not a welder” – that’s me. I’m marginal with a welder but let me assure you, I know how to sand. Thousands of grips and handguards later, I absolutely know how to sand.
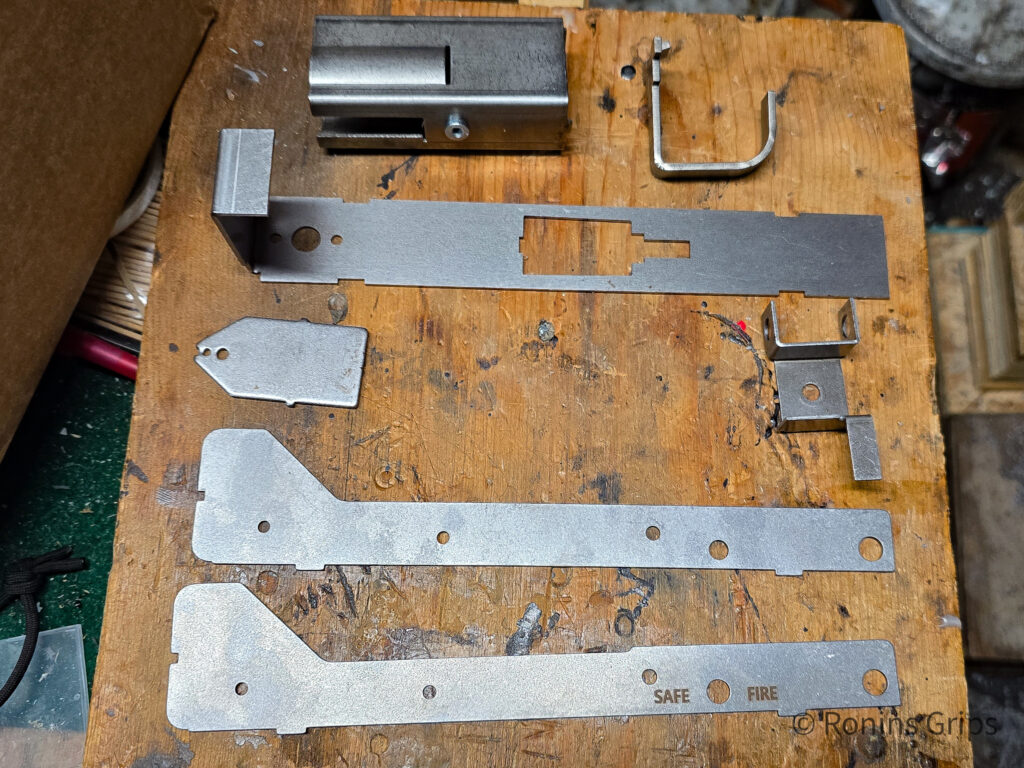
So, Velocity Firearms sells a lower receiver weld kit that has the the center section, trigger guard, mag-well/grip, front takedown pin reinforcement and rear sight plate. They also have various kits that include lower receiver weld kit, the internals and different models of uppers. What they all have in common is that they need the side plates to be completed and Velocity does not sell those.
Now you have two options on the side plates – when you buy the kit, Velocity gives you a complete set of prints so you can make your own or you can buy the plates already cut and ready to go from 2D3Dlaser.com. I thought about building them but didn’t really feel like it and the 2D3D plates had really good reviews so I went with them — and I’ll tell you right now they are nicely done.
You need a welder
First off, you need a welder that can handle 14 gauge sheet metal. I like using a MIG welder with a 75 % Argon / 25% CO2 gas – this is often referred to as “C25 gas” due to the ratio. This can generate very clean welds. The cheap flux core MIGs will work but they have a chemical known as “flux” inside the hollow steel tube that is melting to shield the weld from the atmosphere and it splatters everywhere requiring more clean up.
The best welder you can use is a TIG – those things can generate beautiful welds and there are cost effective entry level welders but they always must have a shielding gas – usually of 100% argon. I spent a bunch of money on a really nice TIG and couldn’t use it because my hands shake too much – I have what is called a “hereditary tremor” and fine motor work like dabbing a welding rod into a weld pool just isn’t something I can do no matter how well my arms and hands are supported.
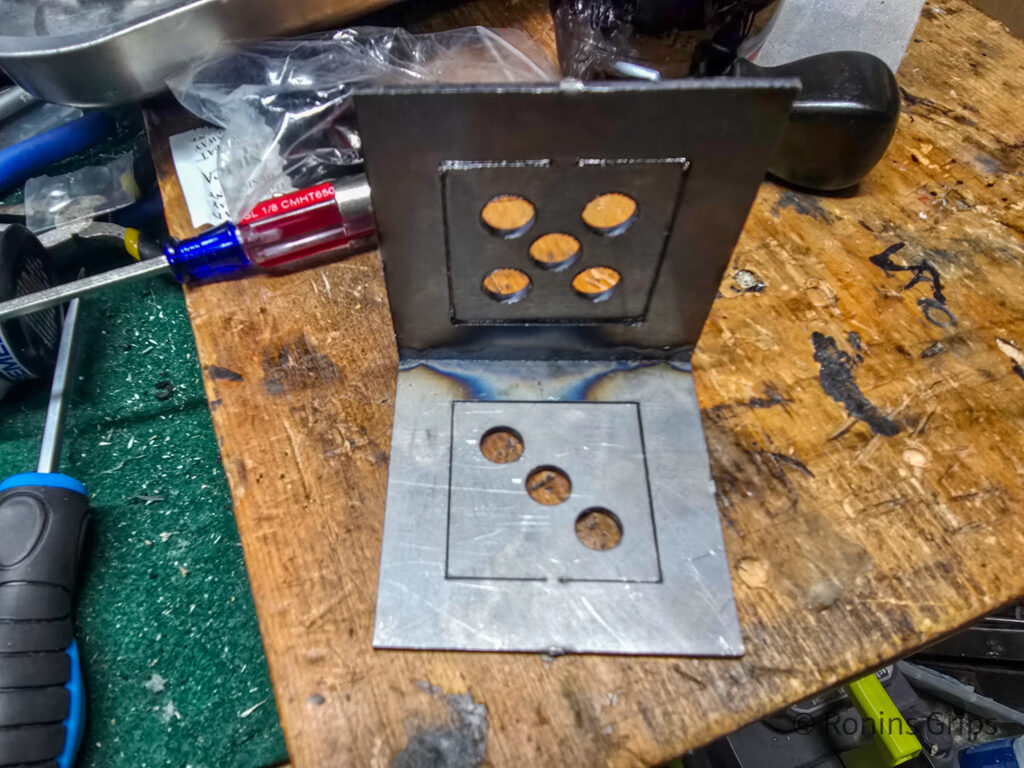
I suppose stick and Oxyacetelyne welders are also options but you need to know how to use them. On that point, no matter what machine you buy or use, practice first. You can get some cheap 14 gauge mild steel test pieces known as “coupons” off Amazon that gave you lots of edges to test on before you weld the receiver. I highly recommend this. I’ve had my Miller 211 MIG for years now and I still did some test beads first to make sure I had the machine set right and that I knew how to approach my welds.
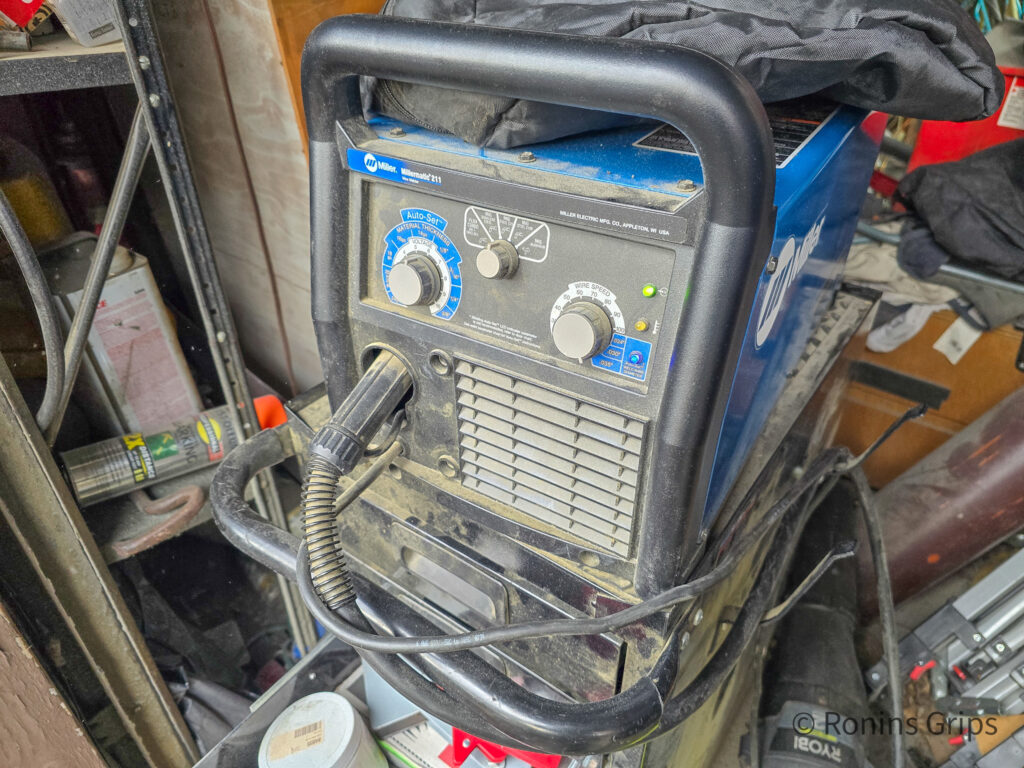
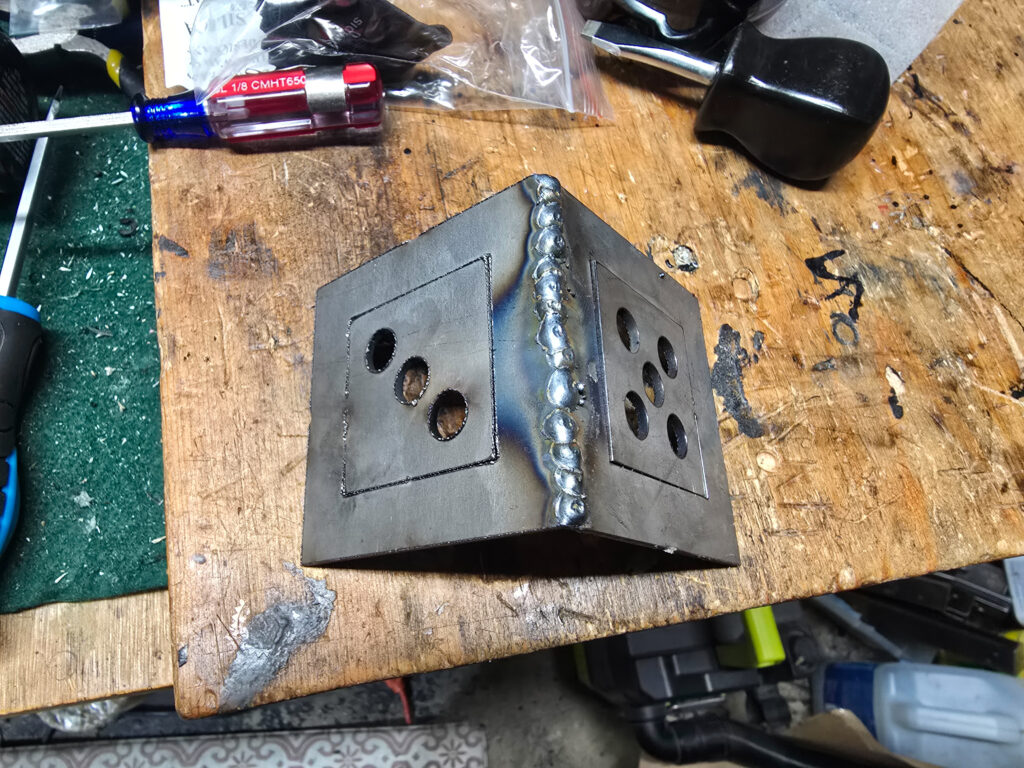
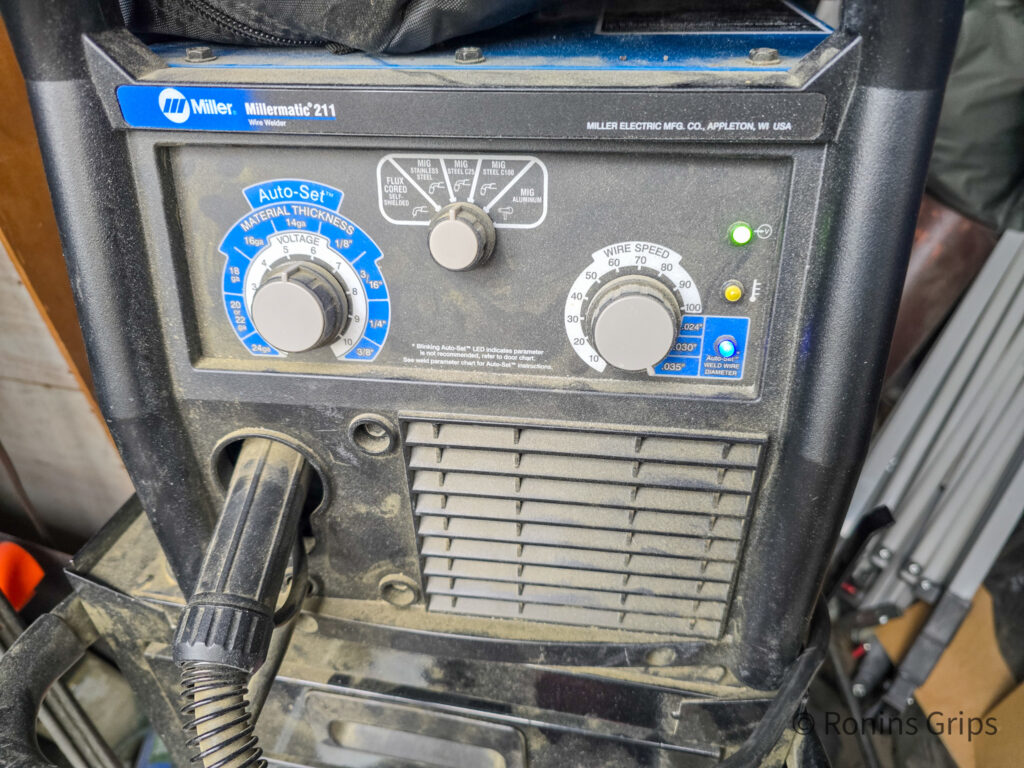
I really like Miller welders and Lincolns are good too but you are going to pony up money for either one. If you plan on using your welder a lot buy the best you can afford. Thickness, duty cycle and the quality of the weld all depend on the quality of the electronics in the welders.
If you are new to welding get either a 120 or 240 volt MIG welder. MIGs just make life easier as the welder feeds the steel wire into the weld and the wire is the electrode that is conducting electricity and melting. It’s surprisingly straight forward for a person new to welding. You can start with flux but gas is better – some welders can do either and that would give you some flexibility.
One brand of affordable welders on Amazon is “YesWelders”. They have a pretty good following. There are tons of brands of MIG welders on Amazon, read the reviews plus search the name with Google and see what you turn up in terms of reviews, recommendations, etc.
You need a welding helmet
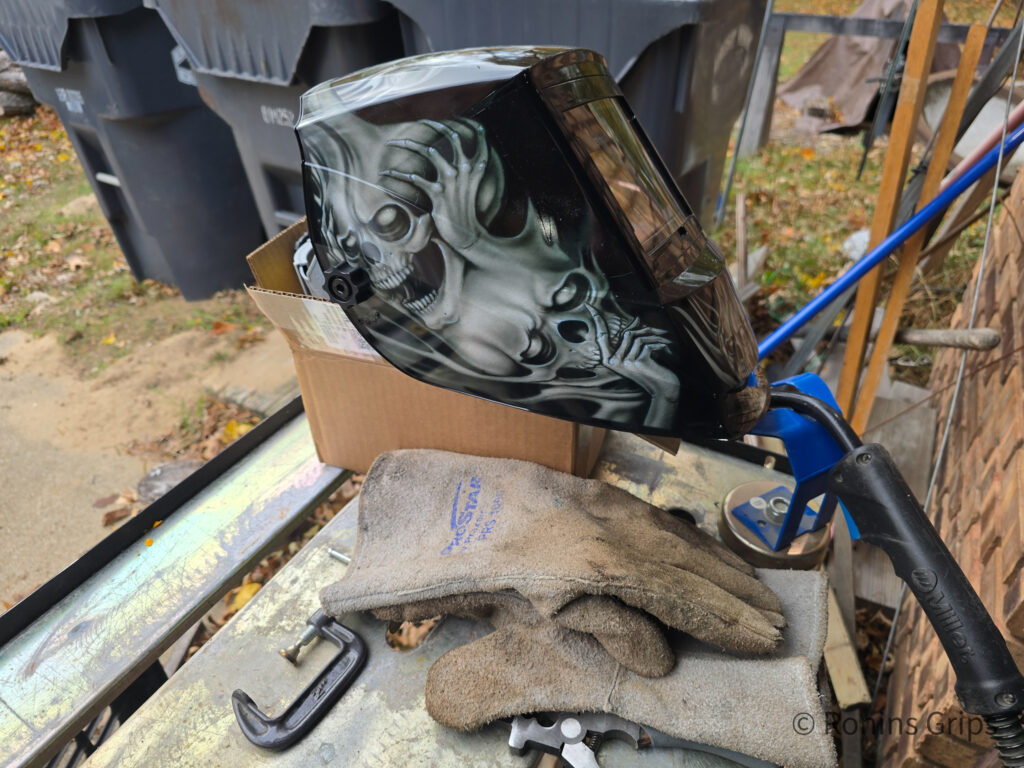
Now one thing that also is critical with a welder is a helmet. The arc from a MIG can really mess up your eyes as it generates quite a bit of UV radiation. I like auto-darkening masks because I can see good and when the arc triggers the lens jumps to the specified level of shielding. I’m currently using an Antra and really like it. A good mask will trigger fast, go darker and usually have both solar and battery backup power. I also keep it in a helmet back to protect it.
By the way, avoid cheap no-name auto darkening helmets. If they are slow to trip and go dark then more damage happens to your eyes. Some guys like permanently shaded helmets so they don’t have to worry about batteries, cumulative effects, etc. They lift their helmet up, position everything and then do a head bob motion so the visor comes down and away they weld. The choice is yours.
Cover yourself up
Last welding comment – cover up. There are two reasons for this. First, the UV radiation will give you a really nasty radiation burn that is deeper than a sunburn. I wear a long sleeve shirt and pants. It’s not happened to me (honestly) but I’ve talked to guys who were wearing shorts and welding crouched down and they burned the inside of their thighs so walking absolutely sucked for them – two guys and they both said “I didn’t think I was going to weld long enough for it to matter. It wasn’t me because I own mistakes so others can learn – I sure learned from them.
The second reason to cover up is that welding generates “spatter” – little droplets of steel that can get blown off and cause small burns. Shit happens. I’ve been burned through just about everything at one time or another and being covered up just reduces the odds. Guys who weld a lot will wear a leather apron, jeans and safety boots.
Always wear welding gloves for a boat load of reasons – spatter, protection and insulation from heat as you weld. Gloves also reduce the odds of burning the crap out of yourself when you accidentally grab/catch something hot.
You’ll need a collection of clamps
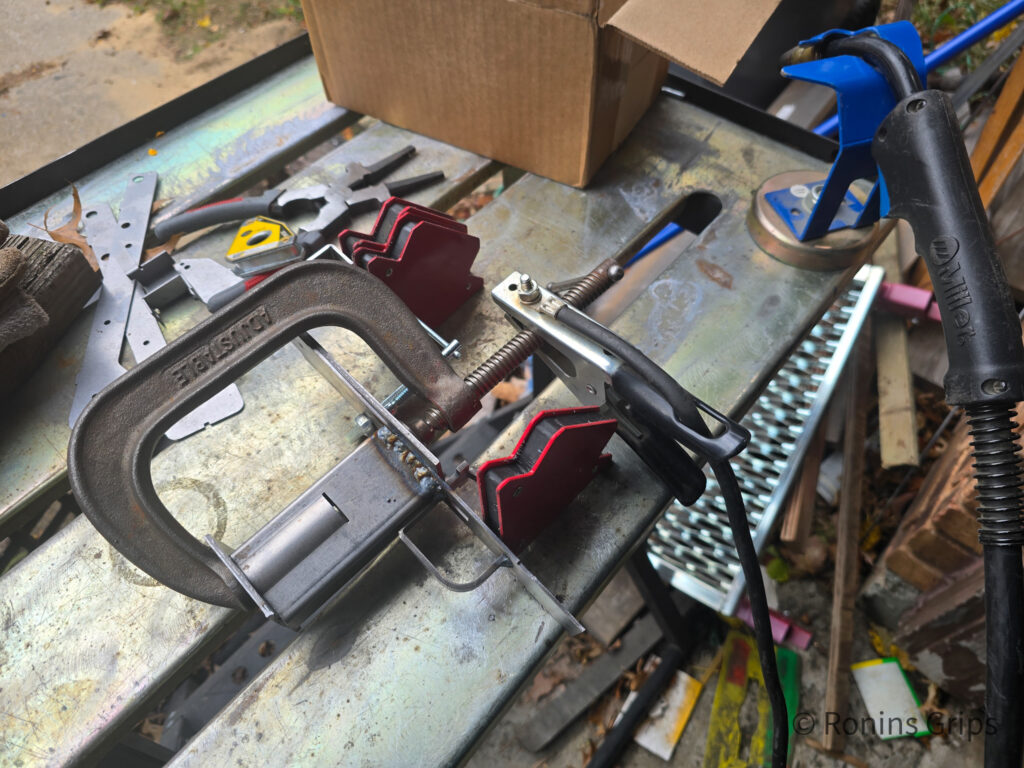
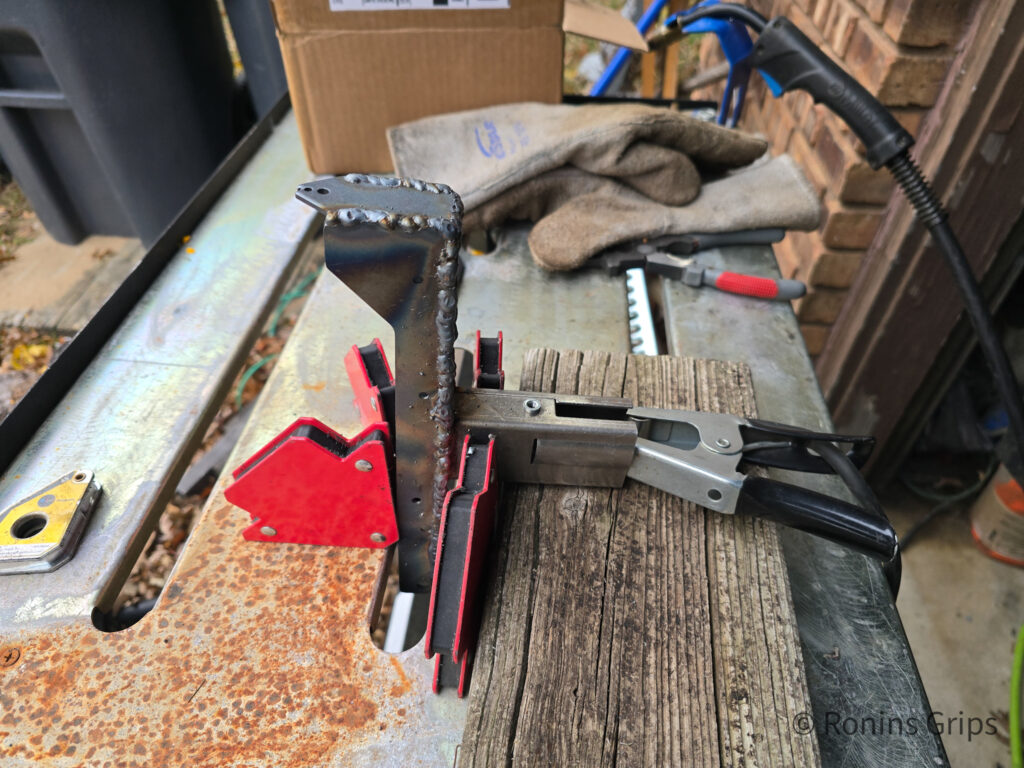
In addition to the welder, you are going to need clamps. How many kind of depends on how you clamp everything together. BTW, plastic clamps can hold stuff but don’t weld anywhere near them or they will melt. There are C-clamp assortments on Amazon.
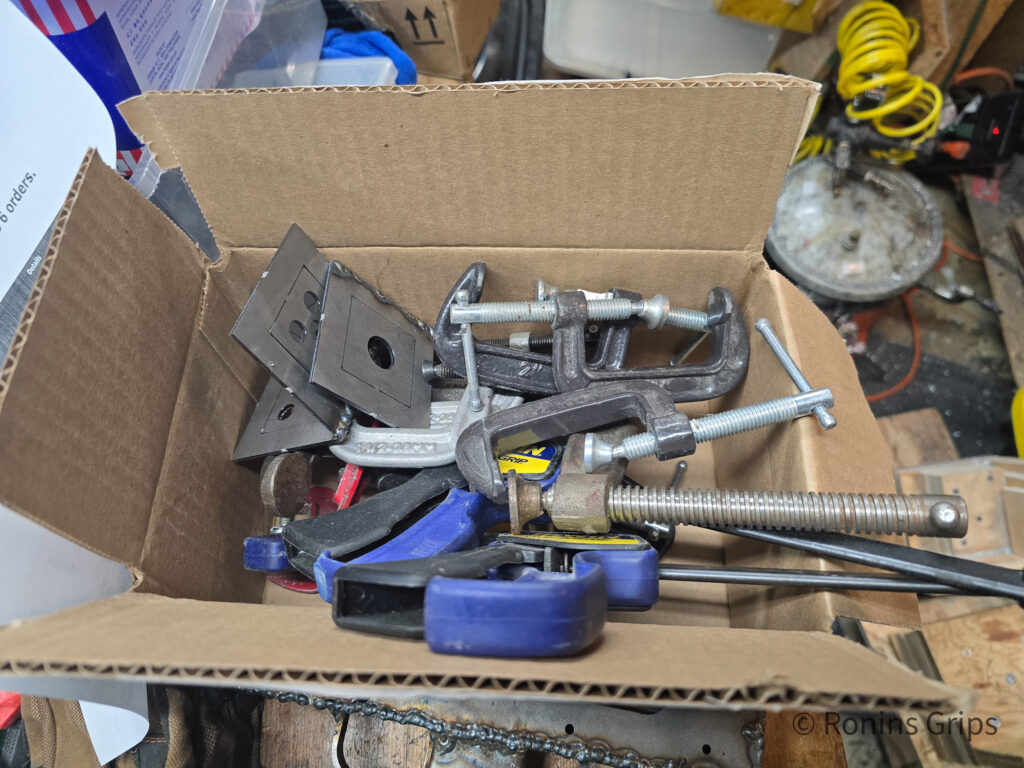
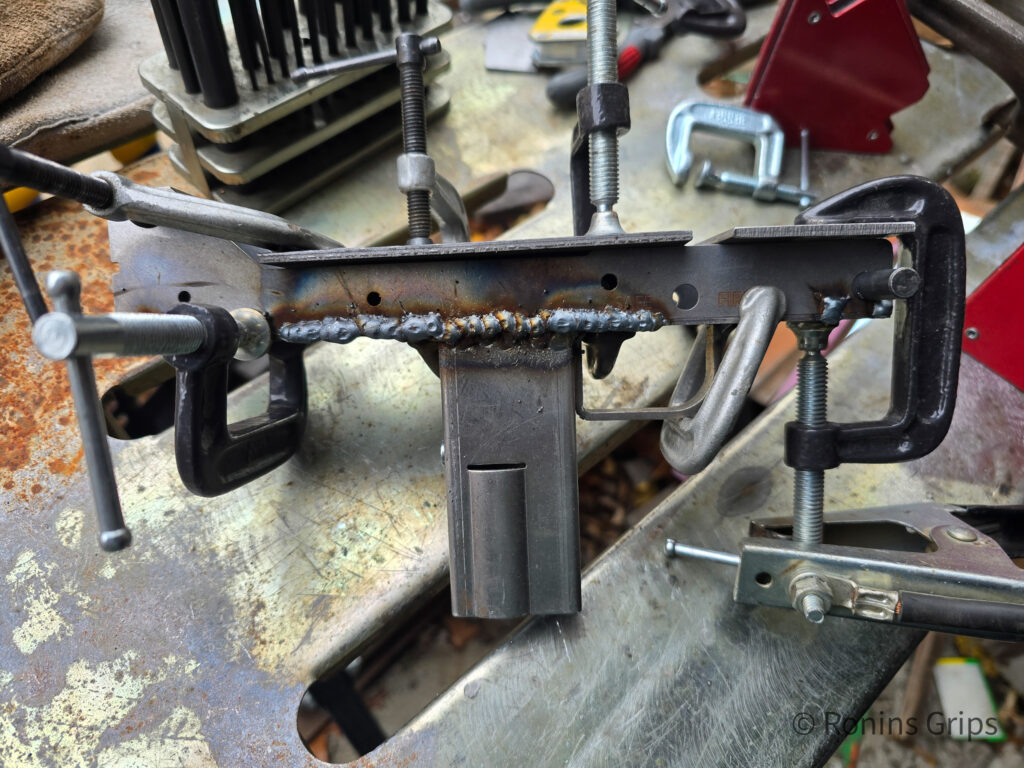
You’ll see I have a variety of 1″, 1.5″, 2″, and 3″ clamps plus one 6″ clamp for the handle. How many you need of each depends on how you decide to do your welding. A couple of pieces of scrap metal will also help with your clamping so you can apply even pressure.
In general, you need to securely clamp what you are welding so stuff doesn’t move. The better job of clamping you do, the less rework you are going to experience from things shifting.
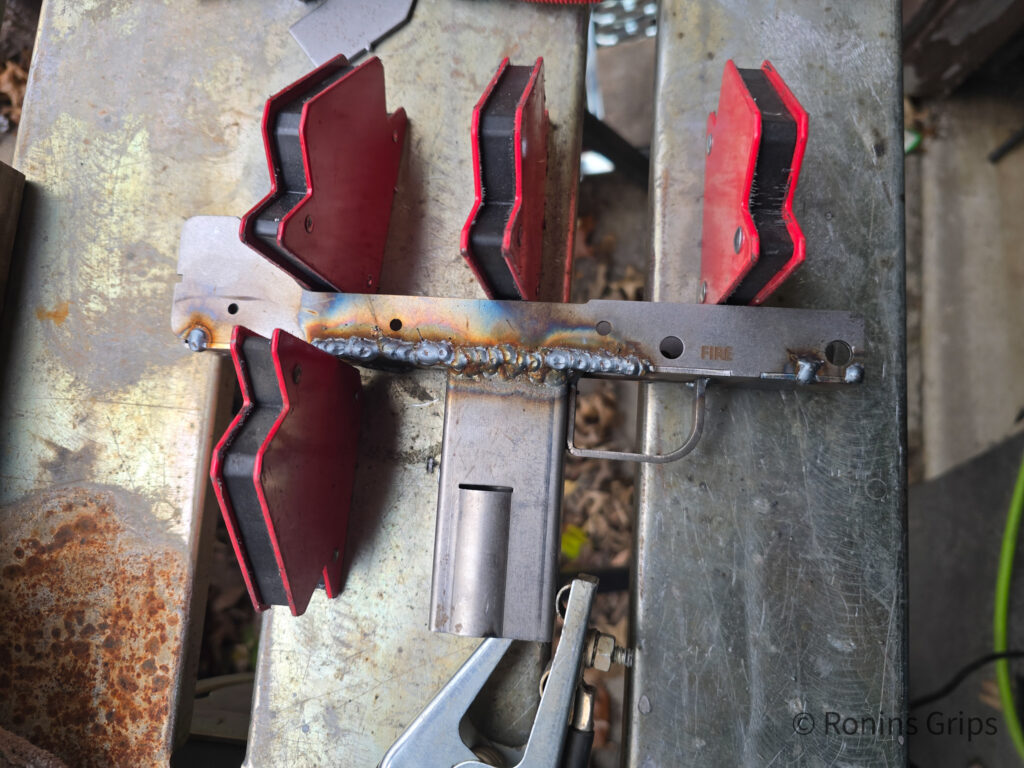
Various sizes of magnetic welding clamps come in handy too. I have all different sizes ranging from pretty small – maybe 1-2″ and then up to 4-5″. The come in handy for holding work in place and keeping it from sliding around. There are a lot of options on Amazon.
The actual clamping and welding
I planned to do three receivers – two pistols and one rifle. So, I tried welding three different ways:
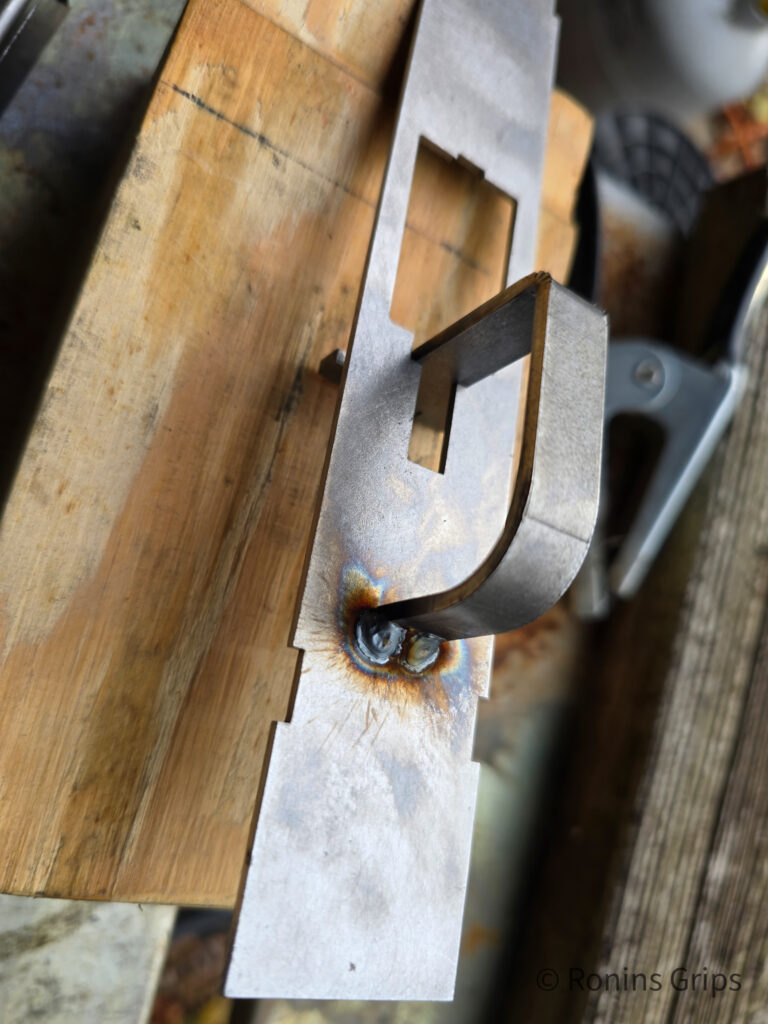
First Receiver: I clamped the grip, trigger guard and center section together, welded them and then used a right angle piece of aluminum to clamp the right side plate into position welded that, did the same for the right side plate and then the center reinforcement plate. Then I welded in the rear sight.
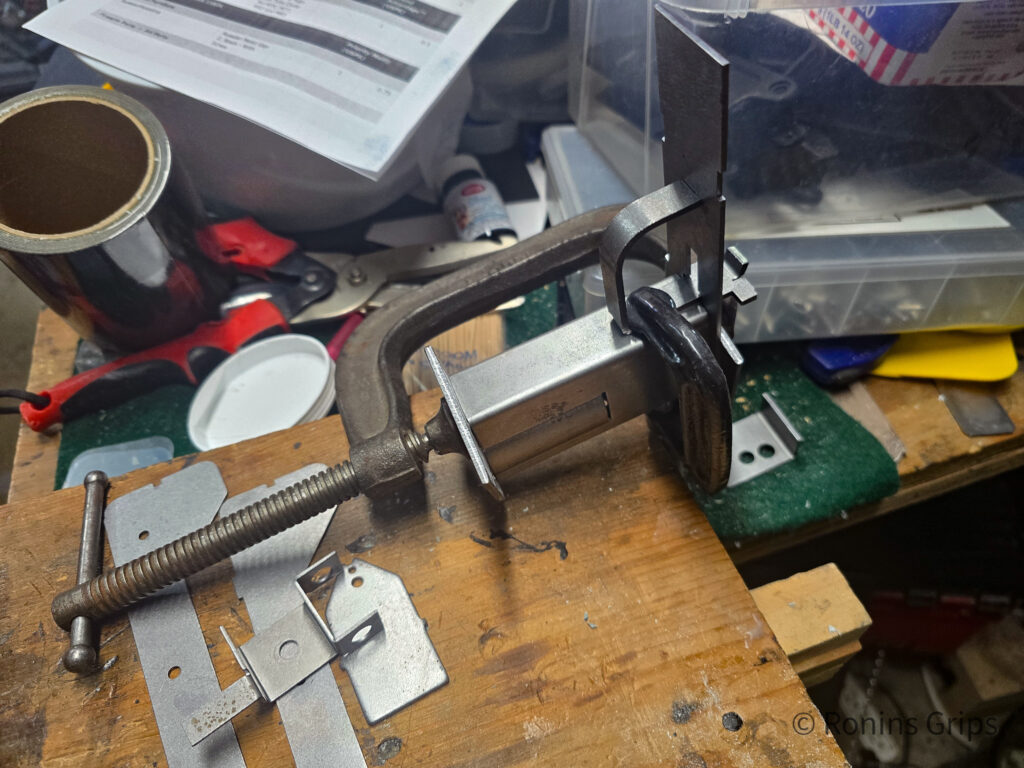
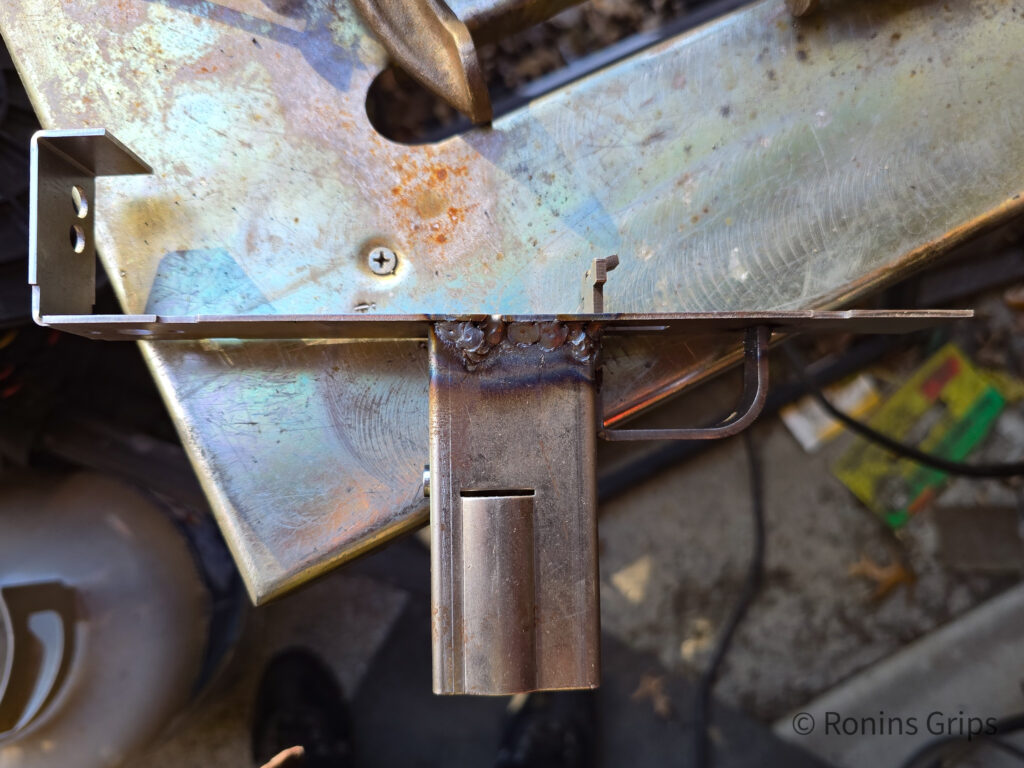
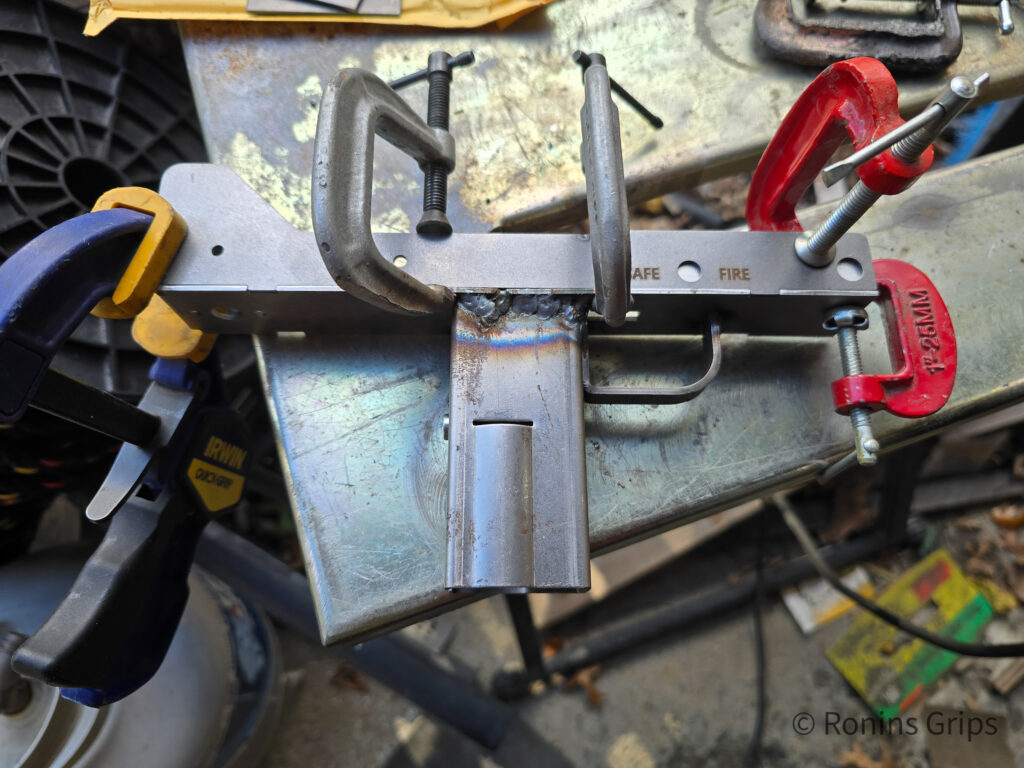
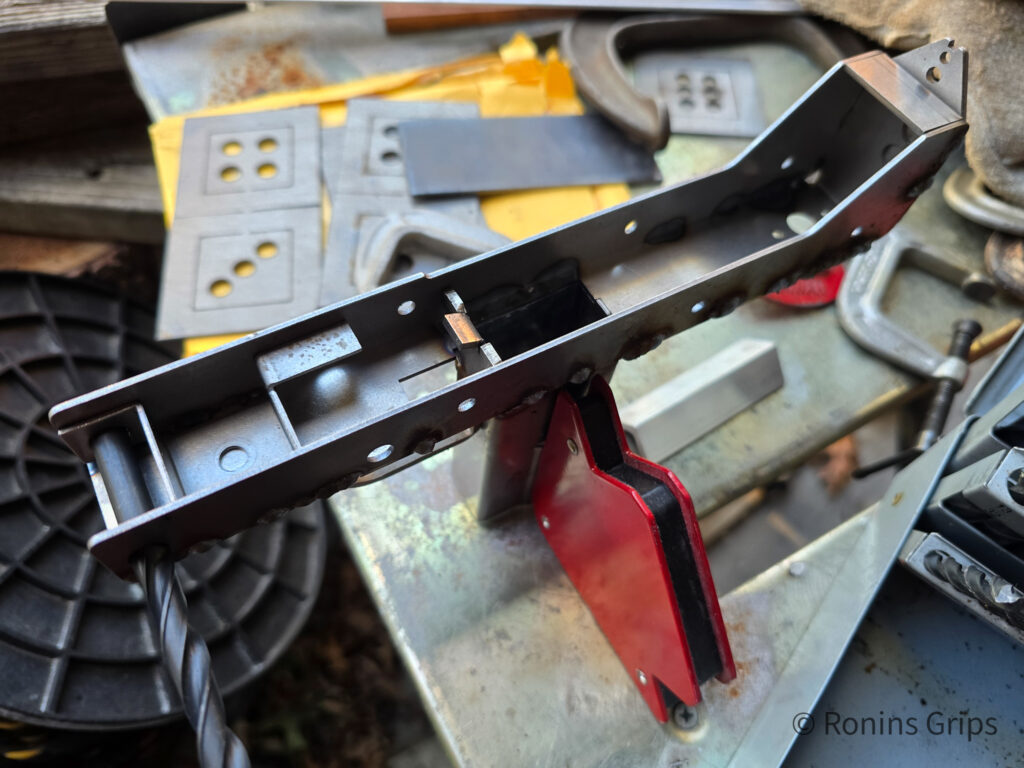
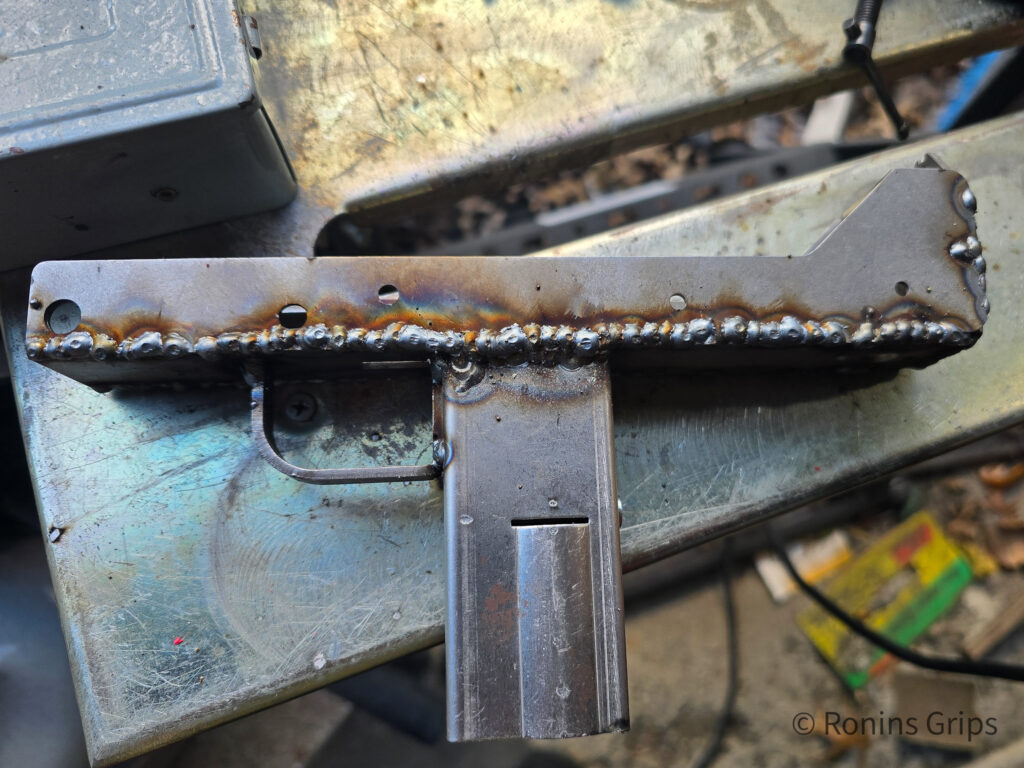
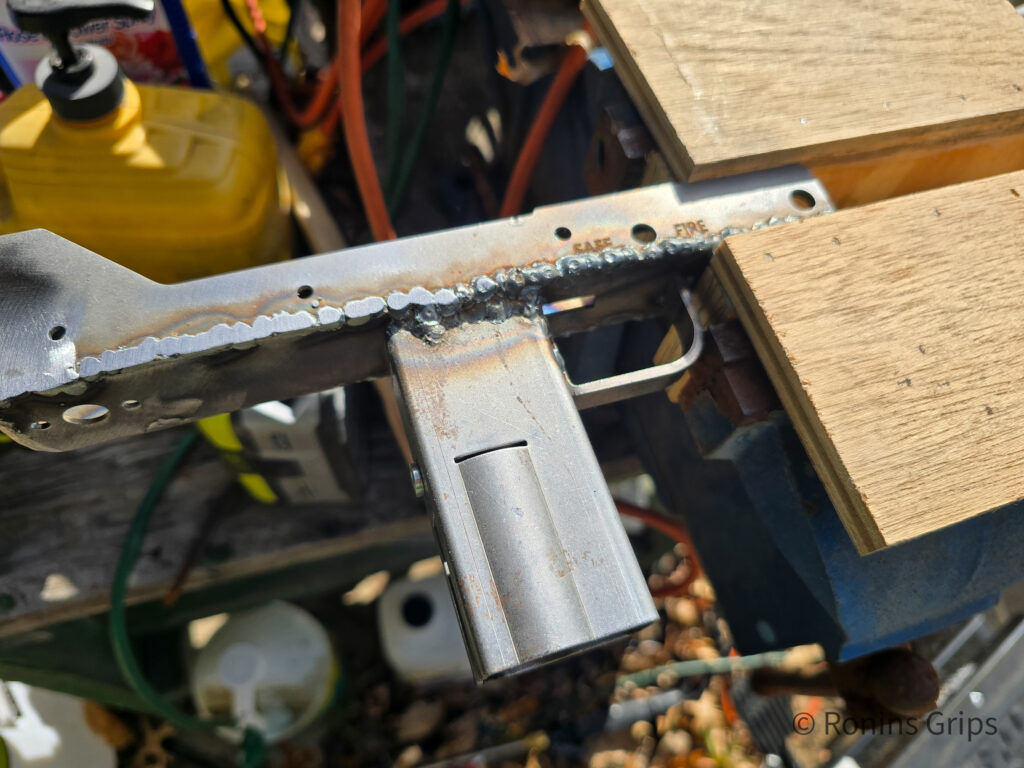
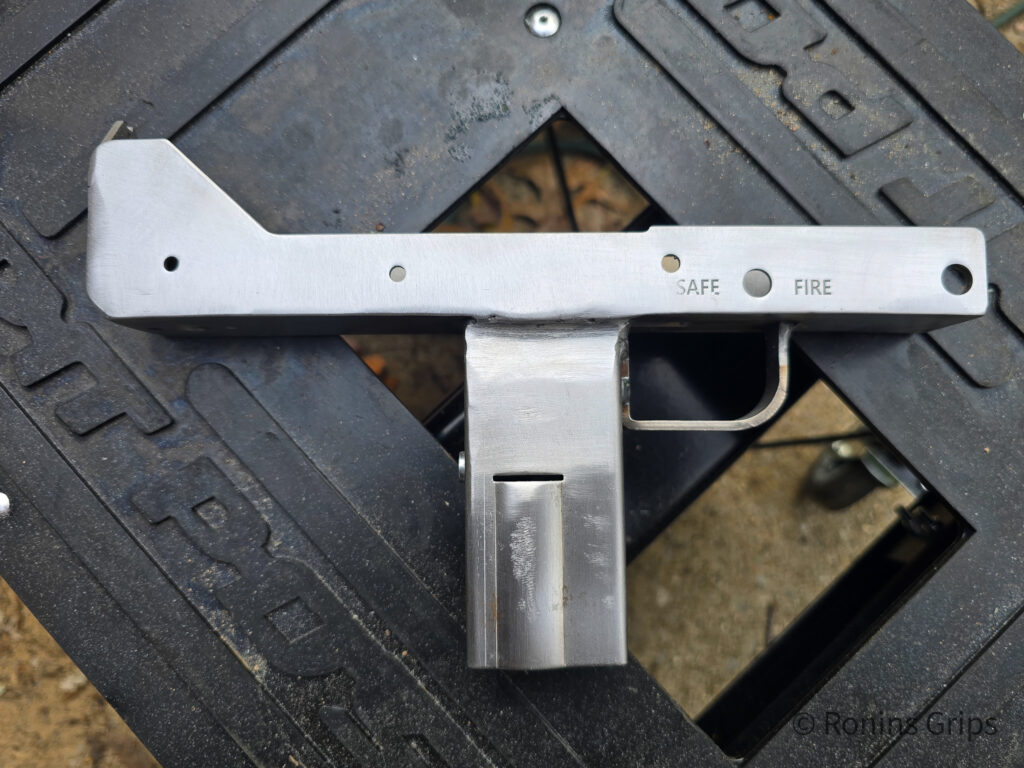
Lessons learned: 1) Don’t need the aluminum right angle to orient the side plates. The rear bend in the center section and the takedown pin reinforcement can hold it just fine. This dawned on me as I was sliding the reinforcement section into position. 2) a piece of sheet metal on top of the side plates would probably be a better way to secure them. 3) Also, I really needed to connect the ground straight to the receiver to get a better connection.
Second Receiver: I clamped the trigger guard, grip and center support together and welded them. Then I inserted the front reinforcement and clamped the side plates at the front, back, middle and welded. I then did the rear sight plate.
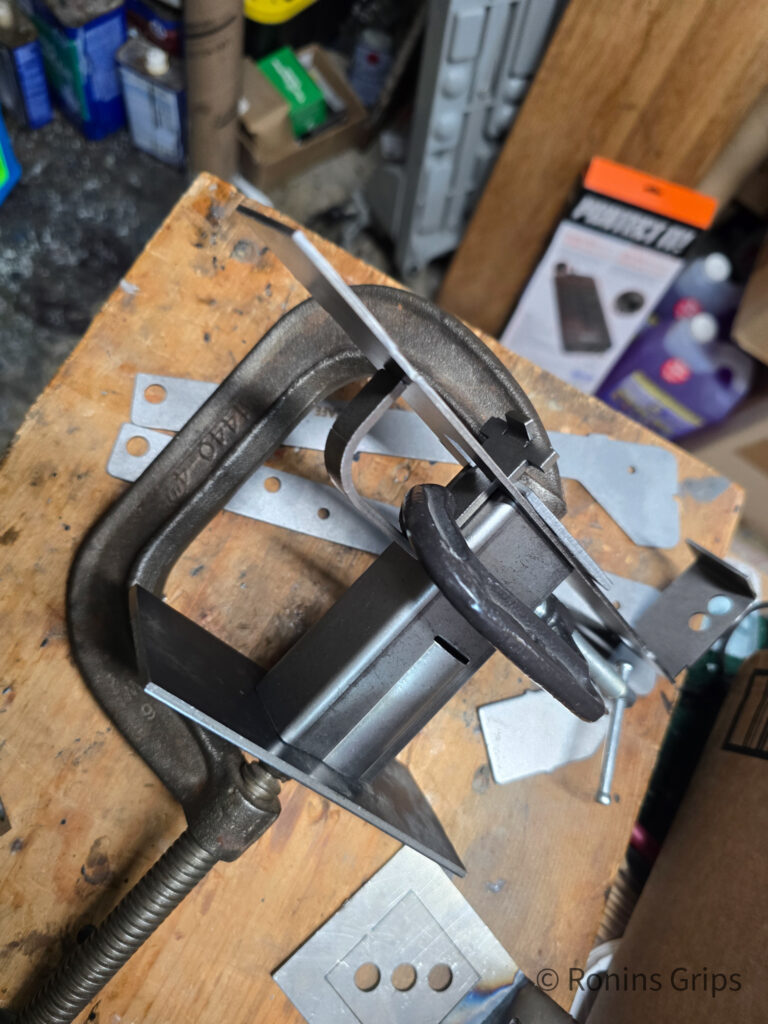
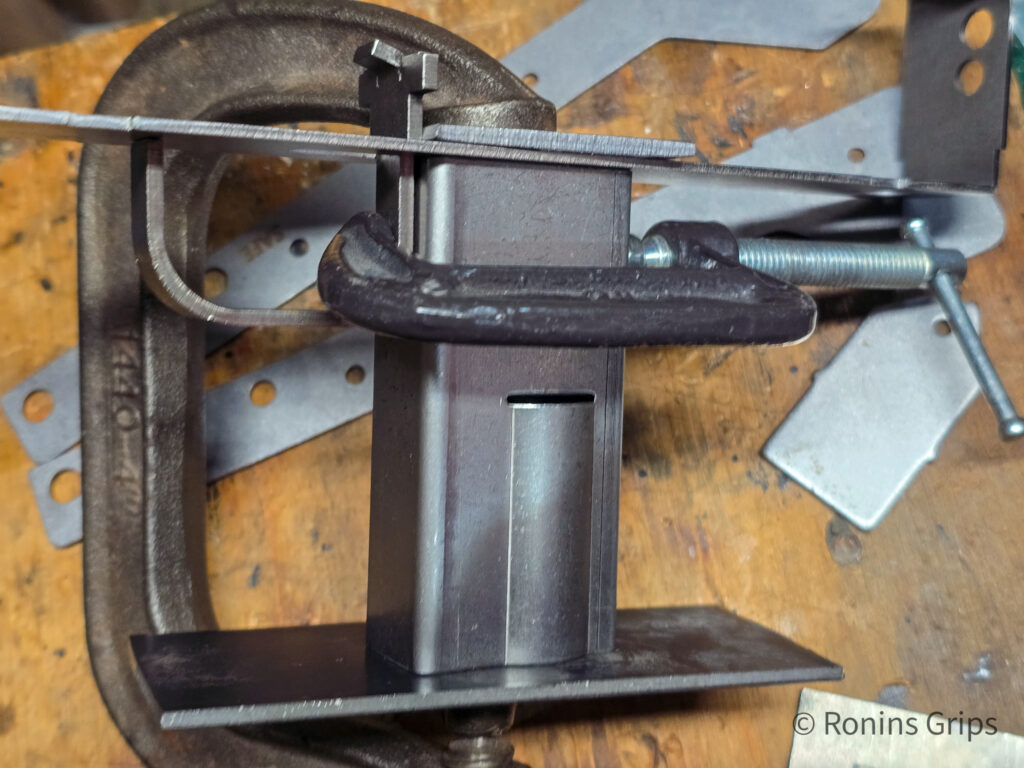
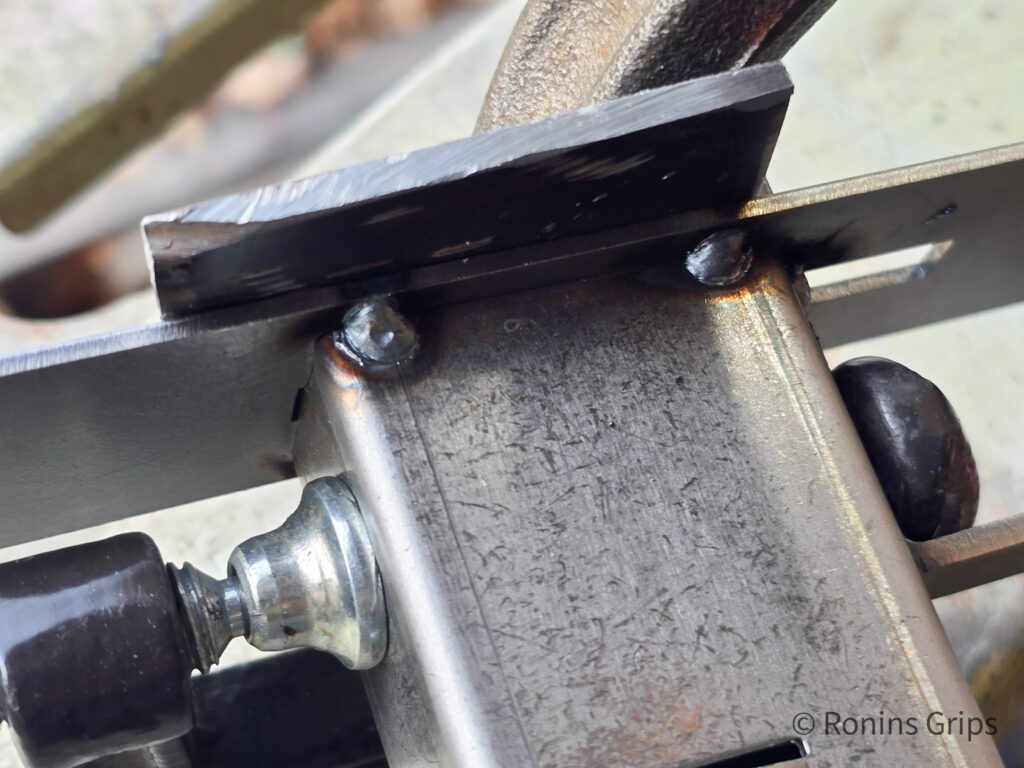
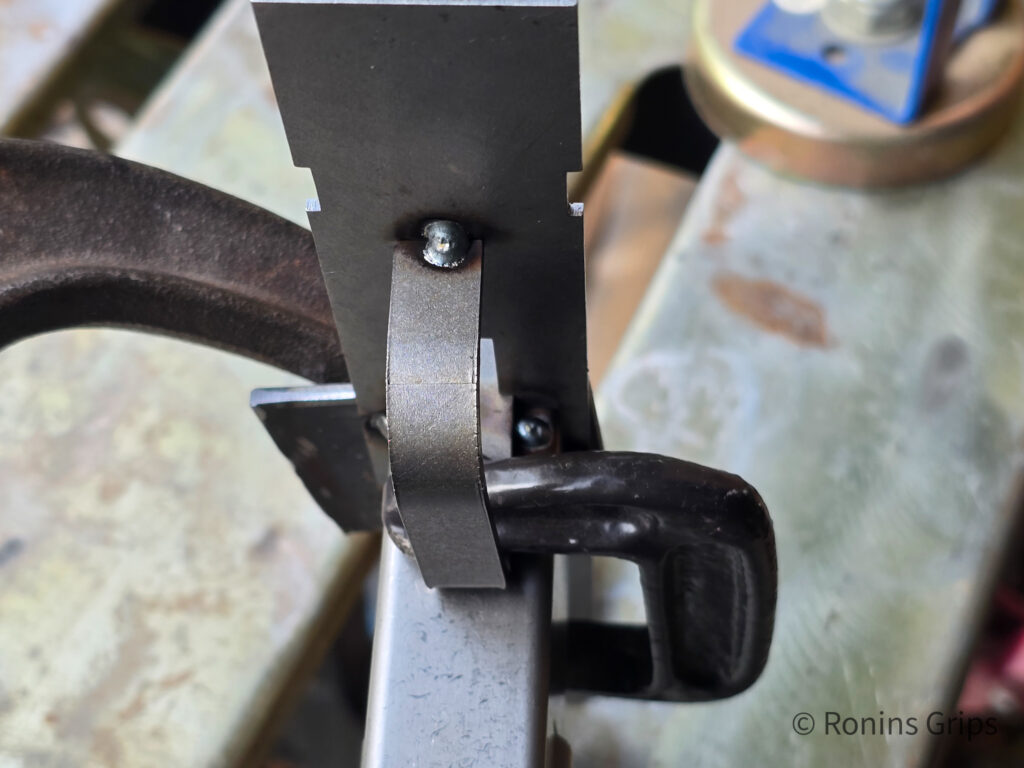
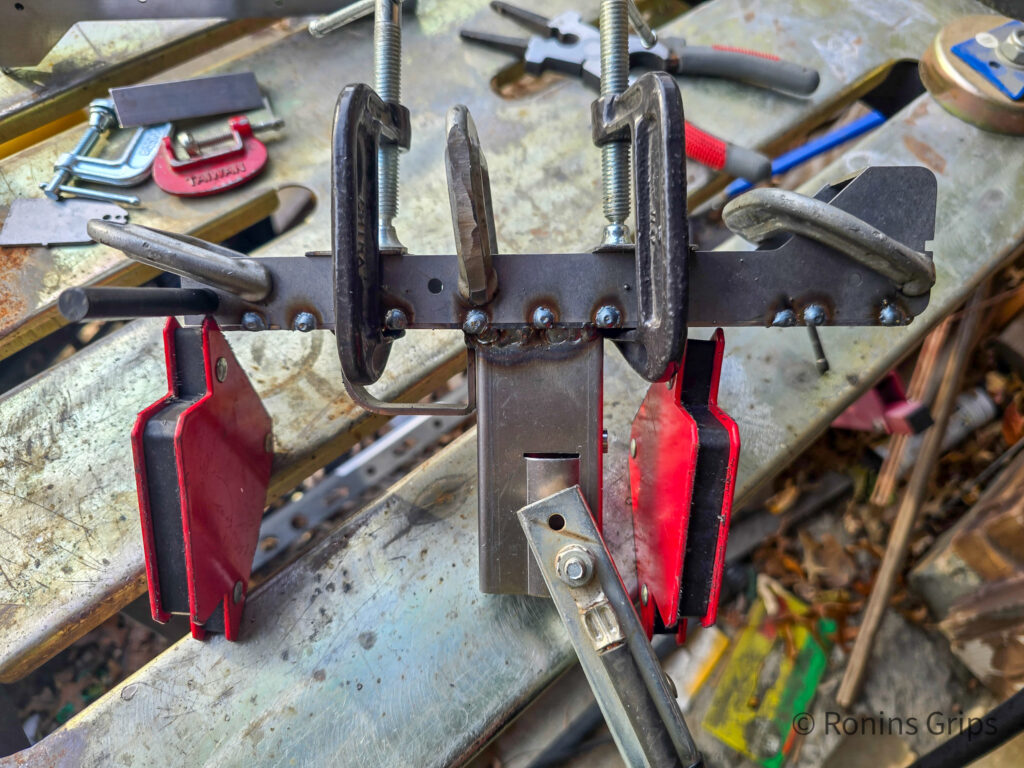
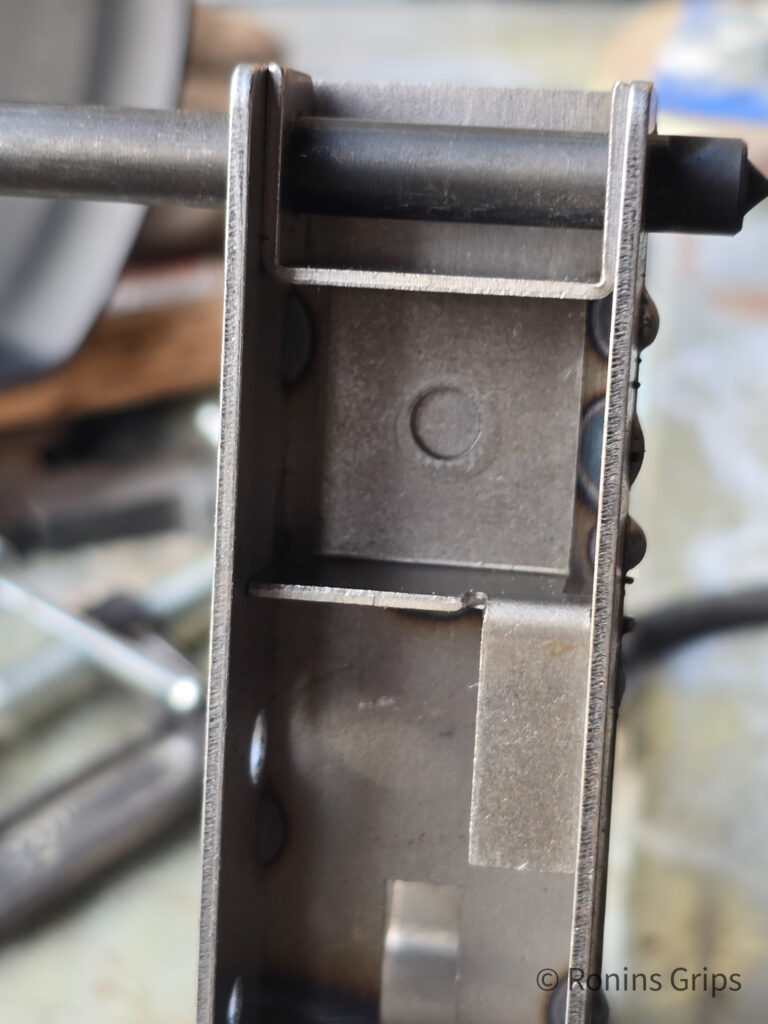
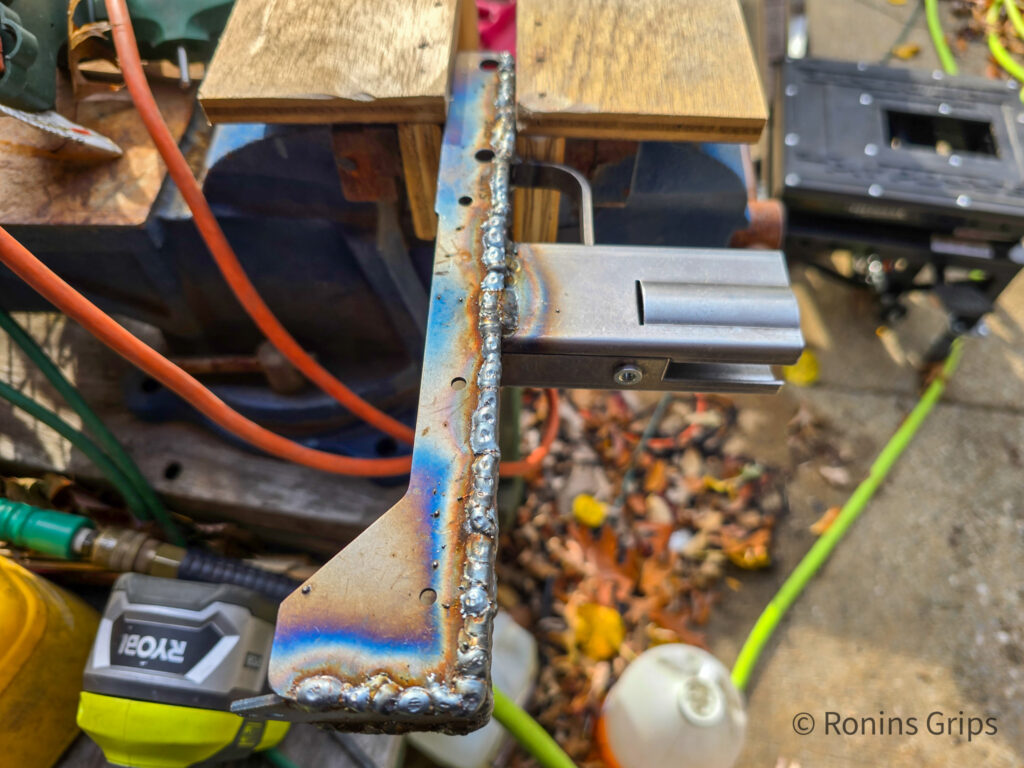
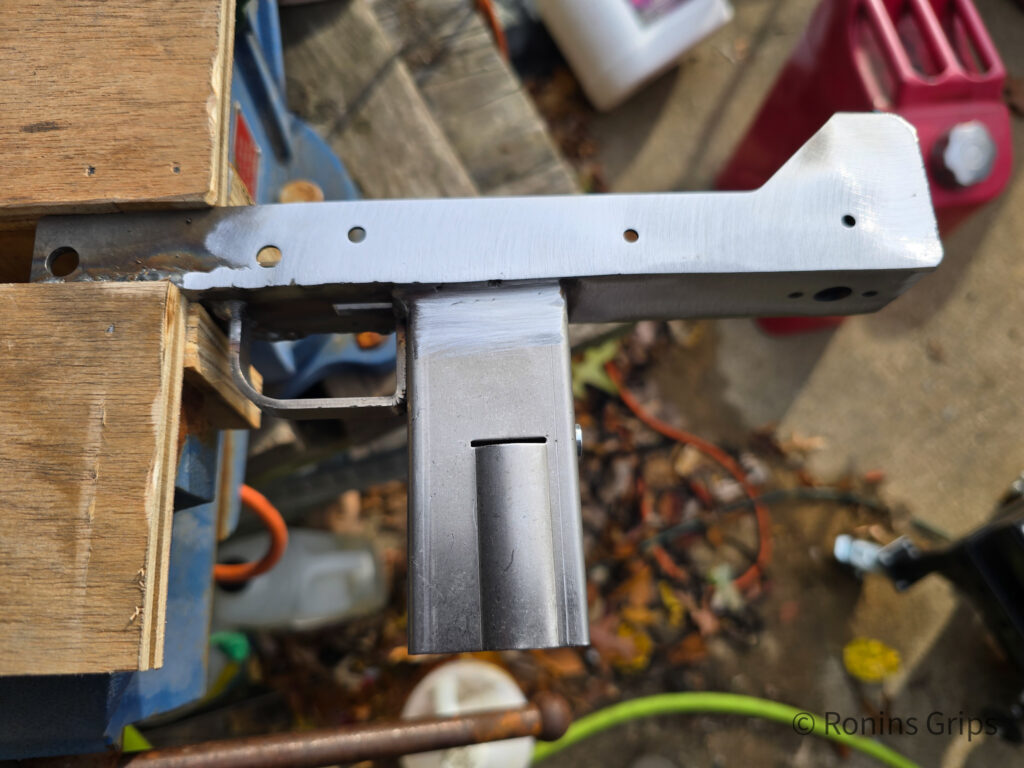
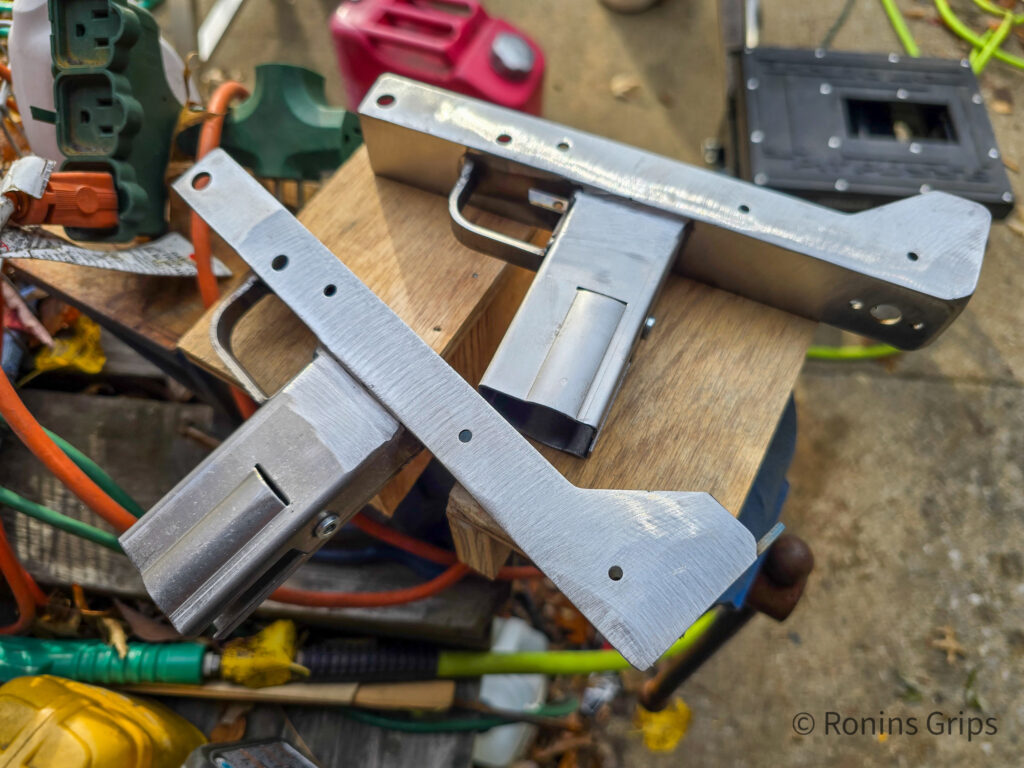
Lessons learned: 1) Check your clamps and work to make sure nothing shifted. I could have kicked myself – that was such a basic mistake. 2) the center section may not be true – use some scraps of metal to pull the center section and side plates together. 3) More clamps are better than fewer clamps. 4) Maybe I should try welding the trigger guard by itself first – and I did that with the next one.
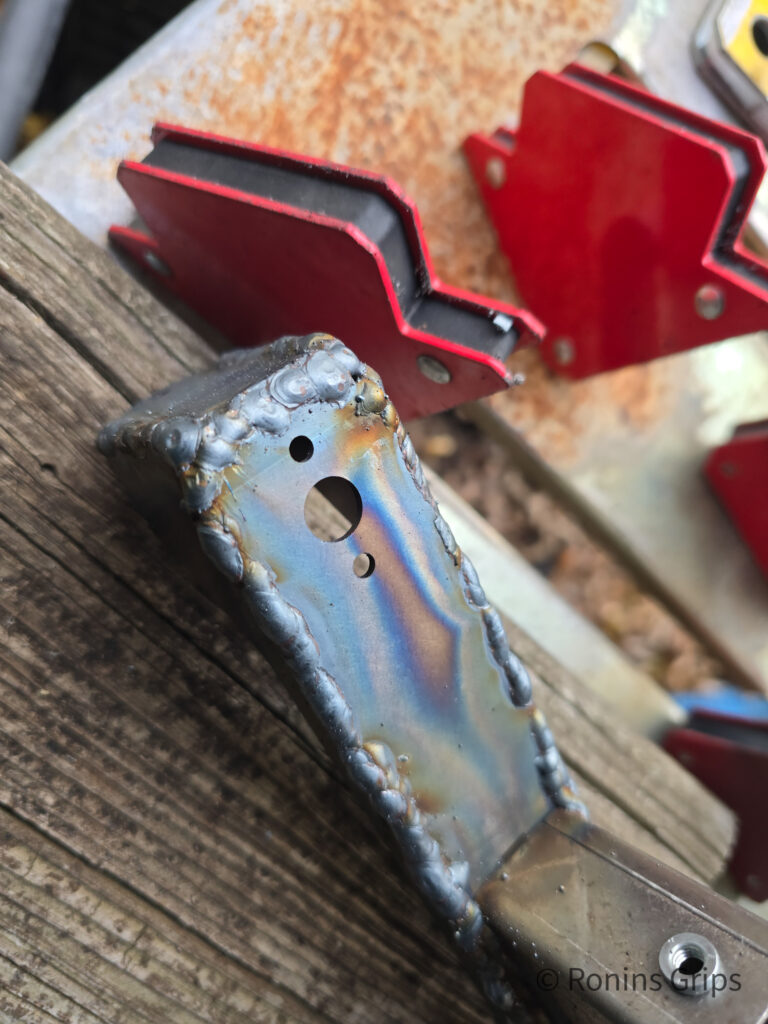
Third Receiver: Clamped the trigger guard to the center section and welded it. Positioned the magwell/grip, clamped and welded it. I then positioned the front reinforcement piece, clamped the side plates and welded.
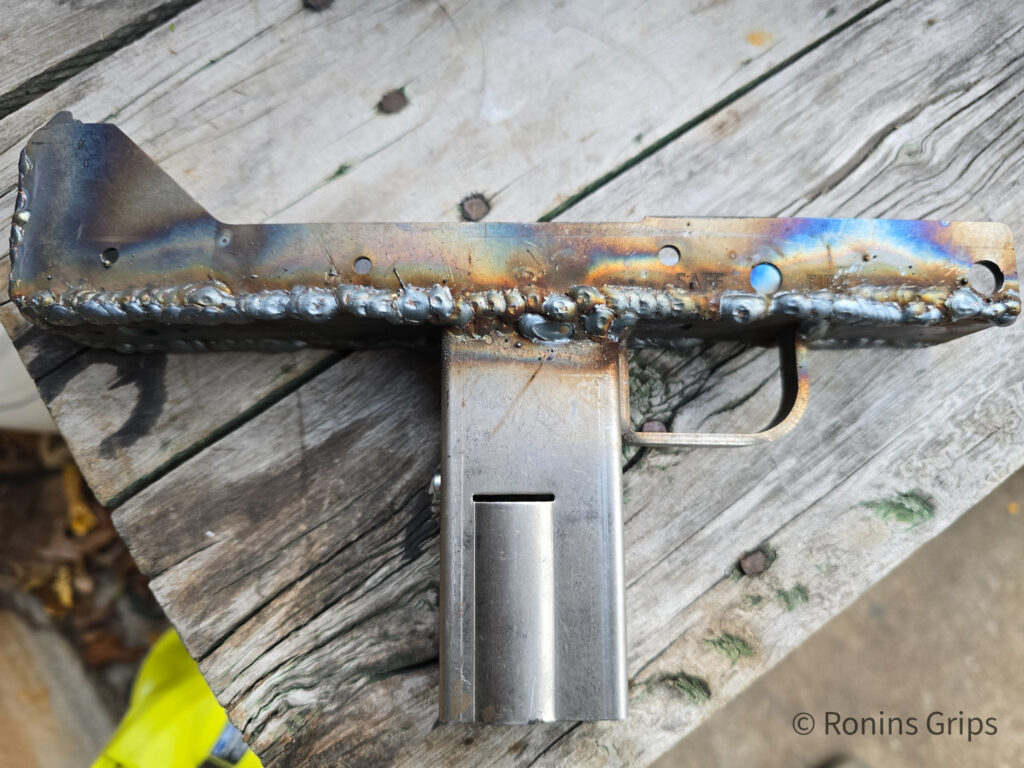
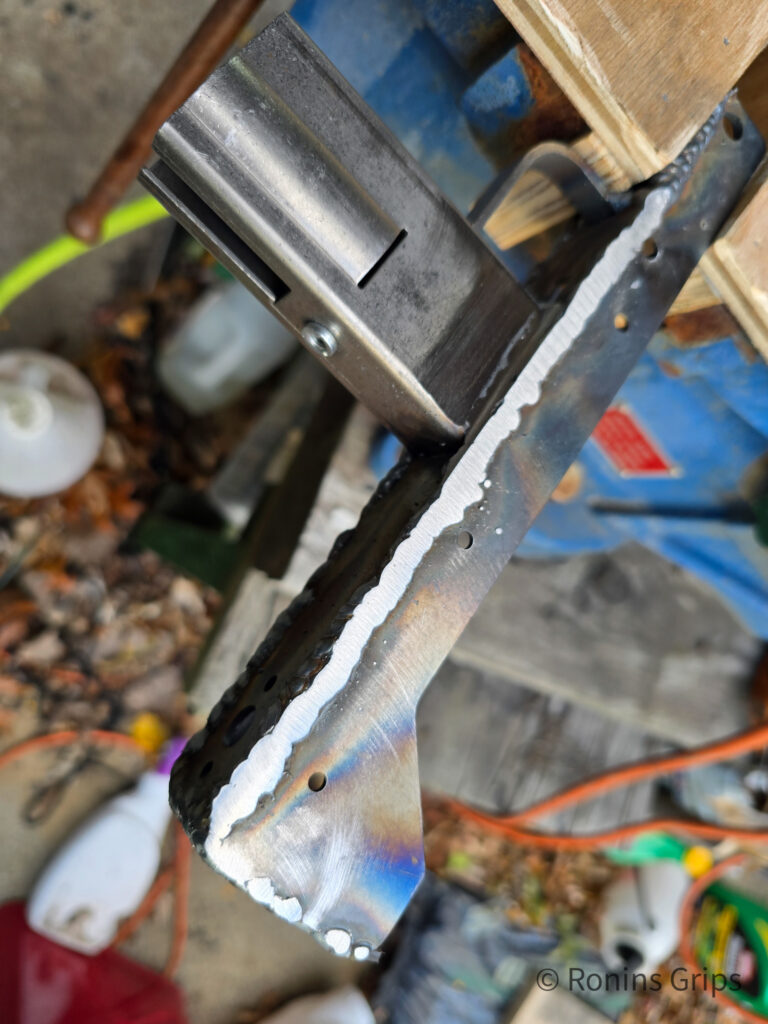
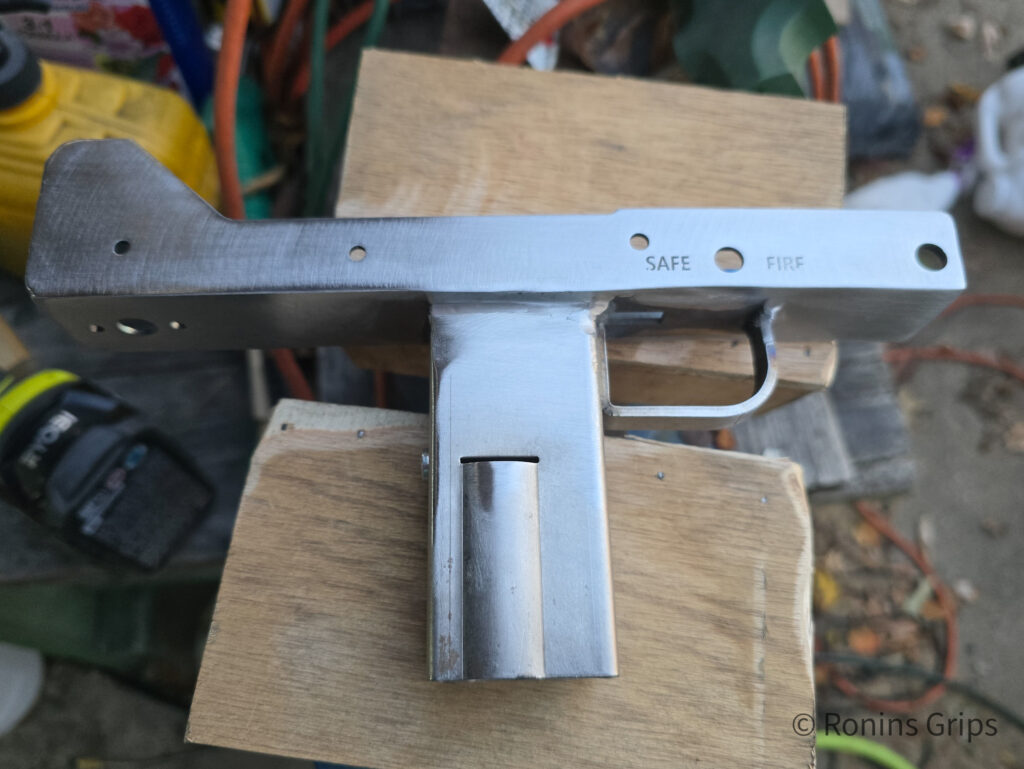
Testing & cleaning up
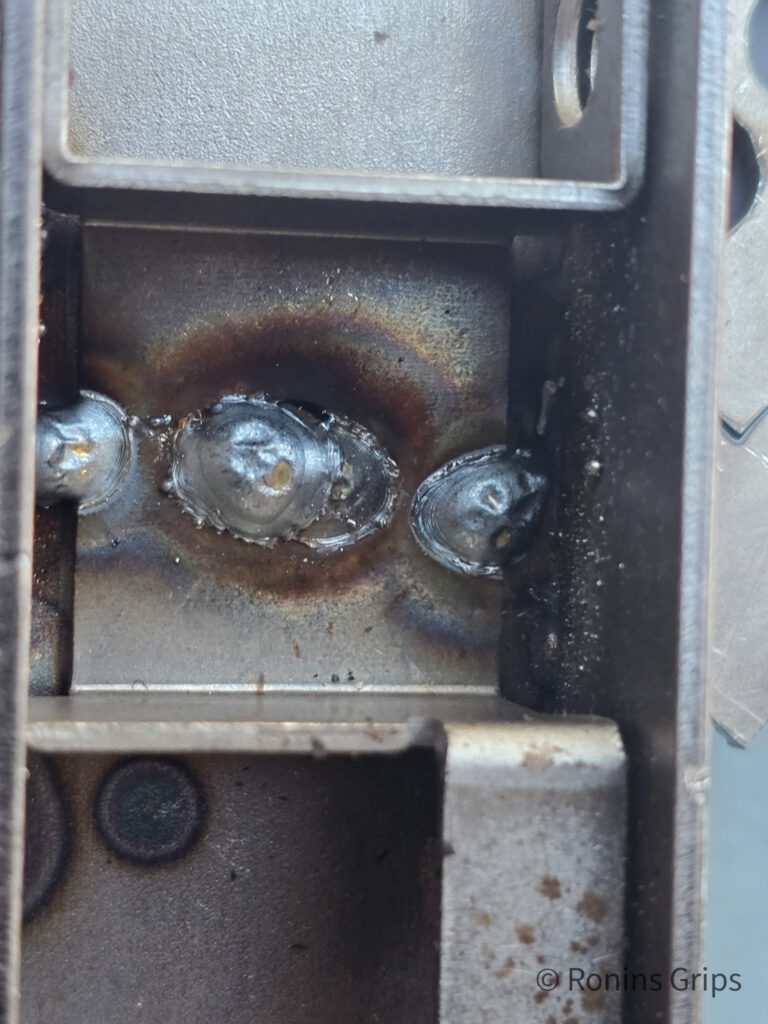
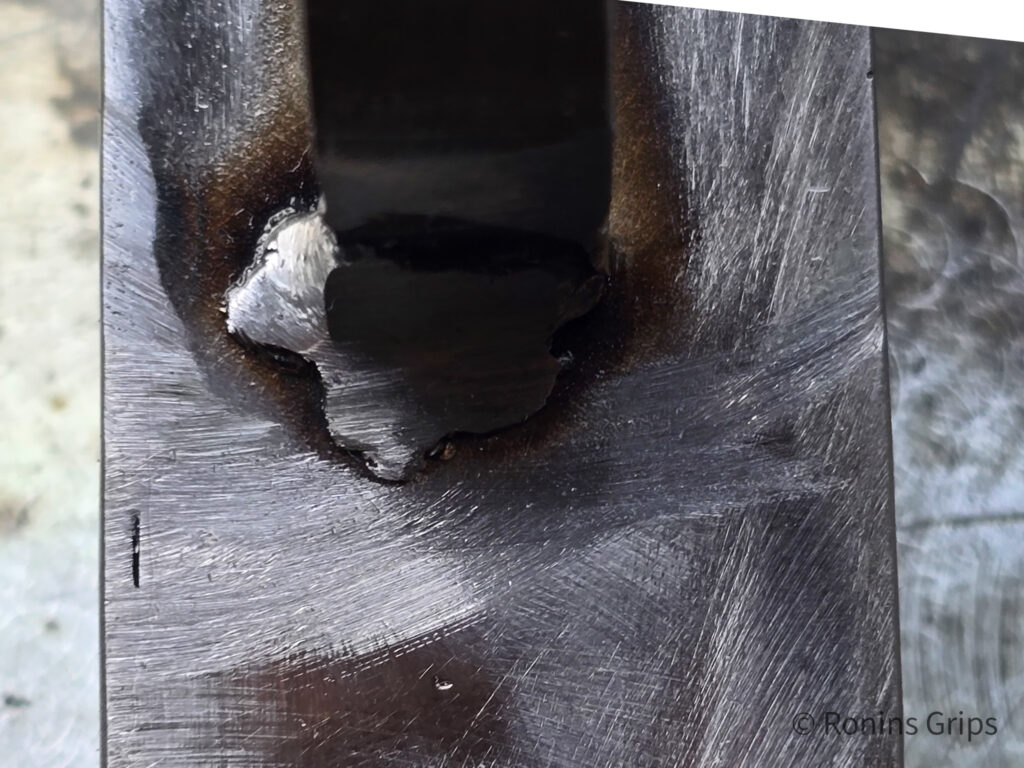
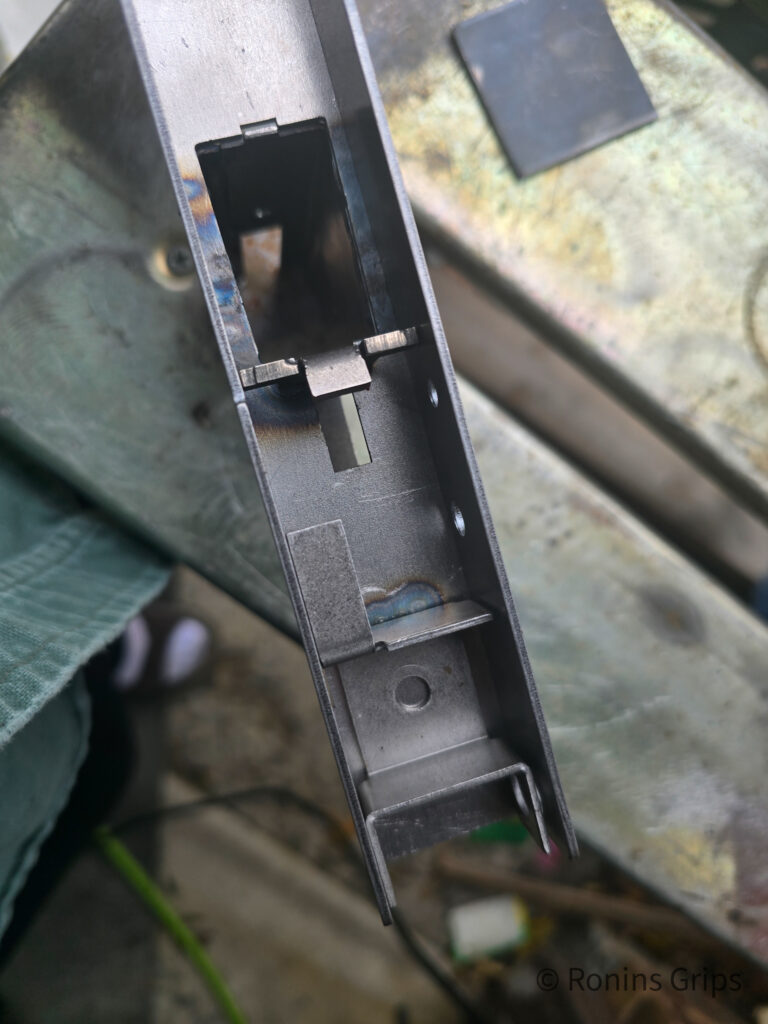
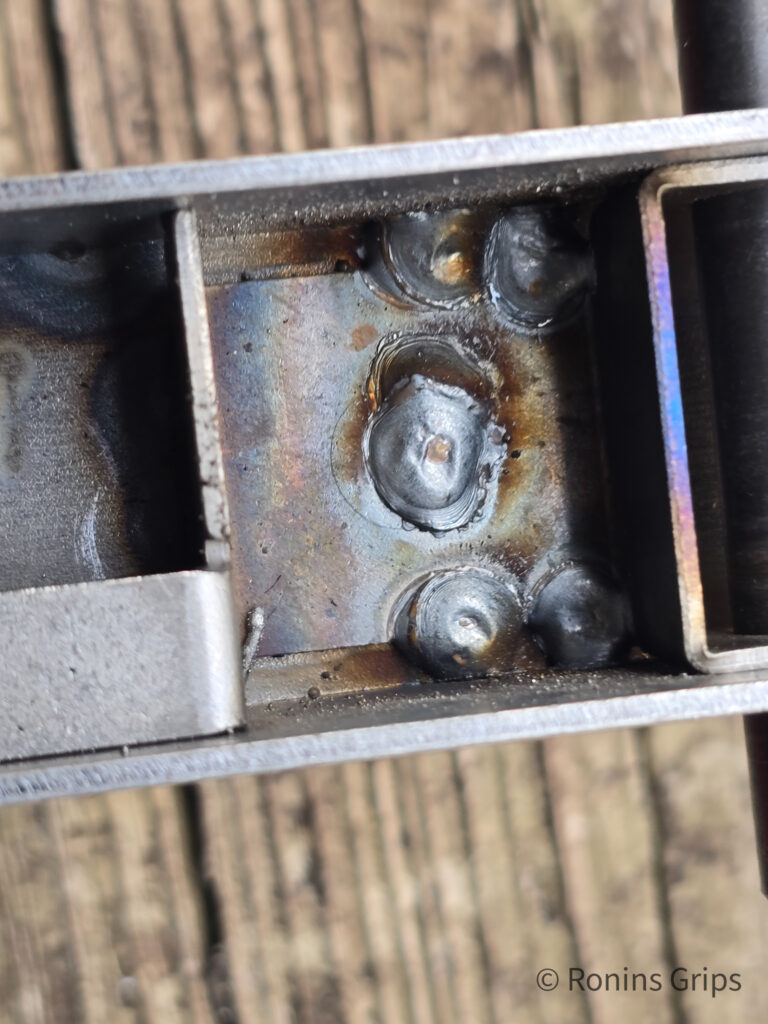
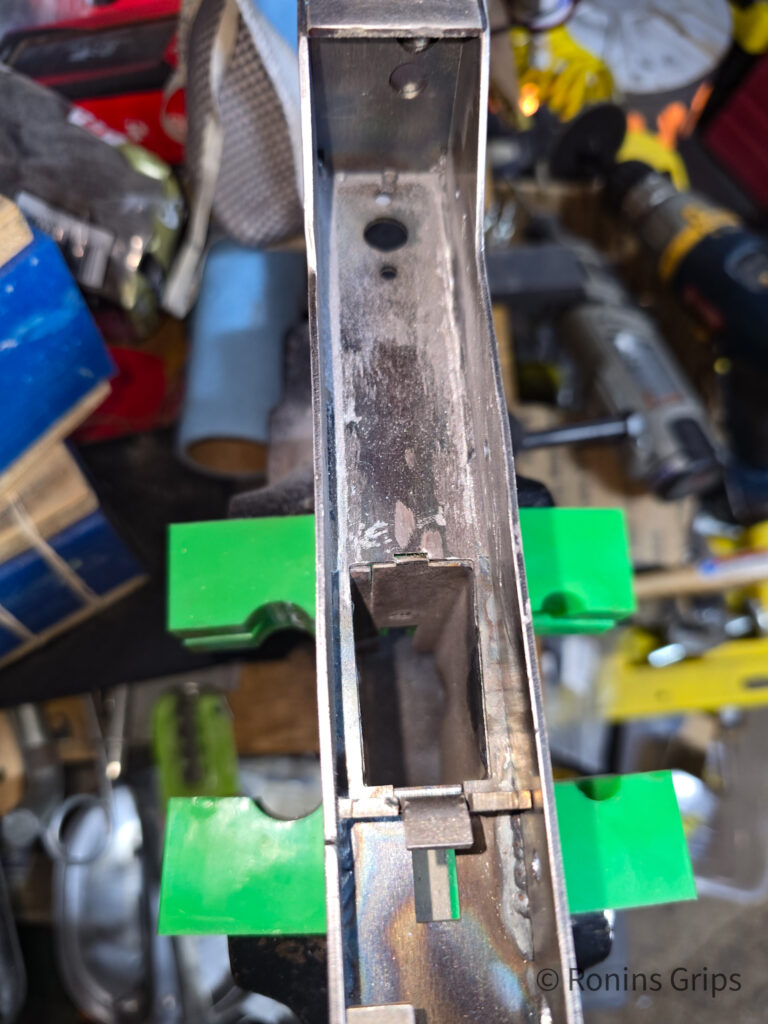
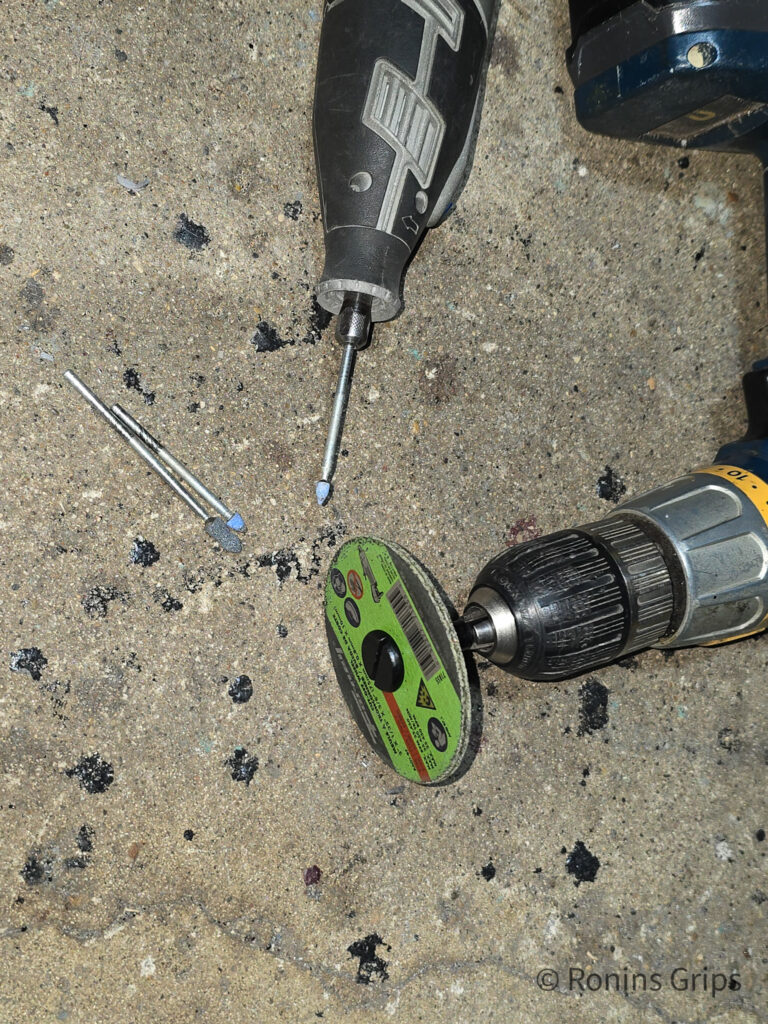
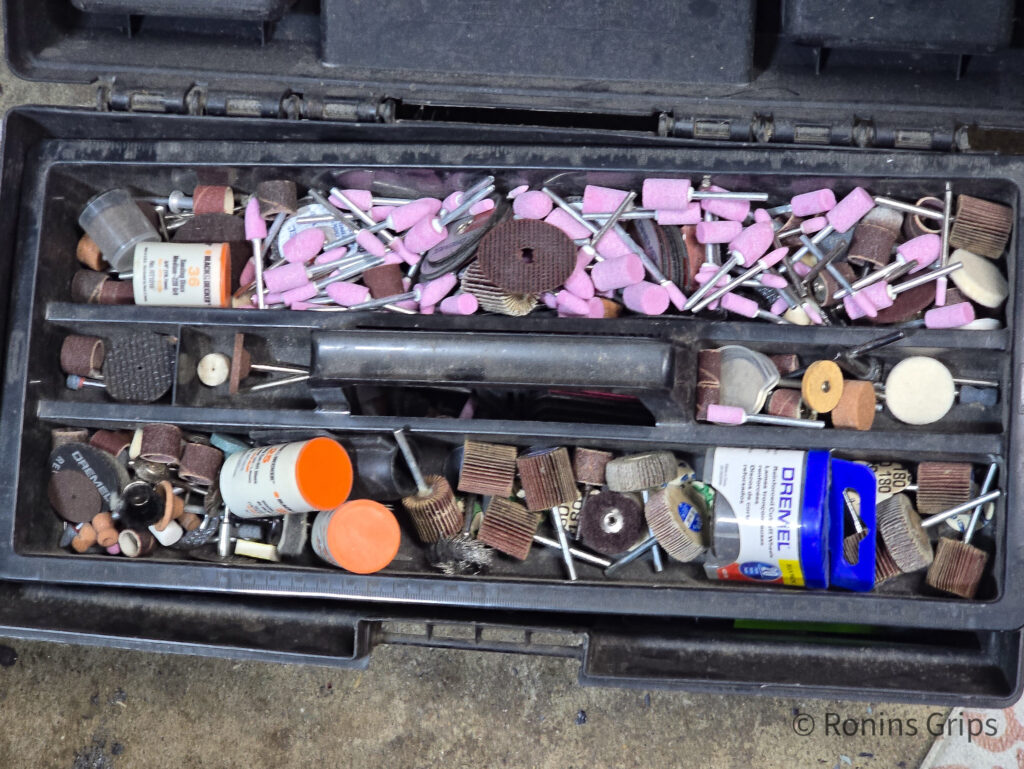
Okay, you need to make sure thee sear plate can slide from the back all the way to the forward towards the center support. The reason being is that if you have any welds interfering with it’s ability to slide forward or the trigger bar, your action is going to be messed up. If you have welds in the way, you are going to need to grind them down.
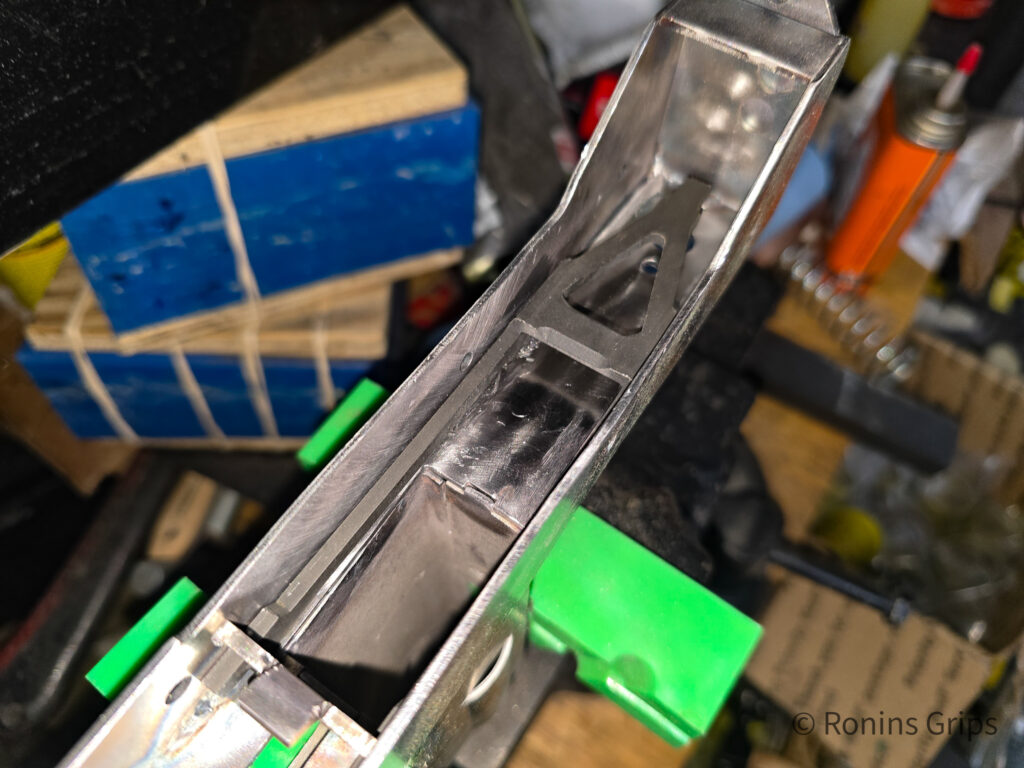
This is one of those things where avoiding them up front my not going crazy with the heat would have been a good idea on my part. My first two were great. My third receiver had issues and I even know when I did it.
Summary
So far, things were going smooth. The VMAC9 lowers were welded together awaiting next steps. In the next post, I will cover how to given them a nice black manganese parkerized finish.
I hope this helps you out.
Note, I have to buy all of my parts – nothing here was paid for by sponsors, etc. I do make a small amount if you click on an ad and buy something but that is it. You’re getting my real opinion on stuff.
If you find this post useful, please share the link on Facebook, with your friends, etc. Your support is much appreciated and if you have any feedback, please email me at in**@*********ps.com. Please note that for links to other websites, we are only paid if there is an affiliate program such as Avantlink, Impact, Amazon and eBay and only if you purchase something. If you’d like to directly contribute towards our continued reporting, please visit our funding page.
