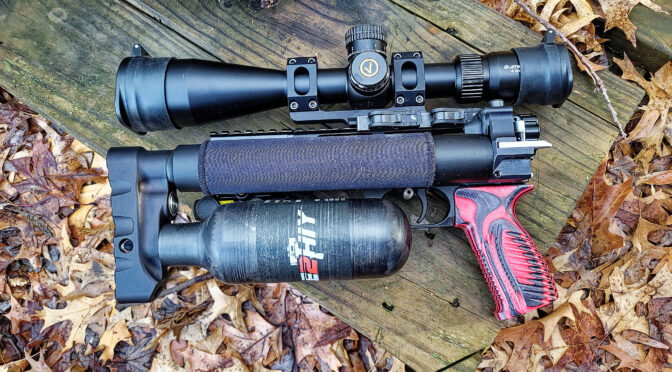
When I bought my EdGun Leshiy 2, I was trying to keep the costs down so I decided to start with the standard air reservoir. In talking with Brian at Edgun West, filling it to 250 bar would yield about 28 shots before the pressure would dip below the regulator’s 130 PSI setting (the regulator is adjustable but Edgun West set it for me at 130 psi to optimize my use of the 18.13 JSB Diabolo Exact pellets). Well, in testing the Leshiy 2 before I gave up on the Athlon Midas scope, that thing could fire .22 pellets fast – it also used air fast as a result.
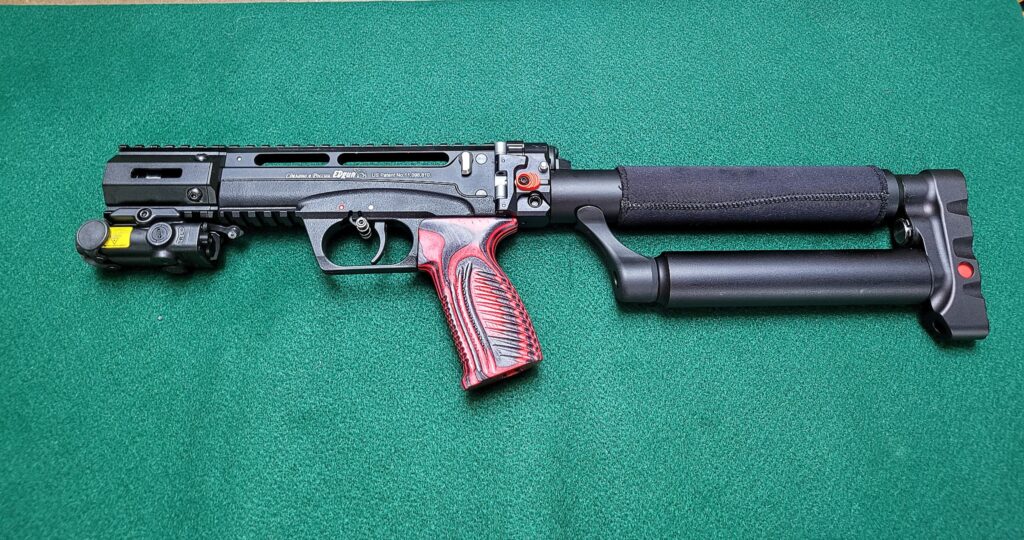
The Leishy 2’s stock air reservoir is a slick aluminum tube that forms the lower portion of the butt stock assembly and holds 180cc of air at an impressive 300 bar (4,351 PSI) working pressure. Because my GX CS4 compressor can actually go to 400 bar, I was topping the Leshiy 2 off directly at 300 bar. Even so, I went through the air fast. In an earlier post I mentioned I made it about nine days before I decided to order the 300 cc @ 300 bar carbon fber bottle upgrade. That meant about a 40% increase in air volume.
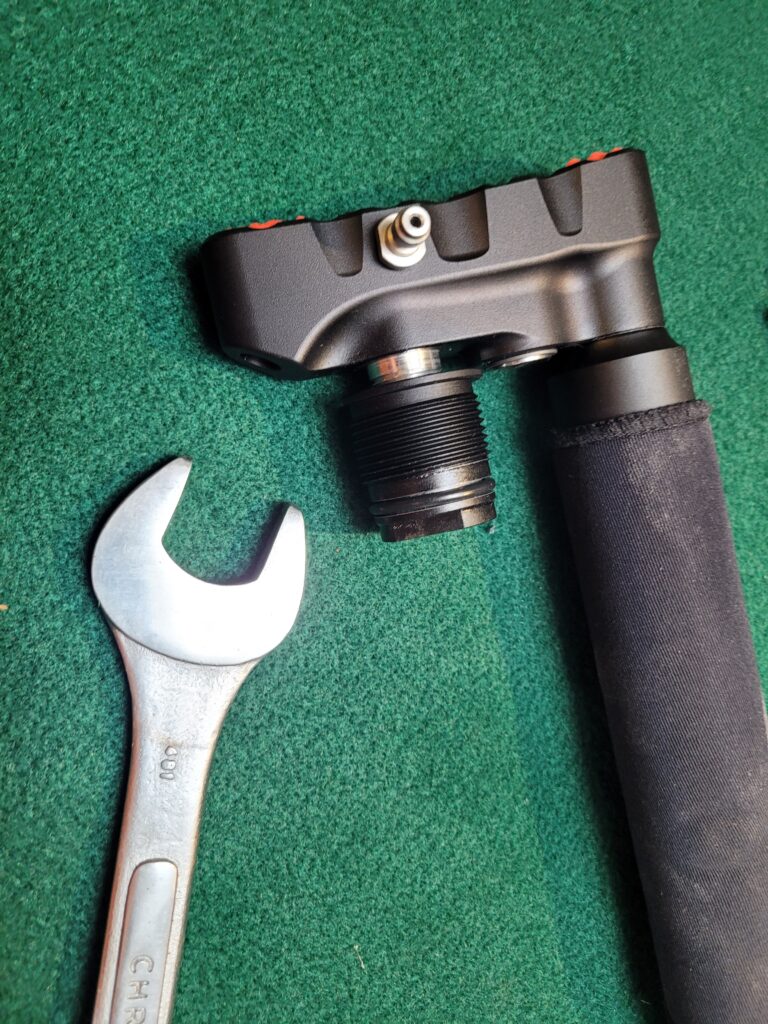
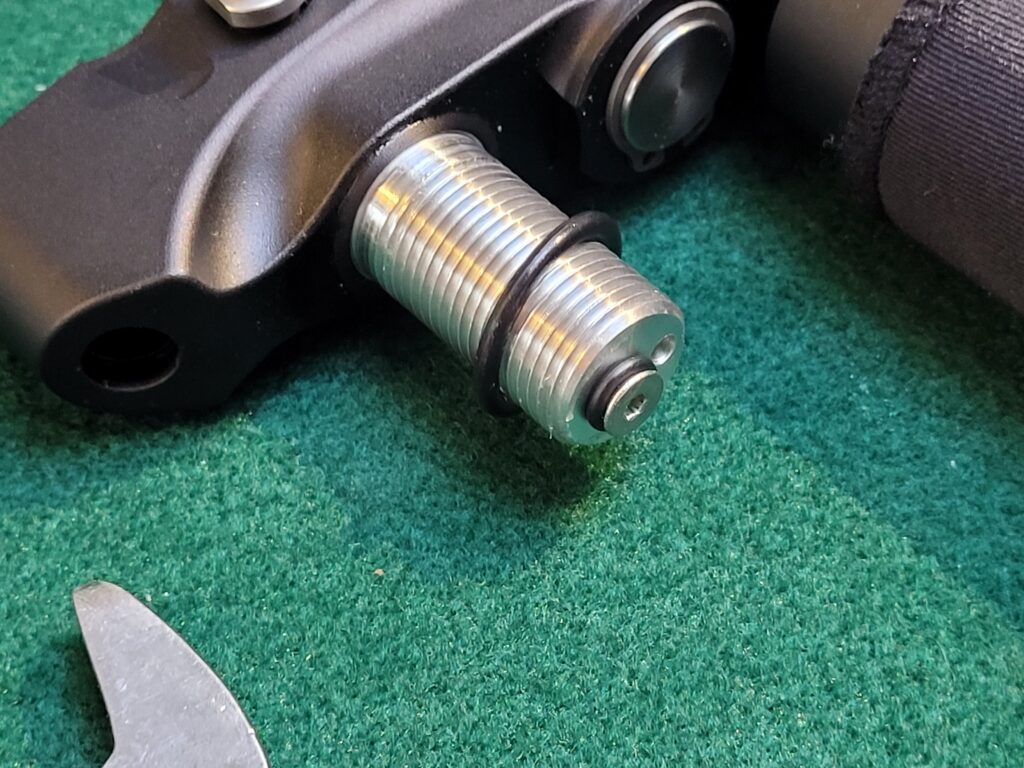
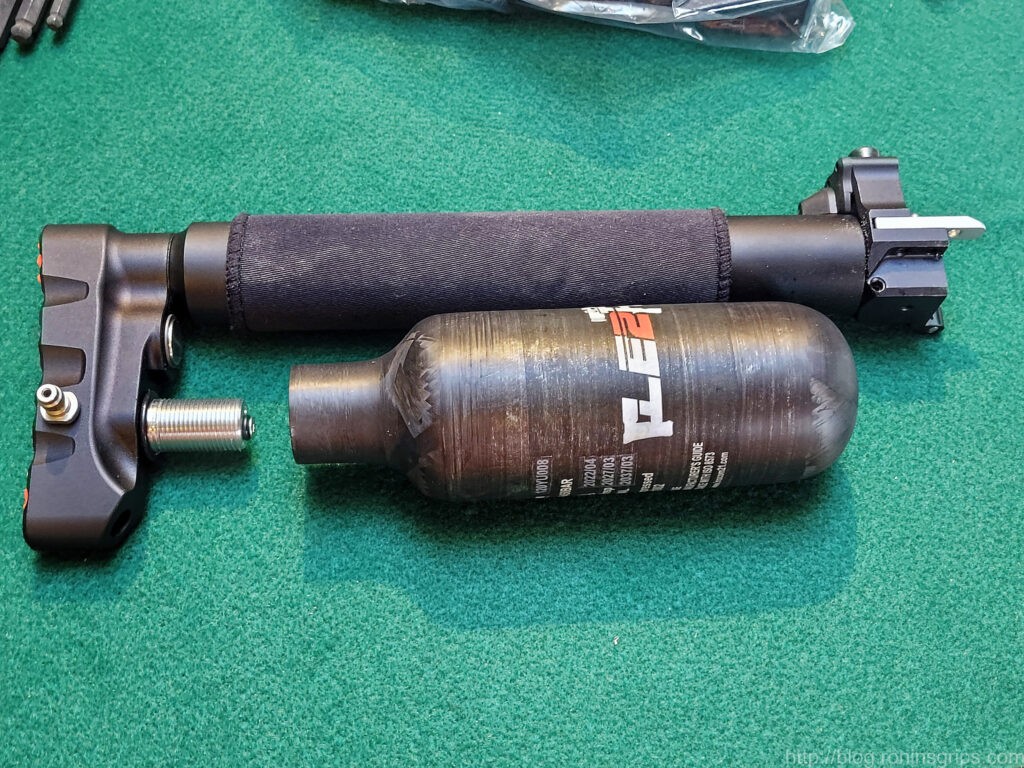
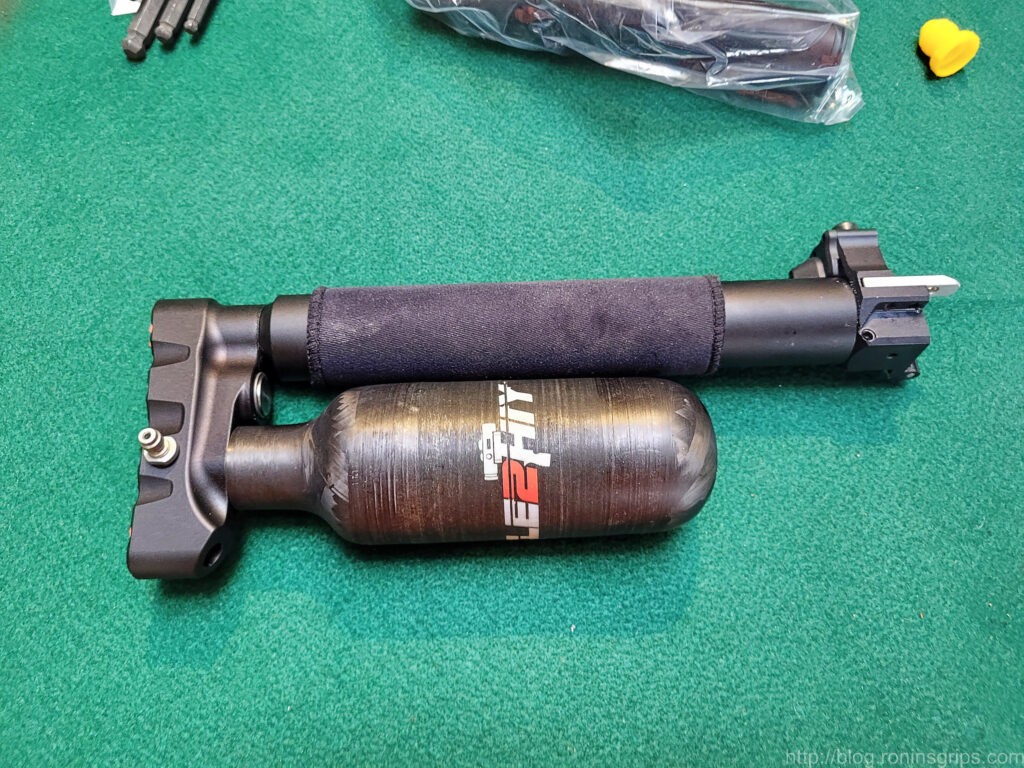
Installing the Bottle
The Edgun West team assured me changing the barrel was very easy and something I could do. I’m going to tell you the same thing – it is very easty and something you can do.
| Make sure the Leshiy 2 is cleared. One of the cool things about it is that when you fold open or remove the buttstock, the weapon is safe – there is no air supply but you must get to that point first. Make sure the weapon is safe while you handle it up to the point of opening the stock – remember – it is a semi-auto. Also, don’t forget you are working with high-pressure air – be sure to degass the weapon and don’t force things apart – odds are something doesn’t want to move or turn because it is pressurized. I’ll show you how to de-gas the gun below. |
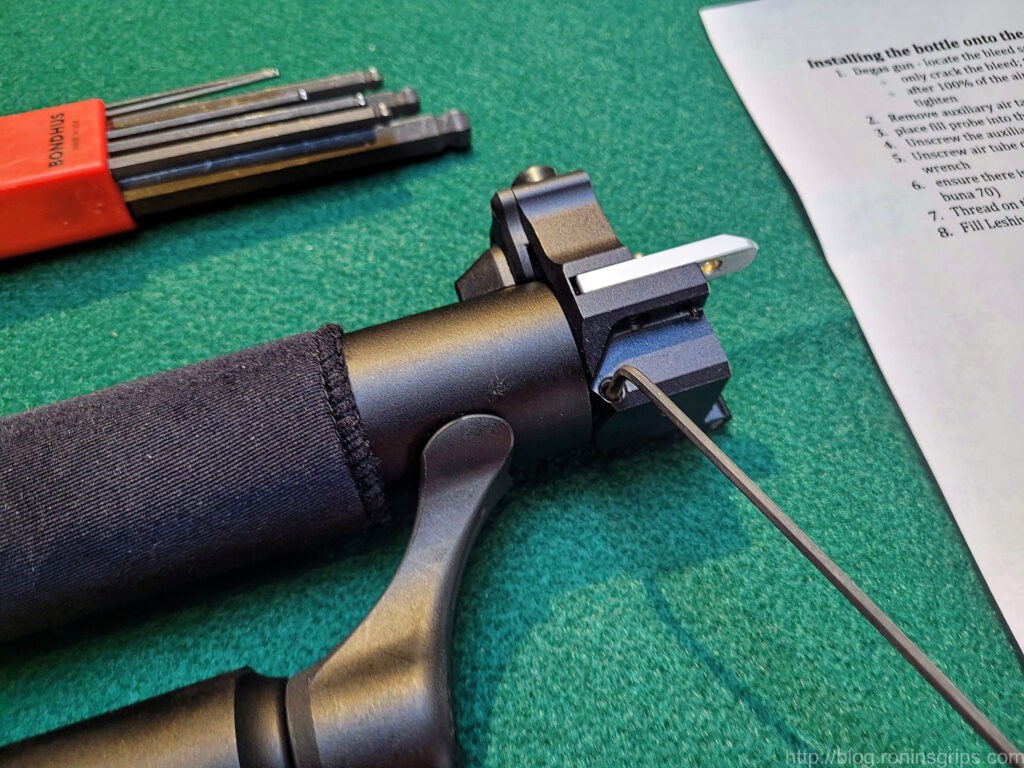
Let me step you through the process of changing the air cylinder. First and foremost – read the instructions they include with the tank. If their instructions differ from mine – follow their’s or contact them and confirm.
I don’t have photos of it but lift your rear buttstock assembly off the hinges so you can easily work on the air cylinder.
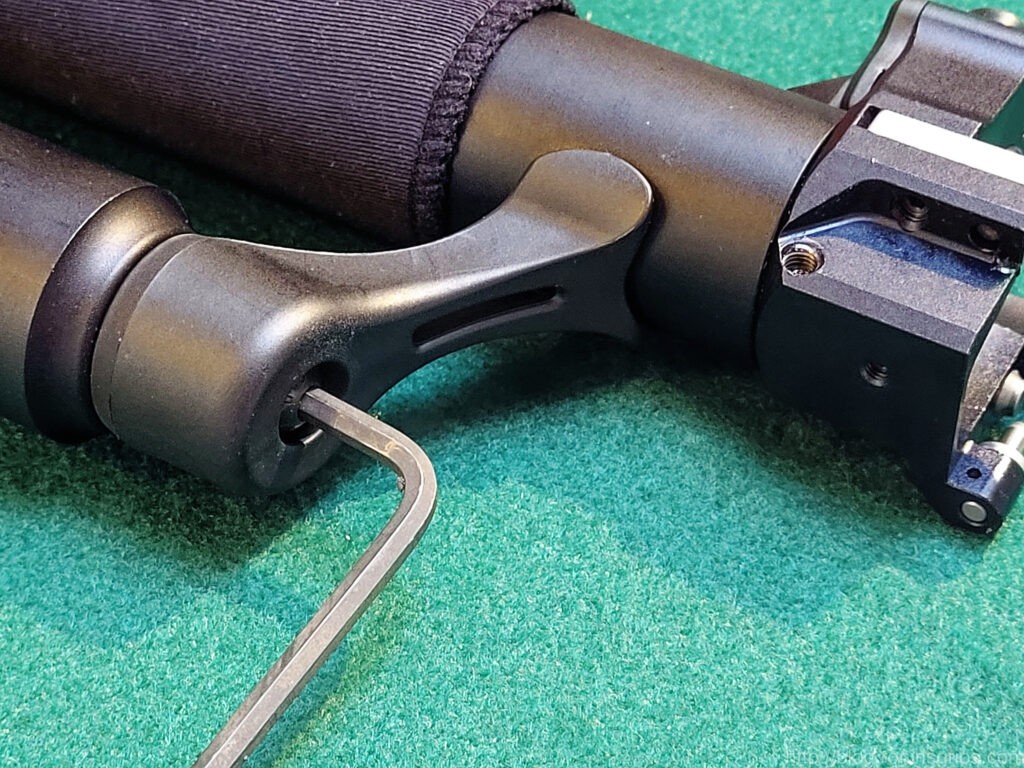
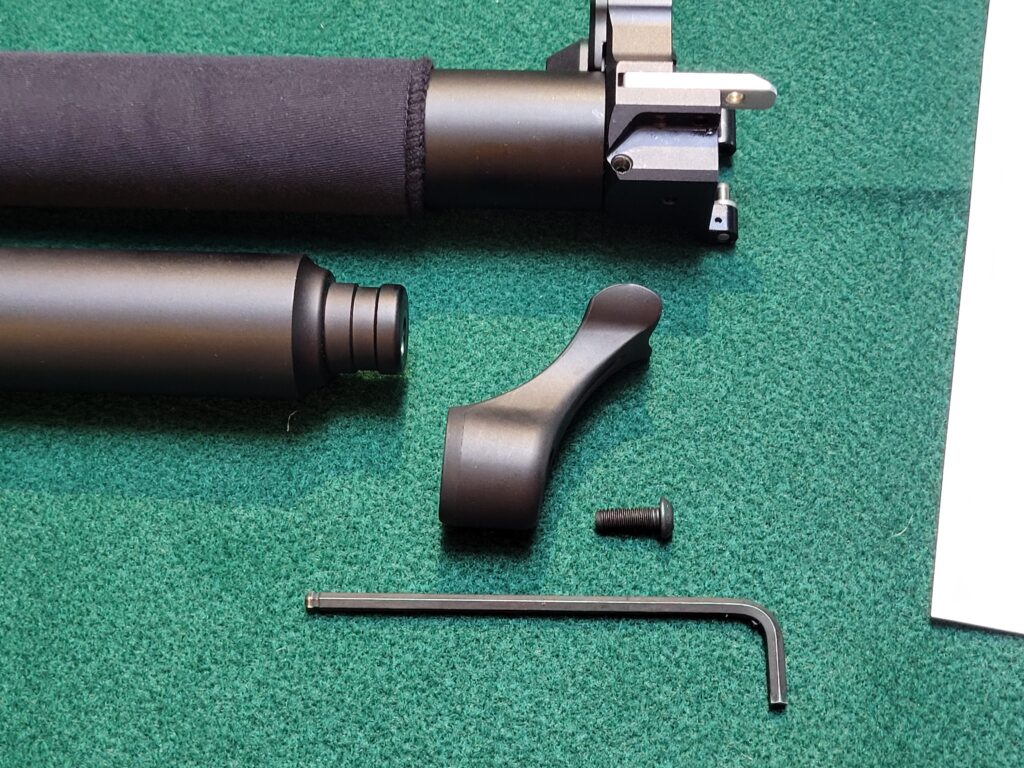
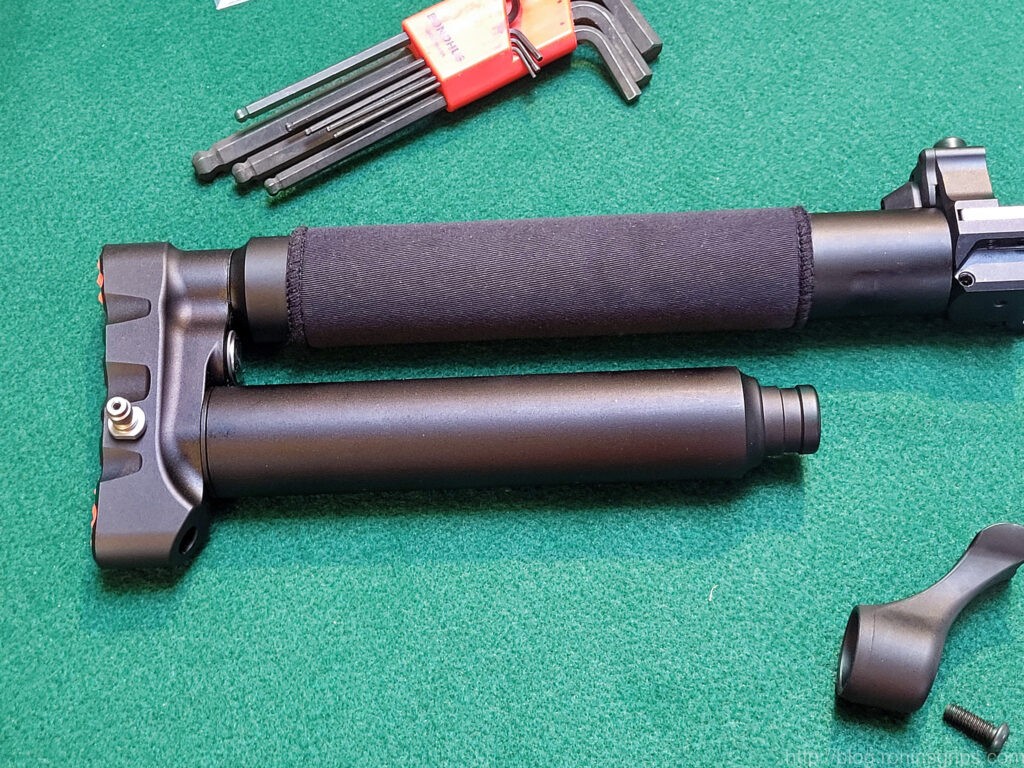
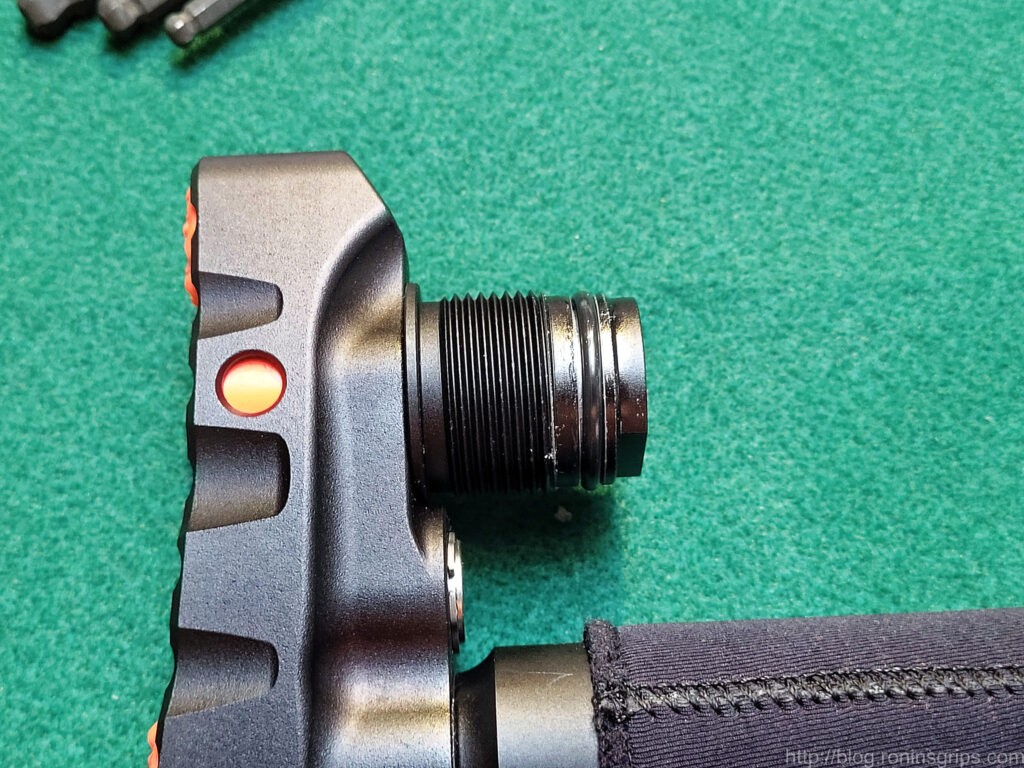
Filling and Testing
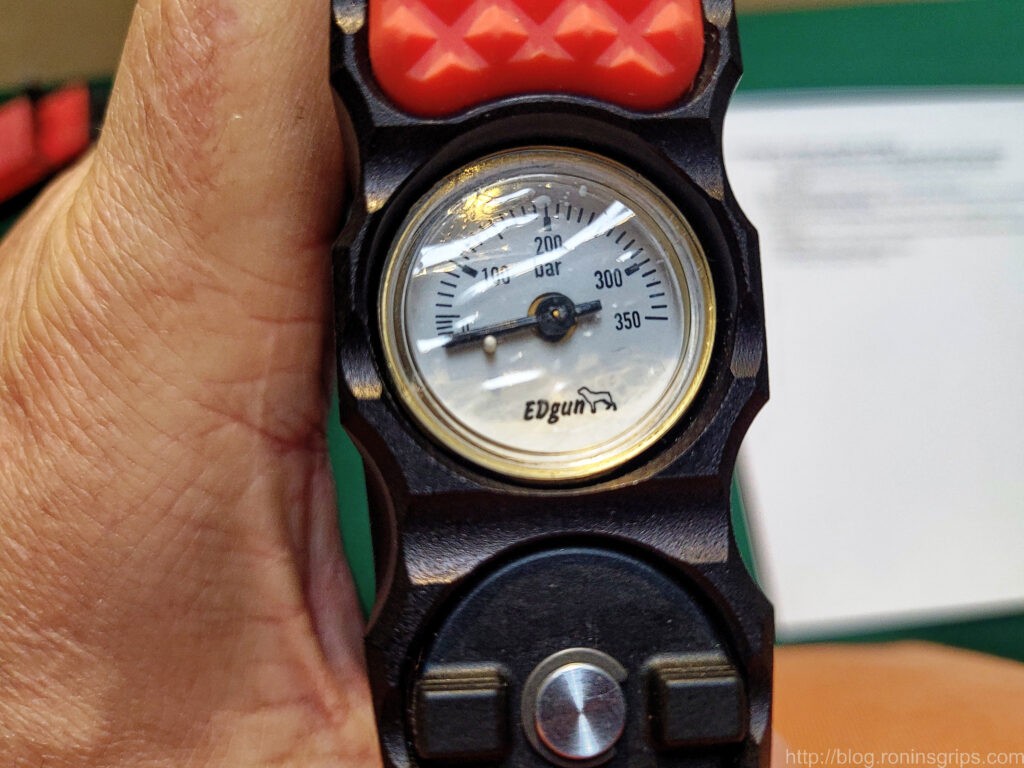
I am very cautious and don’t make apologies for it. First, I put 100 bar of air pressure into the tank and watched the gauge for 30 minutes. Actually, I walked away, did other things and came back. The pressure didn’t change and the bottle looked okay – no cracks or bulges. I then added another 100 bar and did the same – it held and no visible defeects showing. I then went up to 300 bar and waited – again, it held and no visible problems.
Why do I do step up the pressure? I would rather know if there is a problem with the tank or o-rings before there is a ton if air pressure. You don’t need to be scared of the pressure but you should respect it. Never forget that.
I Installed the Athlon Helos BTR Gen 2 Scope
As I mentioned in the last post, the Athlon Midas Tac scope died and I ordered an Athlon Helos BTR Gen 2 4-20×50 scope. It arrived and I installed it.
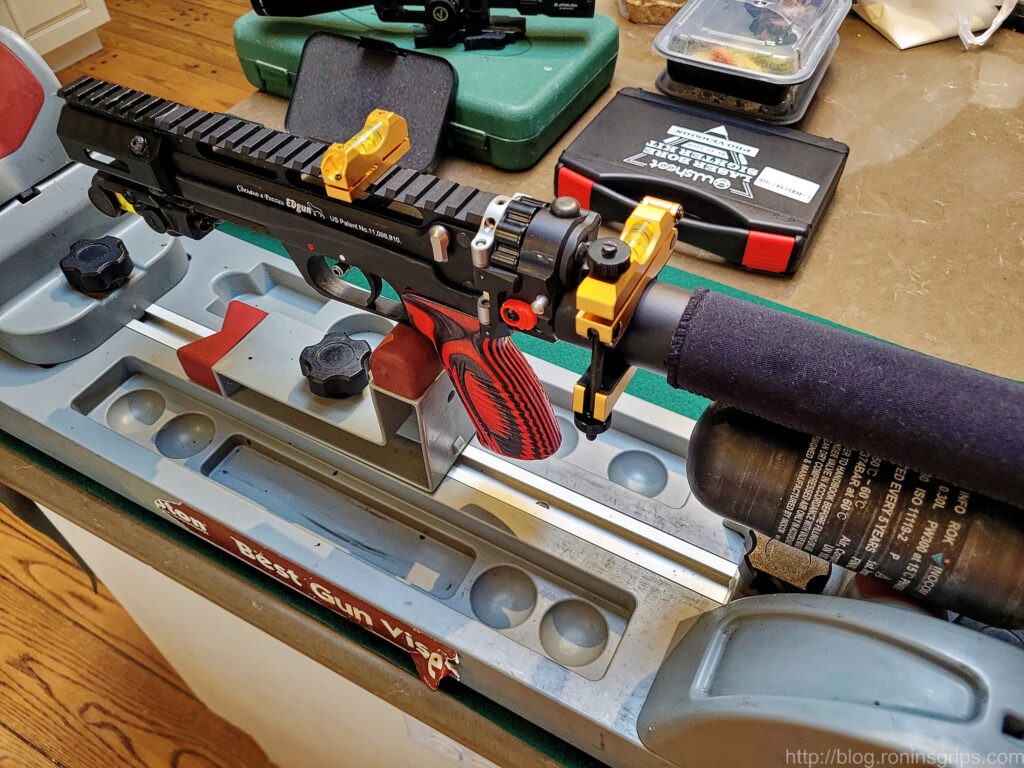
I used the same American Defense AD-Recon-30-Std mount to hold the scope and more sighted it in.
Testing
I sighted the Leshiy 2 in using my JSB Diabolo Exact Jumbo Heavy 18.13gr pellets. This time around, it was awesome. I sighted in the scope at 12 yards and put pellet after pellet into dime sized groups comprised of 8 pellets per magazine. Wow!!
Photos
Okay, after sighting it in I needed to take some photos to show off the Leshiy 2 and here they are. If you click on one, the slide show mode will open and you can use the controls to move around.


Summary
The Leshiy 2 is really cool. I’ll do one more posts with observations affter six months and how the gun is configured at this time. I have no reservations recommending it, that’s for sure.
Note, I have to buy all of my parts – nothing here was paid for by sponsors, etc. I do make a small amount if you click on an ad and buy something but that is it. You’re getting my real opinion on stuff.
If you find this post useful, please share the link on Facebook, with your friends, etc. Your support is much appreciated and if you have any feedback, please email me at in**@*********ps.com. Please note that for links to other websites, we are only paid if there is an affiliate program such as Avantlink, Impact, Amazon and eBay and only if you purchase something. If you’d like to directly contribute towards our continued reporting, please visit our funding page.
