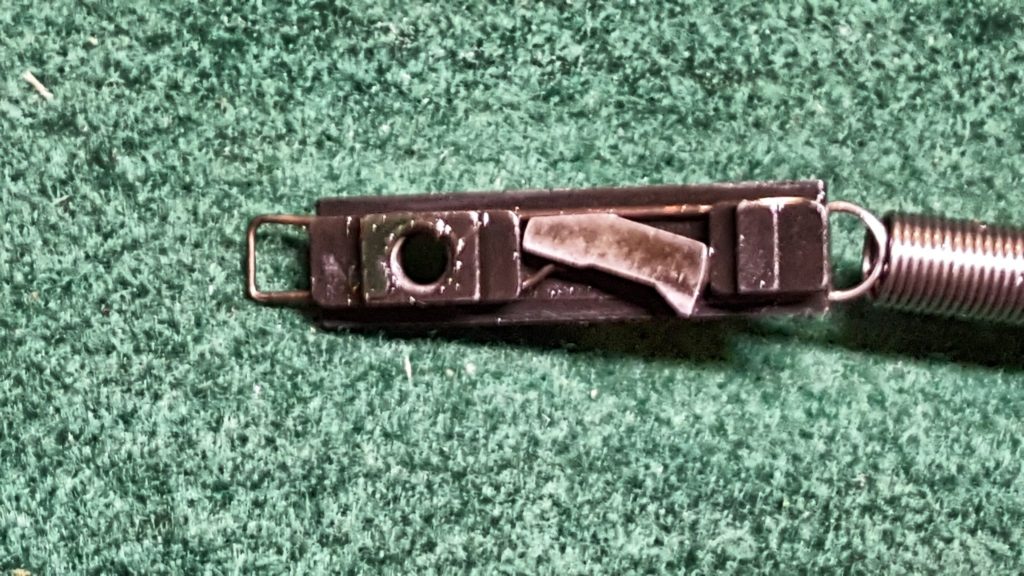
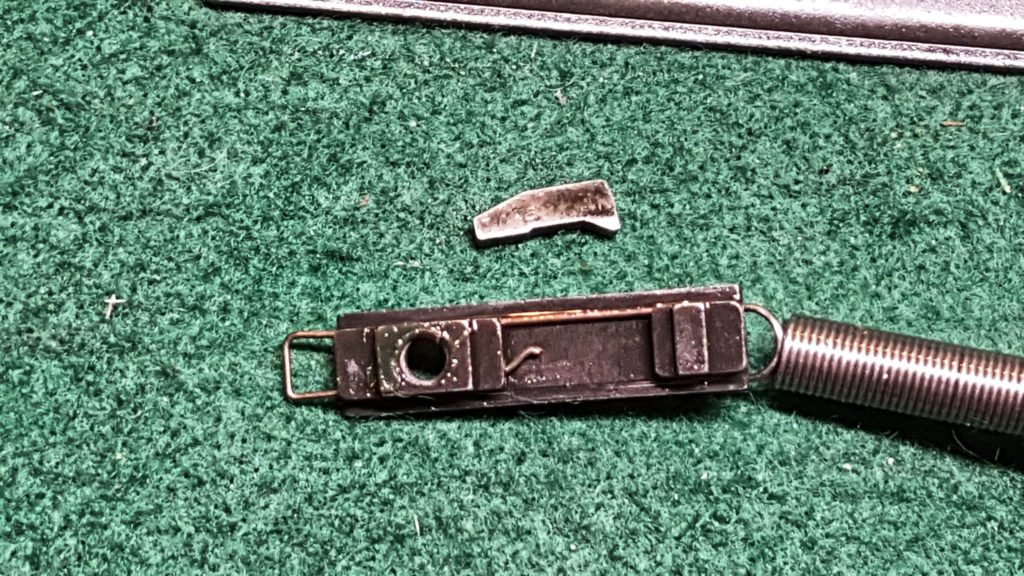
The Uzi’s top cover, what some call the dust cover, requires a slight modification for semi-auto use. The original cover has a ratcheting mechanism with a little finger called a “pawl” that slides down the cover when you pull it back but if you let go prematurely, the pawl catches in a notch and forward travel stops. Because a semi-auto bolt has a shorter distance to travel, there is not enough room for the ratchet mechanism to reset. The solution is very simple – remove the pawl.
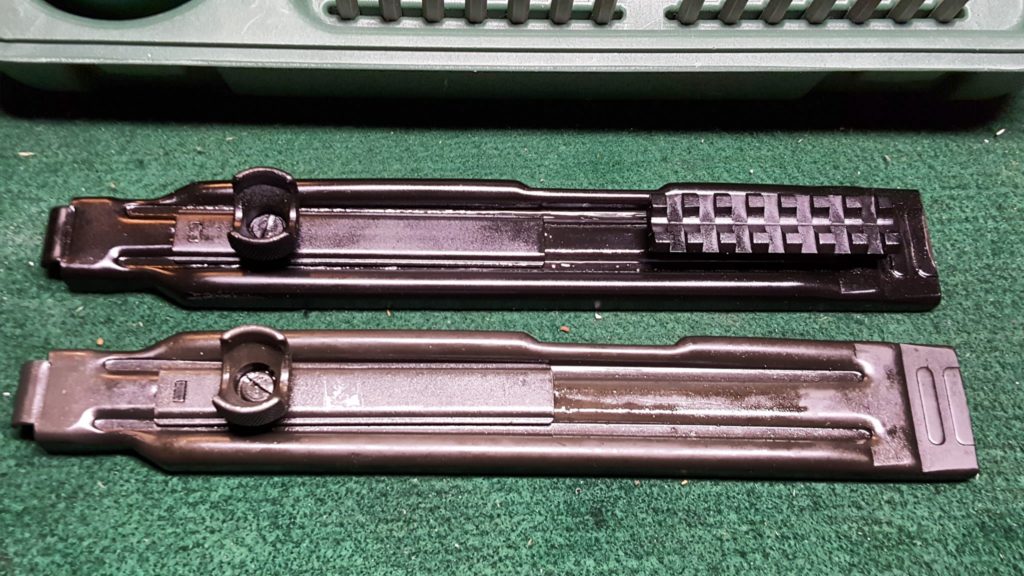
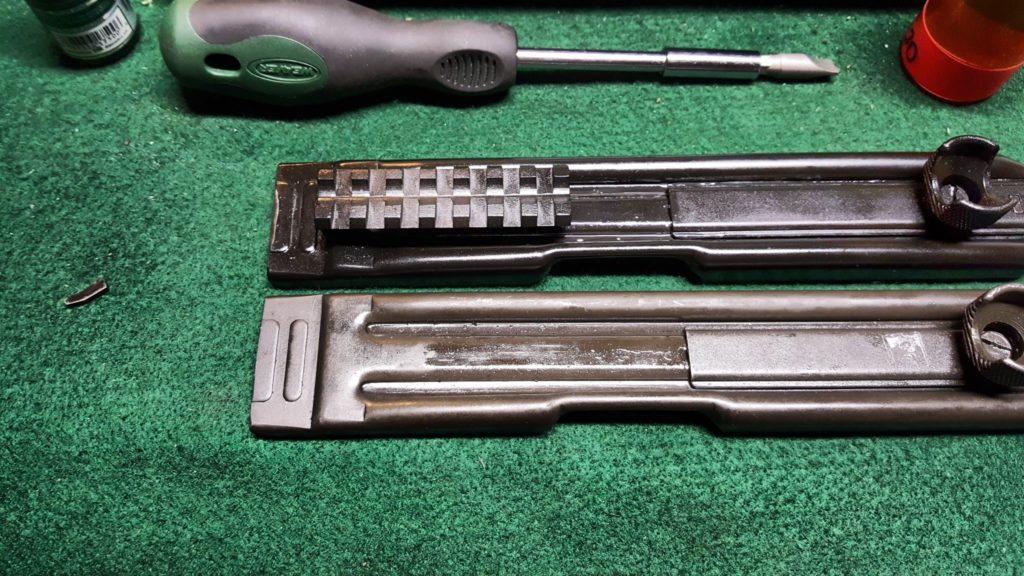
Here’s a photo of my semi-auto top cover with a welded on picatinny rail that I bought from US Barrel Shrouds and really like. It’s already finished with a black Molyresin and in front of it is an original top cover.
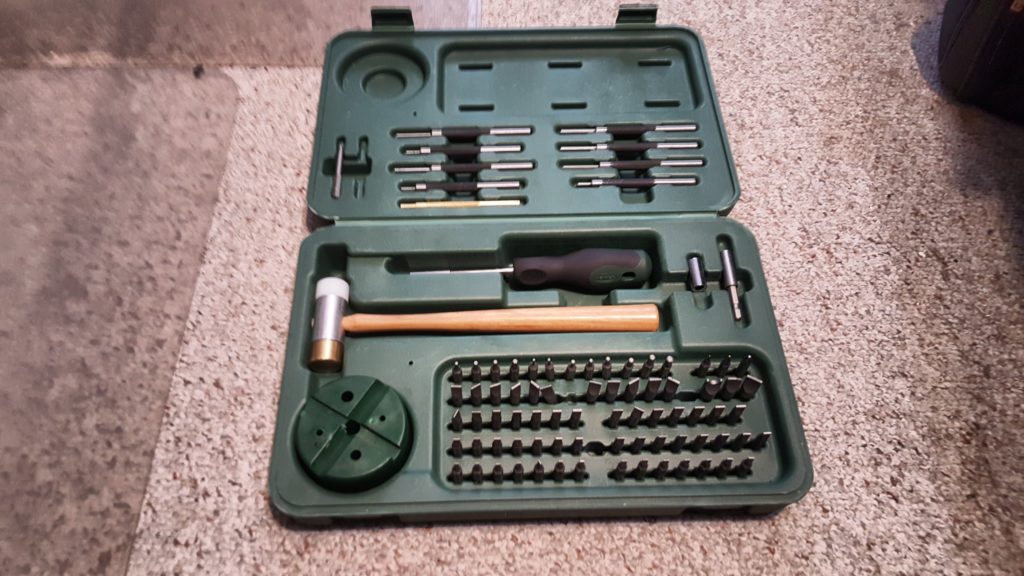
1] The first step is to select a hollow ground screw driver bit that fills the slotted screw located in the middle of the cocking handle and remove it. Note, my screw had what looked like white thread locker on it. It did come off with firm pressure so it’s critical you use a properly sized bit. I have a big Weaver screwdriver set for just this reason that I use all the time when I am working on firearms.
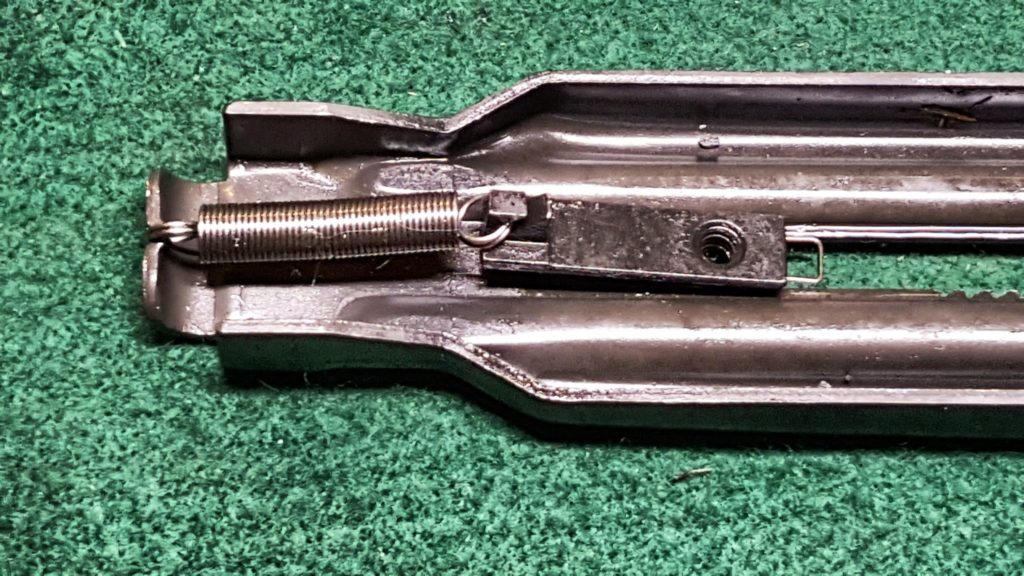
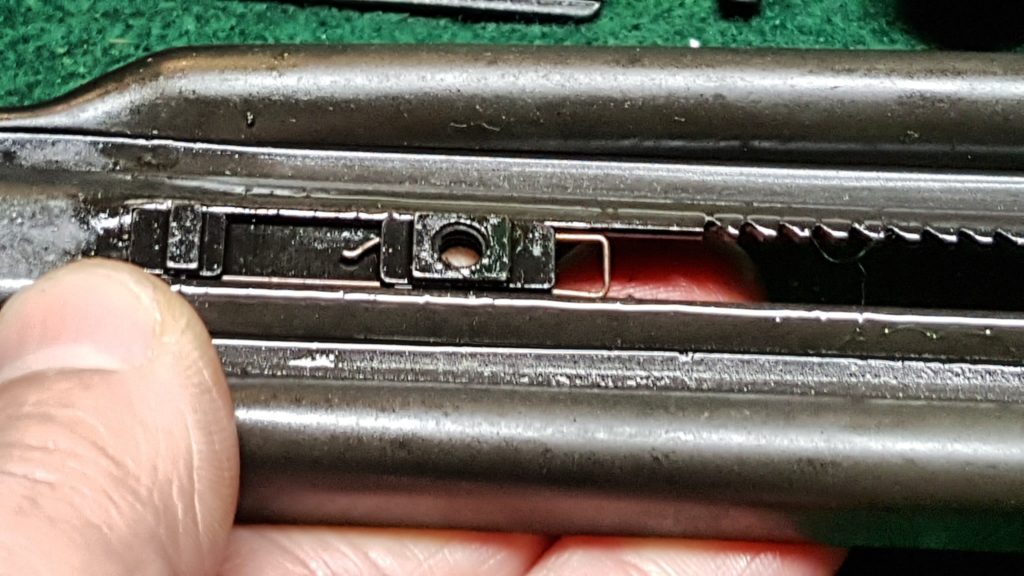
In the photo below, I show the cover partially ratcheted back. Release the tension on the spring by pulling the handle all the way to the rear and allow it to travel all the way forward.
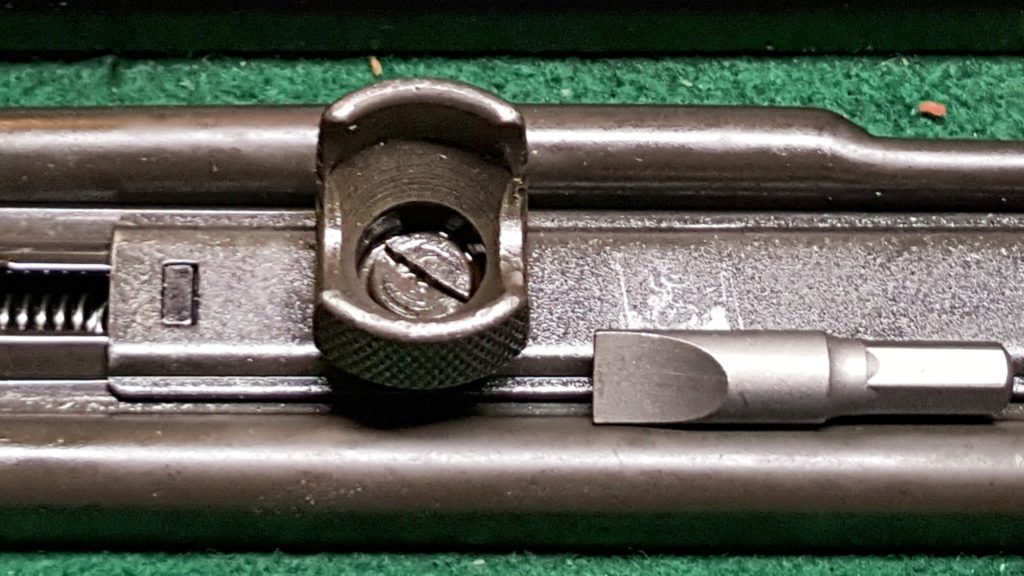
2] With the screw removed, the cocking handle lifts right off the top cover slot plate located under it. The cocking handle lug will simply drop down out of the slot. In the next photo you can see the top components but not the lug for that reason. You can also see the thread locker remnants in the cocking handle screw.
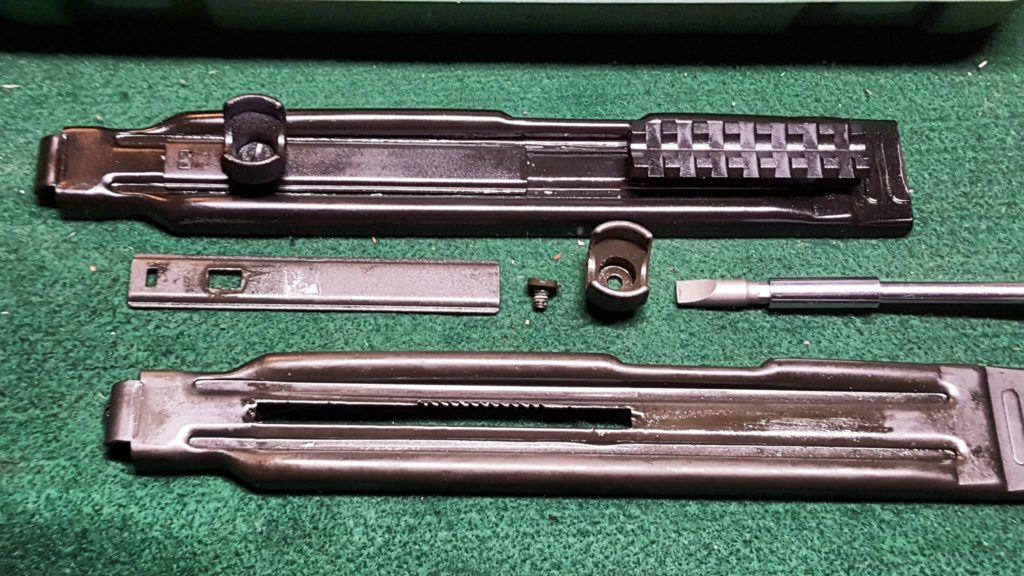
3] Turn the cover upside down over the table surface and the coking lug assembly will be dangling from the cocking handle return spring that is connected both to it and top cover. You can simply lift the pawl out of the lug.
4] It is now just a matter of reassembly and it takes two hands so my photos are limited 🙂 Put the cocking lug back into the slot from the bottom side of the top cover. Then turn it over while holding the lug in place and stack the top cover slot plate on it so the elevated tabs on the lug marry up with the slots in the top cover slot plate. While wishing for a third hand, put the cocking lever and screw into position and screw them into place. Note, I would recommend some form of medium Loc-tite/thread locker to keep the screw from coming loose.
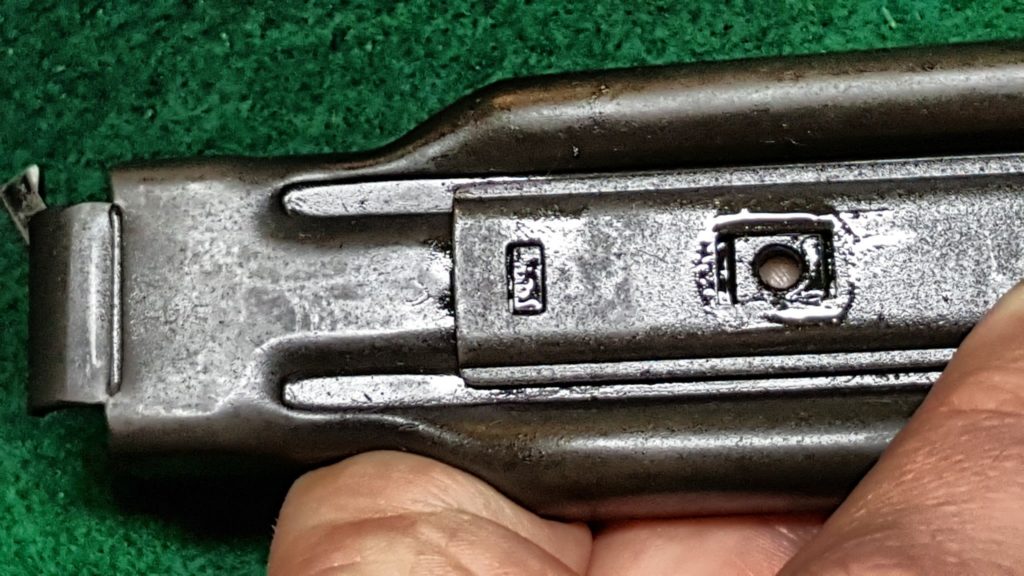
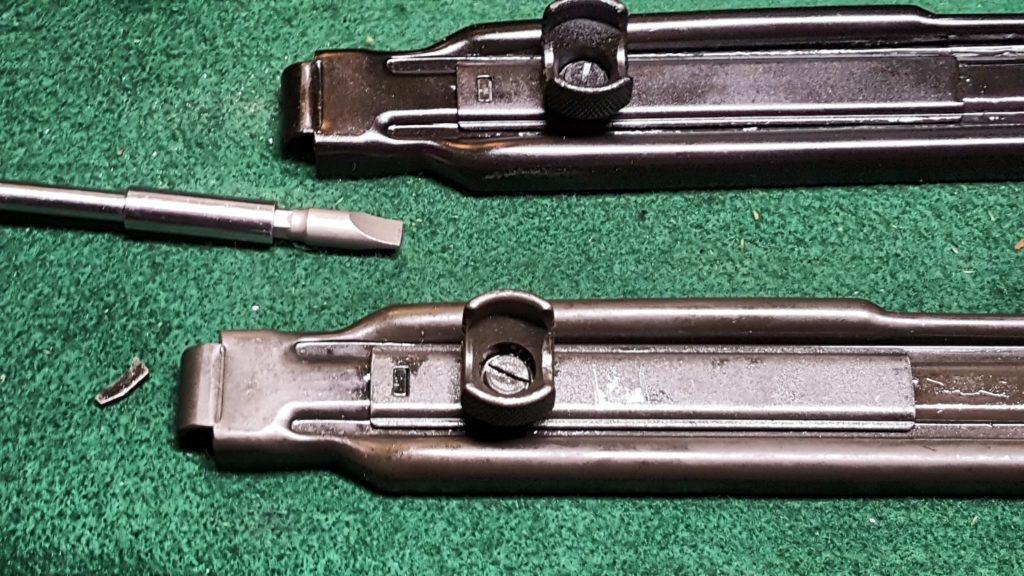
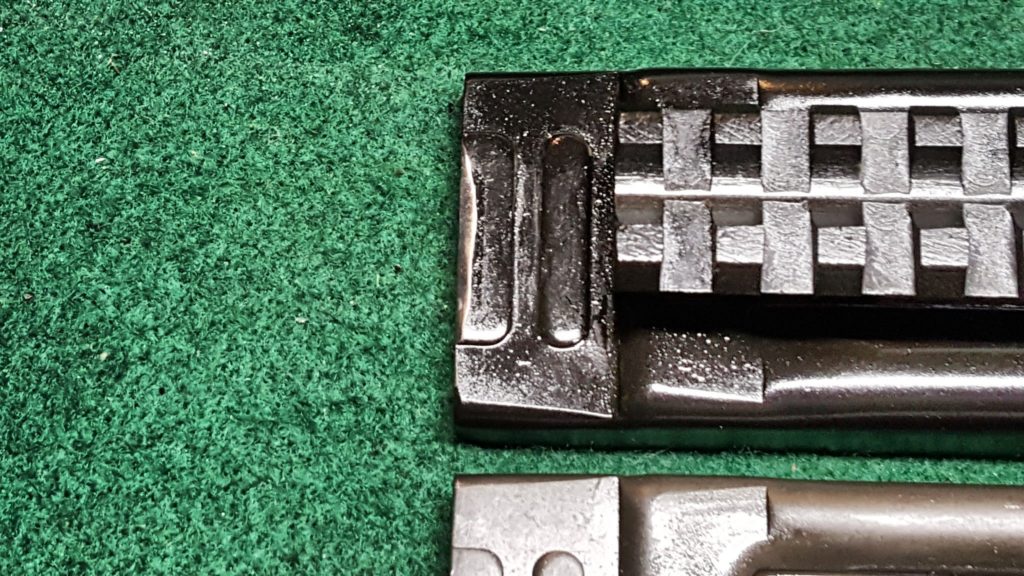
5] On my dust cover, I did bevel the rear of the cover just a bit to encourage the top cover catch to engage. My cover is nice and tight and I want it that way so I did not trim anything else. In the next photo you can see my cover in black with the right angled top sanded down just a bit compared to the bottom original.
That’s all there is to it and I hope this helps you out.
If you find this post useful, please share the link on Facebook, with your friends, etc. Your support is much appreciated and if you have any feedback, please email me at in**@*********ps.com. Please note that for links to other websites, we are only paid if there is an affiliate program such as Avantlink, Impact, Amazon and eBay and only if you purchase something. If you’d like to directly contribute towards our continued reporting, please visit our funding page.
