Okay, I have to admit it up front – I’m nostalgic. When I was a teenager in the 1980s Maglites were a big deal. I had a four D-Cell unit and a friend encouraged me to get a Mini Maglite probably in the 1985-ish timeframe and I have used it a ton.
I also bought a Mini Maglite with remote switch and shot gun barrel adapter for my dad. He would slip out the door at night to see what the dog was barking at and would often take a firearm with him – often an old reliable 16 gauge single shot Iver Johnson. It really creeped me out. It wasn’t until years later that I understood how my dad viewed that having both grown up on a rural farm in New Hampshire and serving in the 6th Infantry in Pusan at the end of WWII (Yes, we had troops in Korea towards the end of WWII to prevent the Japanese from returning).
At any rate, I bought my dad a Mini MagLite with a remote switch for that old Iver Johnson and installed it. Years later I would find the shotgun and the light separate – I suspect my dad never really needed it.
At any rate, I wound up with both my old light and my dad’s sitting next to each other and figured it was time to upgrade them and return them to service.
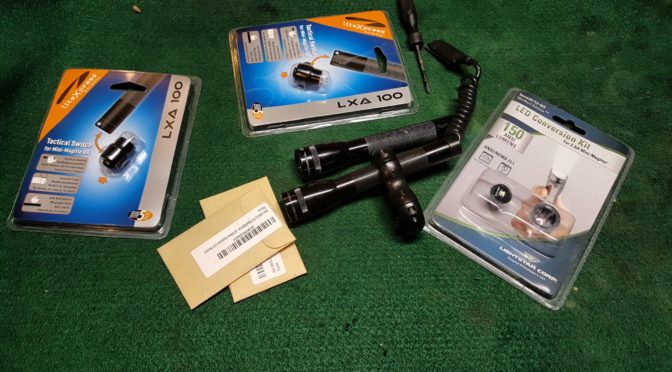
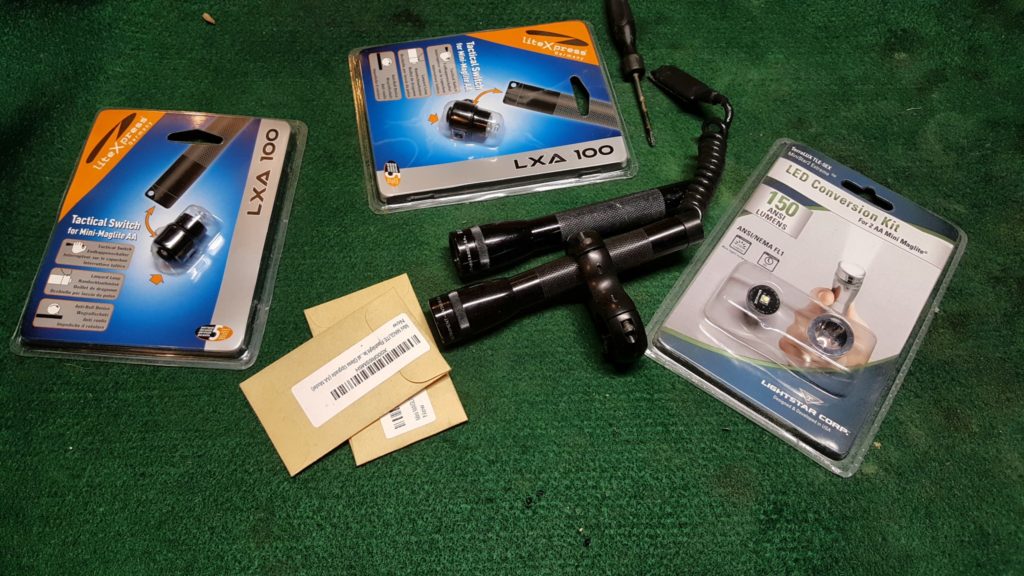
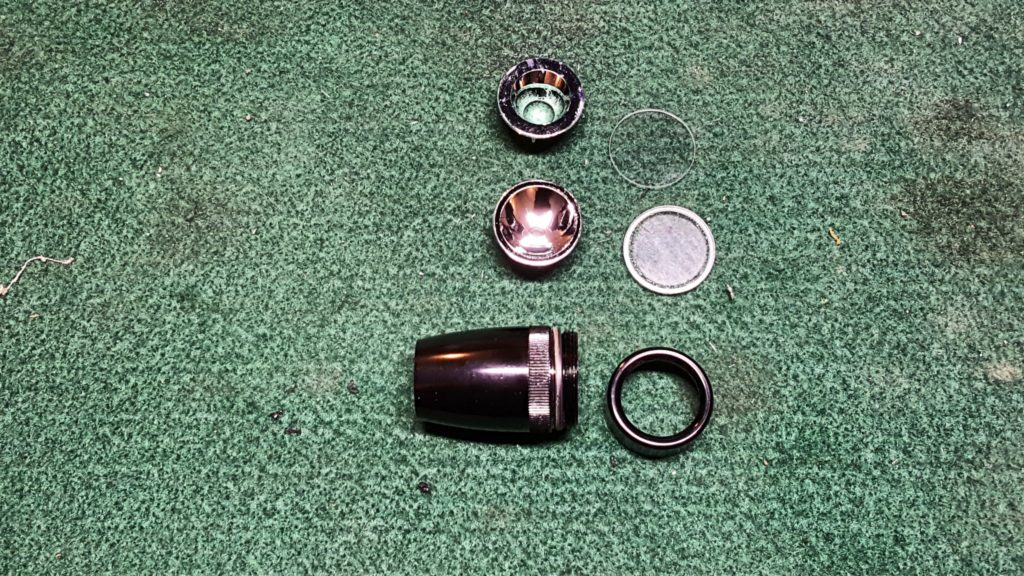
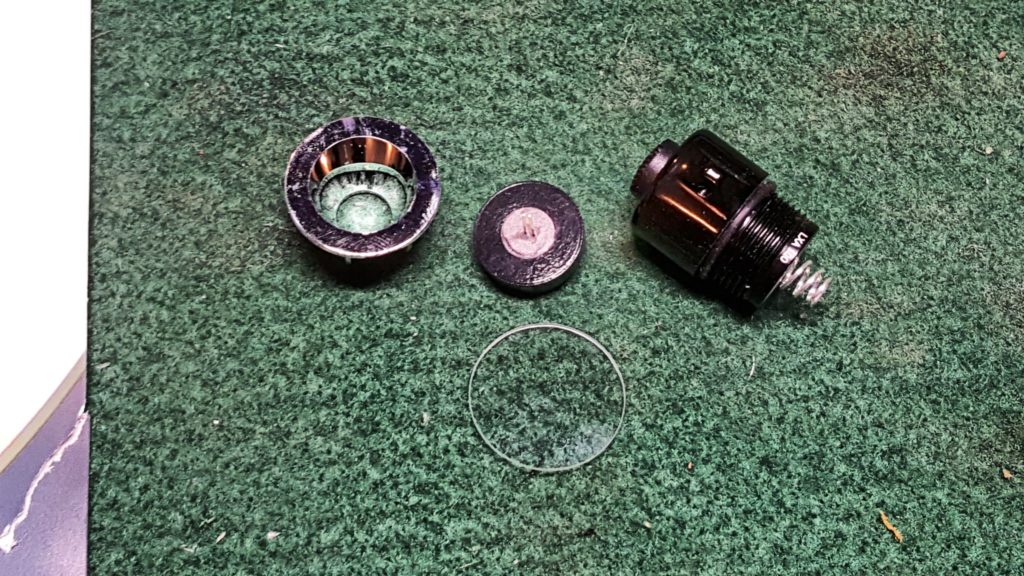
For me, researching is part of the fun so I dug around on replacement tail caps, LED upgrade units and lenses. So, I wound up with the following pile on my work bench:
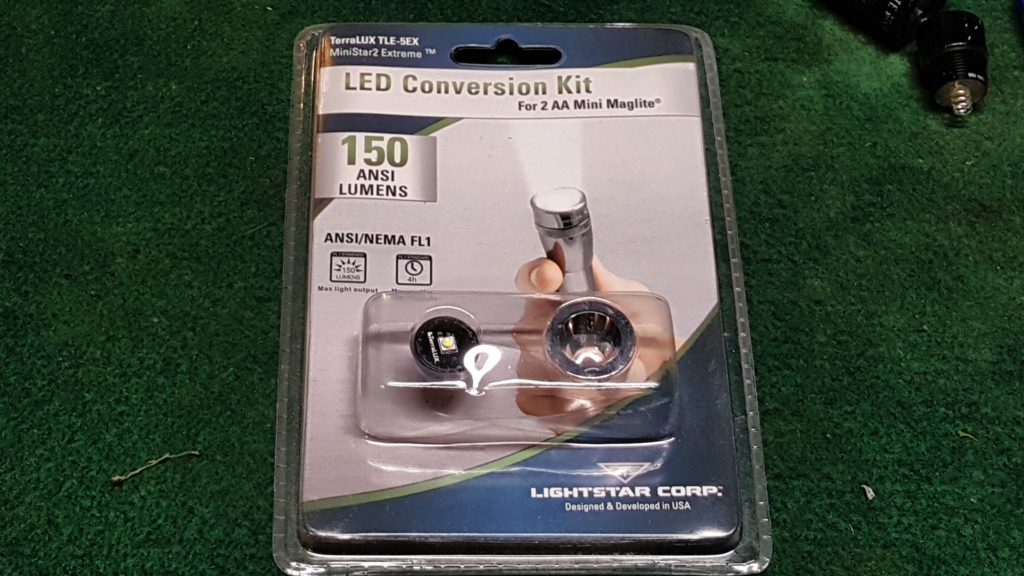
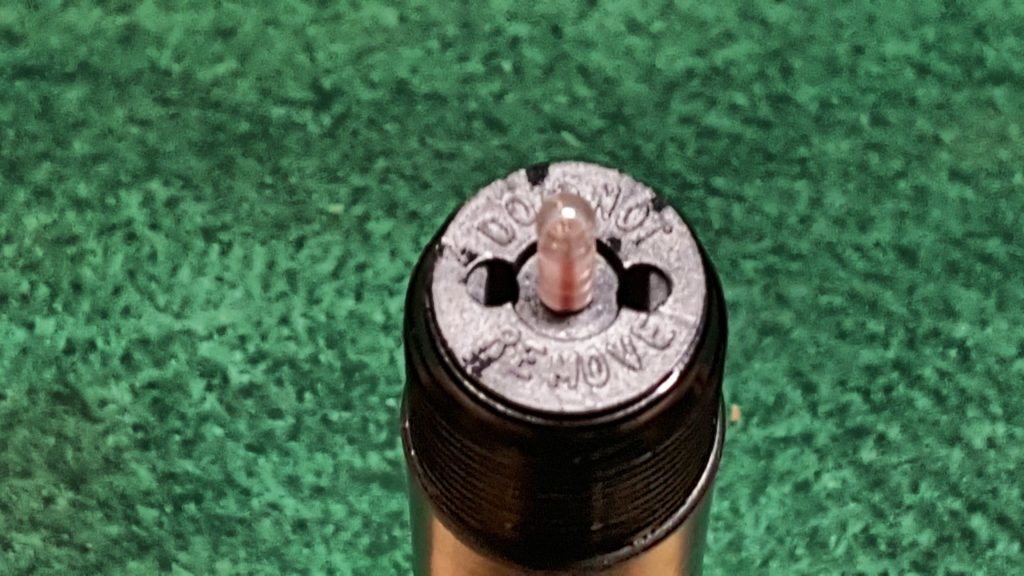
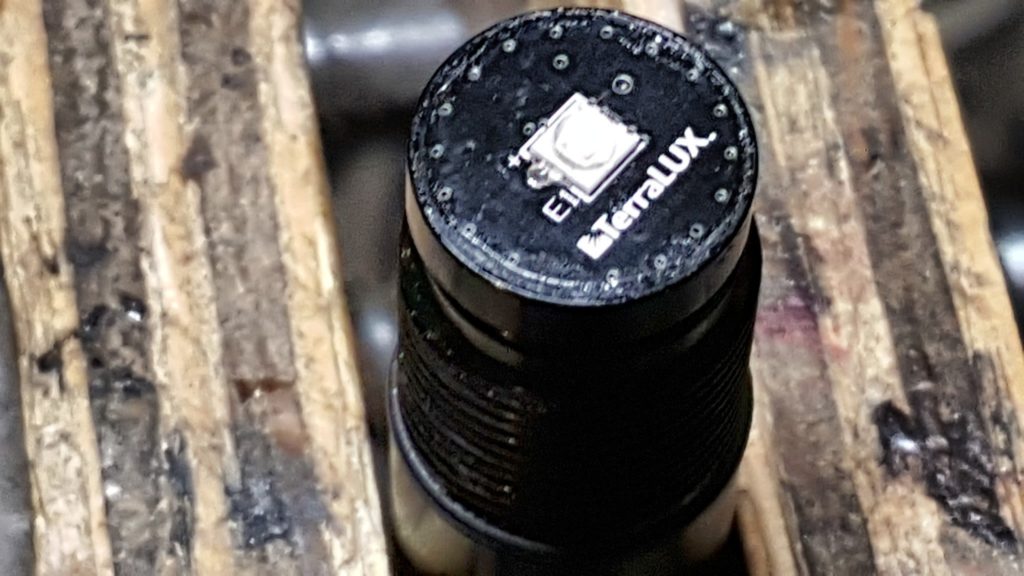
I bought two of the LED upgrades but had already installed one before it dawned on me that I better get a picture 🙂
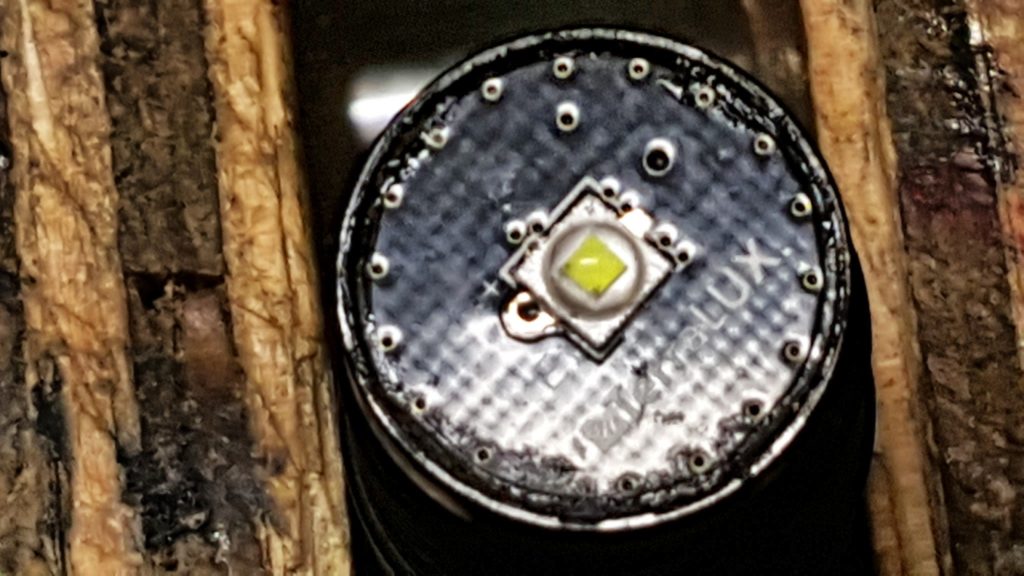
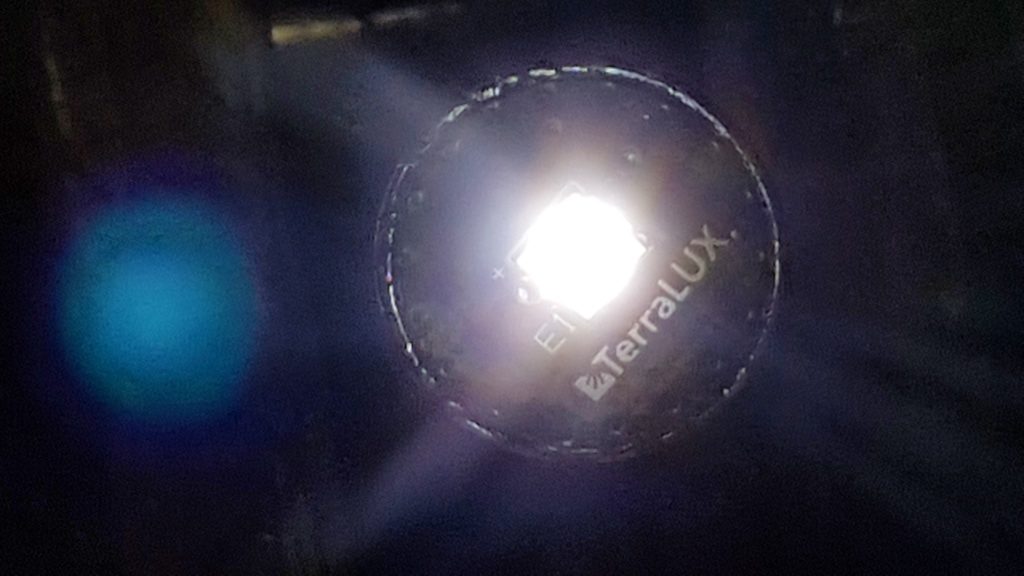
The LED upgrade is from TerraLux and is their TLE-5EX MiniStar2 Extreme. They claim 150 maximum lumens for four hours. I can’t speak to the duration but they are definitely bright – brighter than my 80 and 100 lumen lights for sure with a really nice solid coverage.
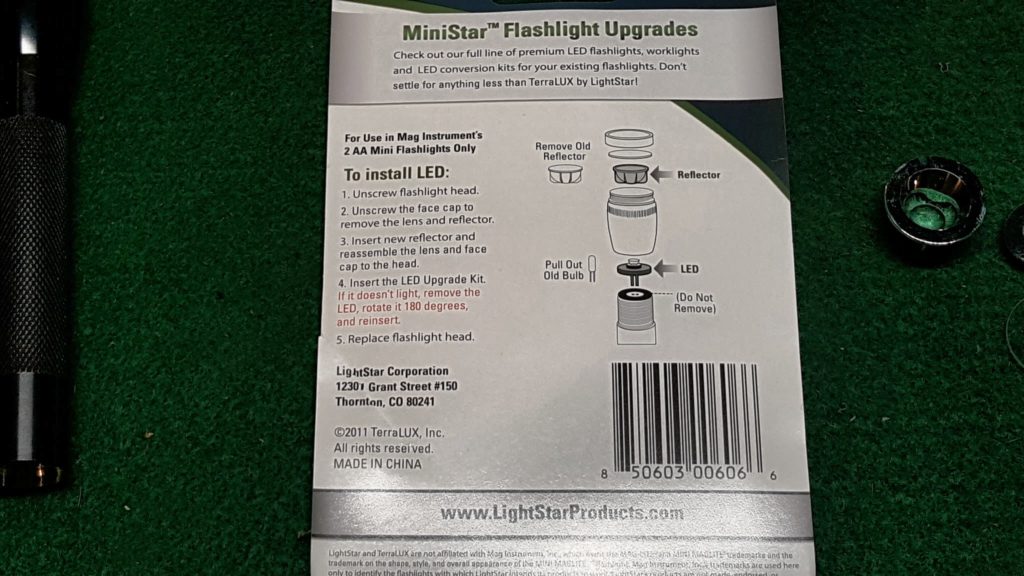
Basically, you unscrew the head from the camera body and while you are at it, remove the lens cap also because you will replace the old lens with a new one. If you see any stretched, torn or missing O-rings, then replace them while you are at it.
Here are the old and new reflectors and lenses:
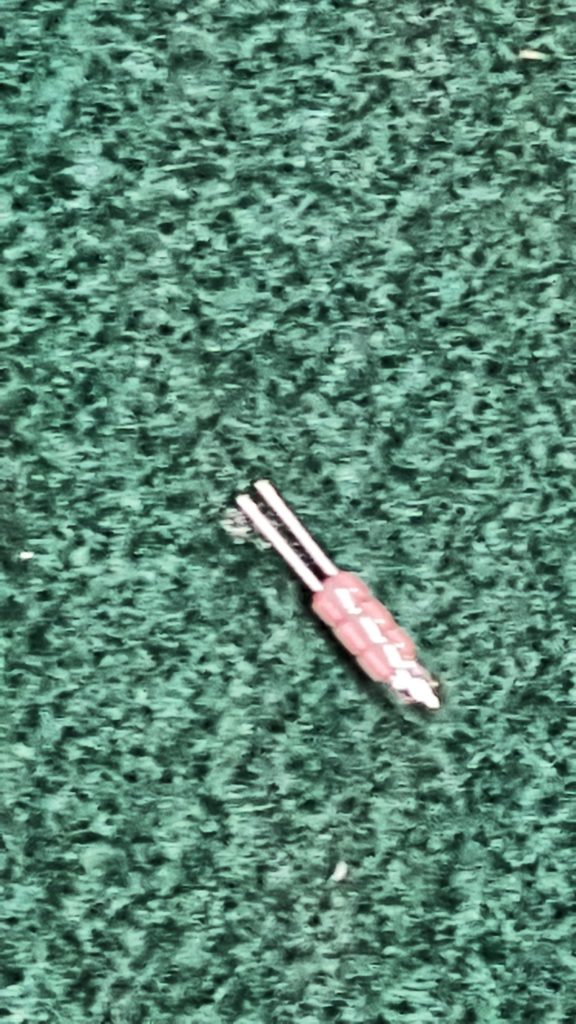
The old bulb just pulls straight out of the body. You don’t need to do anything else – just pull it out.
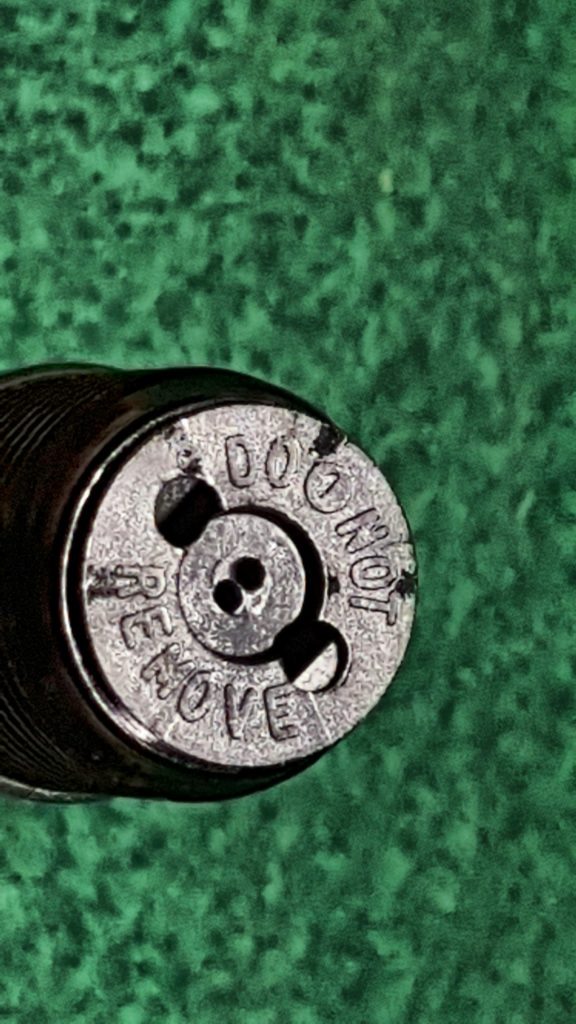
Now the LED module’s legs just go in where you removed the old bulb. Have batteries in the light because you need to find out if the module is plugged in the right way or not. What I mean by this is that the polarity does matter. If you plug the module in and it will not light then turn it the other way so the legs switch the power holes they are plugged in to.
Notice how the reflector that comes with the module has a much wider hole to accommodate the LED. You can save your old bulb and reflector if you want to.
The module will sit on top of the housing.
I got lucky – the light worked the first try. If it did not, I would have removed the module and exchanged holes the legs were going into.
The tailcap has a nice switch. What I like is that I can adjust the lens how I want and just turn the unit off and on at the tail cap. If you were packing this, you can still turn the light off the old way and reduce the odds of it turning on. Lastly, the cap has a perk – it has a lanyard ring on the side and it will prevent the light from rolling off a surface. On one hand you can’t stand the light up and run it like candle but on the easy on/off switch and elimination of rolling are nice bonuses.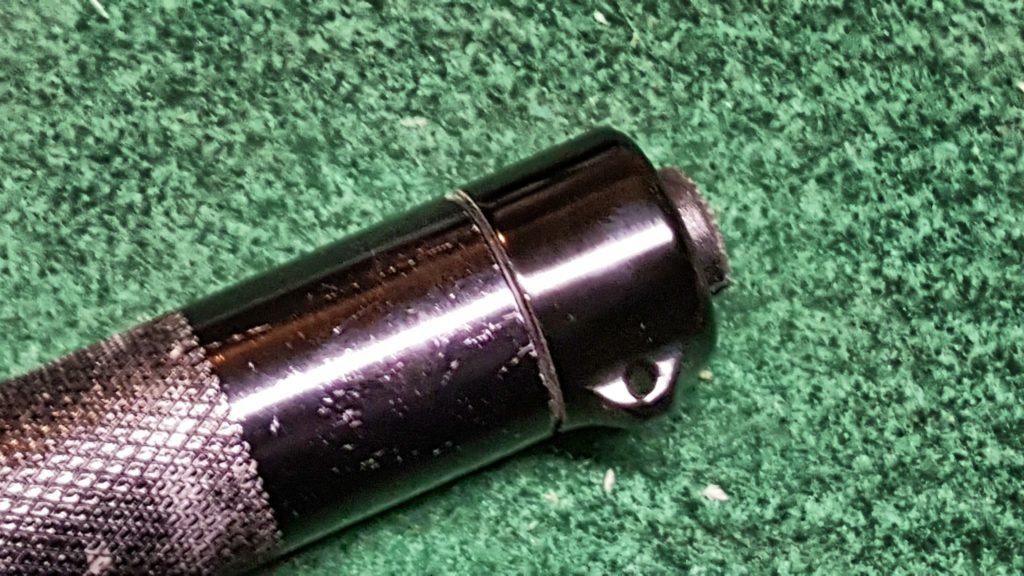
So that’s all there is to it. I’d say it took me 5-10 minute per light and I satisfied my nostalgia by keeping them and have far, far brighter lights. I’ve been using one of the lights for almost two months as of writing this blog without any problems at all.
By the way, I also wrote a post about upgrading my bigger 4-D cell Maglites as well. Click here to read that post.
If you find this post useful, please share the link on Facebook, with your friends, etc. Your support is much appreciated and if you have any feedback, please email me at in**@*********ps.com. Please note that for links to other websites, we are only paid if there is an affiliate program such as Avantlink, Impact, Amazon and eBay and only if you purchase something. If you’d like to directly contribute towards our continued reporting, please visit our funding page.
