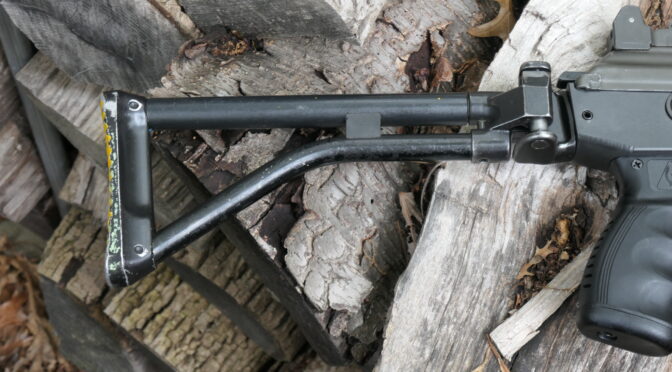
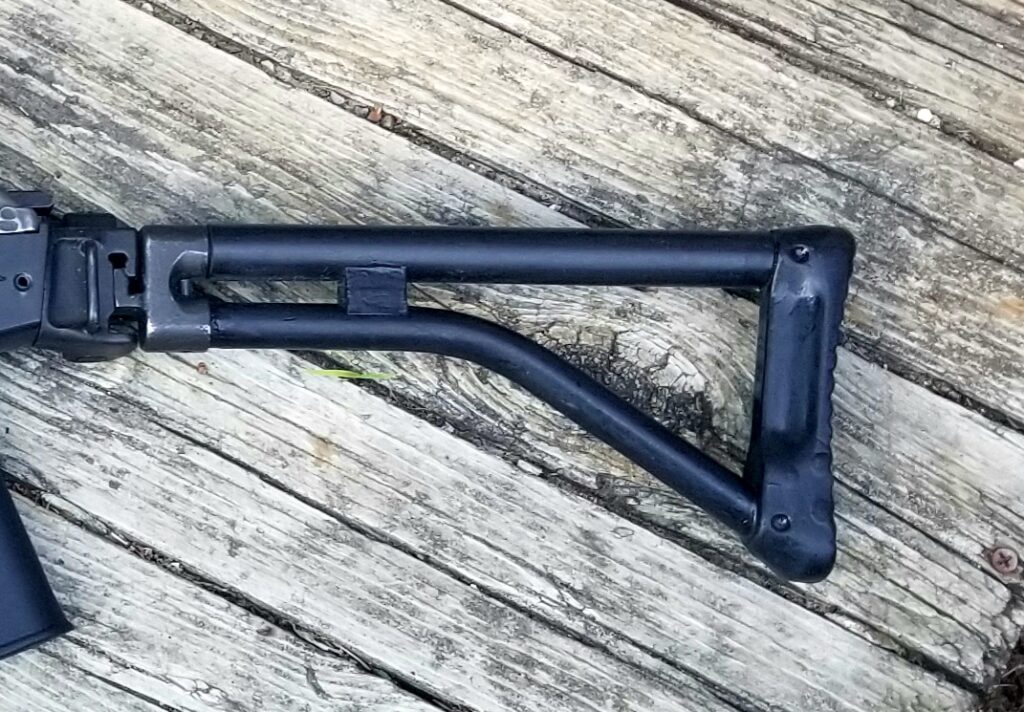
The first thing I decided to do was to replace the buttstock and it was purely for cosmetics – the original locked up solid and did the job. I happen to have two SAR kits that I hope to build some day so I could look at them and pick parts. It just so happened that one of the SAR kits had a stock that was in much, much better shape.
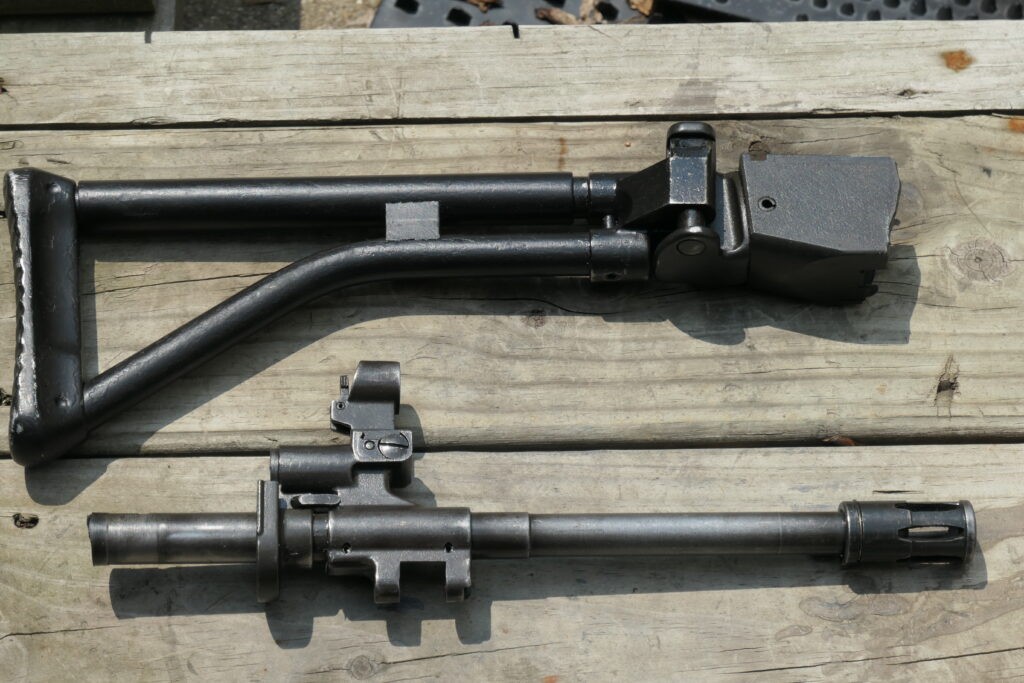
A Galil buttstock is press fit into the rear of the rear of the receiver and held in place by a roll pin that goes through each side of the receiver.
To remove the stock, first punch out the pin using a roll pin punch. These punches have a small round hemisphere in the middle that sits inside the roll pin and the shoulder of the punch rests on the walls on the pin that enables for the punch to properly drive out the pin with even support all the way aroud.
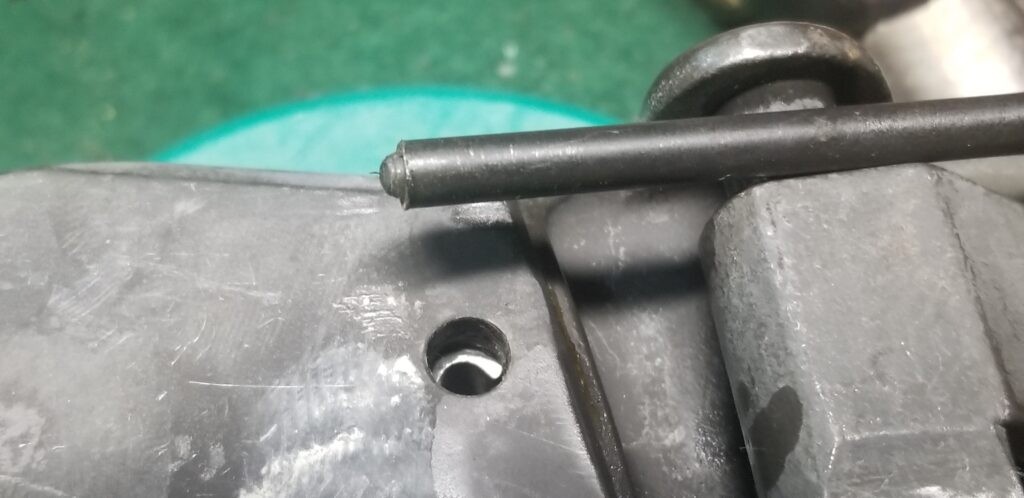
To drive the stock back out of the receiver, I would recommend a 3/8″ brass rod cut to whatever length you want/need. Before the brass rid, I tried a hardwood dowel but the end simply broke apart against the metal insert. The stronger brass rod and a hammer made quick work of pushing the stock back out without harming the surrounding steel.
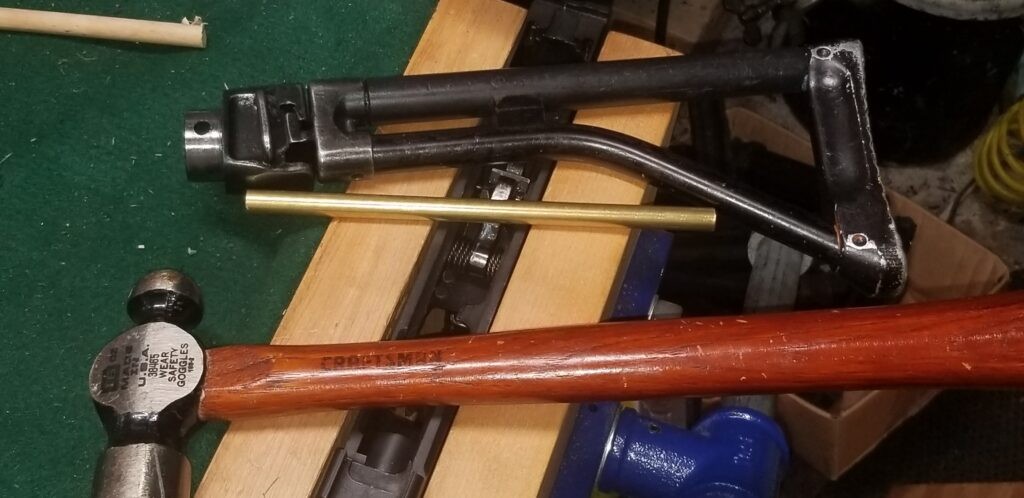
I used a rubber dead blow hammer and whacked the new stock back into position. I had locked the stock in the open position and was striking the buttplate that I planned on refinishing anways.
One challenge was that tnew stock’s holes did not line up with the receiver’s holes so. I egged the hole slightly and filled the gap with epoxy, If I ever want to improve the looks, I’ll either weld the holes shut and re-drill them or go to the next size larger roll pin. I guess I just figured they would line up given it was Israeli but it’s not a big deal.
In terms of preparing the replacement stock, I used 0000 steel wool to smooth the horizontal polymer rod. and then applied Rustoleum Satin Black on the metal. What was on both stocks seemed to be something enamalish so I opted to brush on a finish using a foam brush. I did two coats at let it dry for a day before I handled it. Note, bore solvents and what not will probably attack the Rustoleoum so I’ll just try to minimize contact for now.
It came out better than I expected but it was shinier than I wanted. I let the paint harden for a couple more days and then I used 0000 steel wool to knock down the shine. What happens is that the very fine steel wool immparts very small scratches to the surface thus removing the shine. If I had it do do over, I would still use Rusoleum but I would have used flat black. If I really wanted to go nuts, I could have taken everything apart, blasted and parked the steel surface, apply Molyresin or Cerakote, bake it and then reassemble.
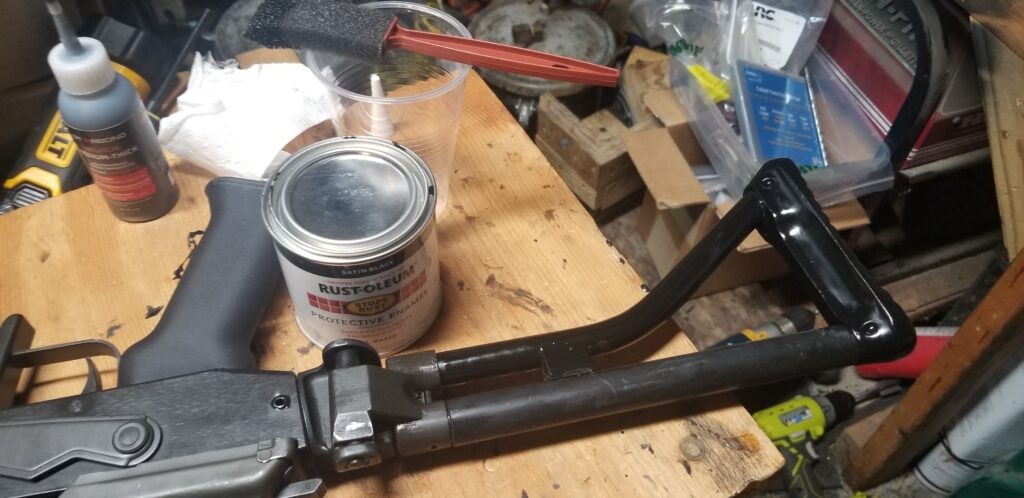
Again, my goal was to roughly stick with a batte worn look vs brand new from the factory. If I ever change my mind, I can always go that route also. A friend once told me that once you get into building guns, it’s kind of like Barbie Dress Up for men. You can change all kinds of stuff whenever you want and your two big constraints will always be time and money.
So, the final product look came out pretty good – I wanted “worn and mismatched” and that’s what I stil had. Just a tad bit more to my taste. Next up was to fix the handguards so they weren’t so loose.
Note, I have to buy all of my parts – nothing here was paid for by sponsors, etc. I do make a small amount if you click on an ad and buy something but that is it. You’re getting my real opinion on stuff.
If you find this post useful, please share the link on Facebook, with your friends, etc. Your support is much appreciated and if you have any feedback, please email me at in**@*********ps.com. Please note that for links to other websites, we are only paid if there is an affiliate program such as Avantlink, Impact, Amazon and eBay and only if you purchase something. If you’d like to directly contribute towards our continued reporting, please visit our funding page.
