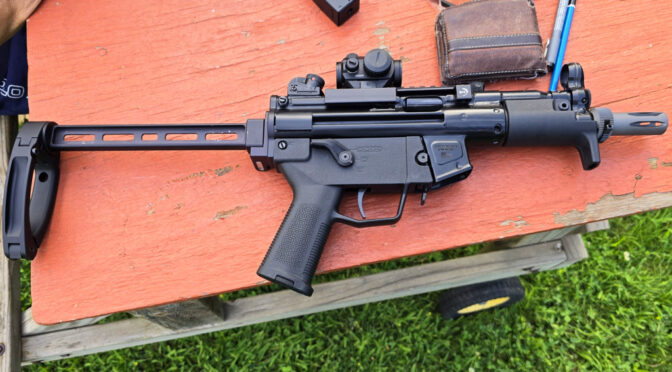
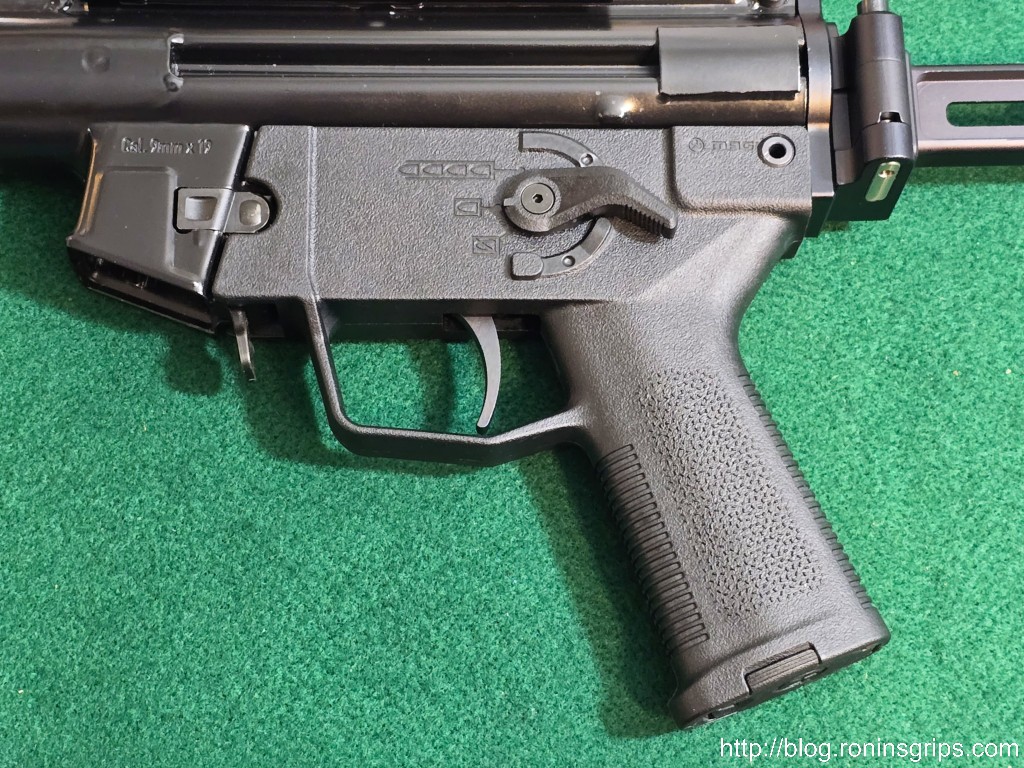
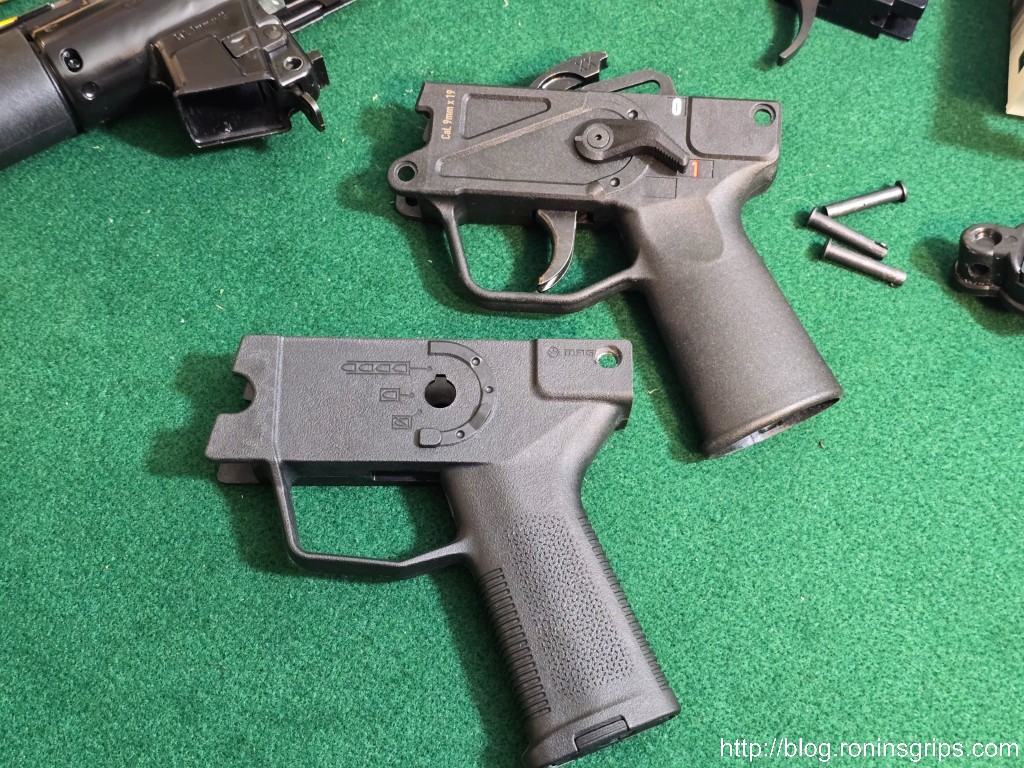
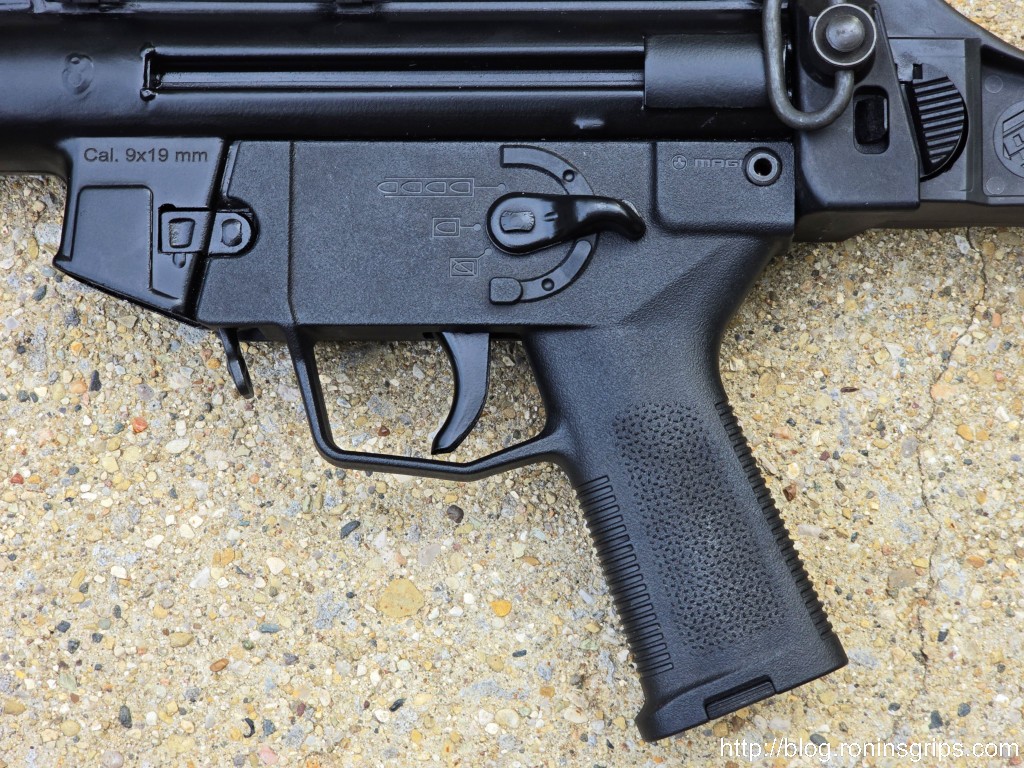
There are some things I like on MP5Ks and some things I don’t. I usually dislike the triggers but my MKE AP5-P has a fairly decent trigger as MP5 and MP5Ks go. My MKE also had a factory contoured grip. Of all the HK grips out there, the contoured is the one I like best but there is one I like even more – the “Magpul SL Grip for HK94, HK93, 91 and Semi Shelf Clones”. That one heck of a long product name – just remember the model – MAG1070-BLK.
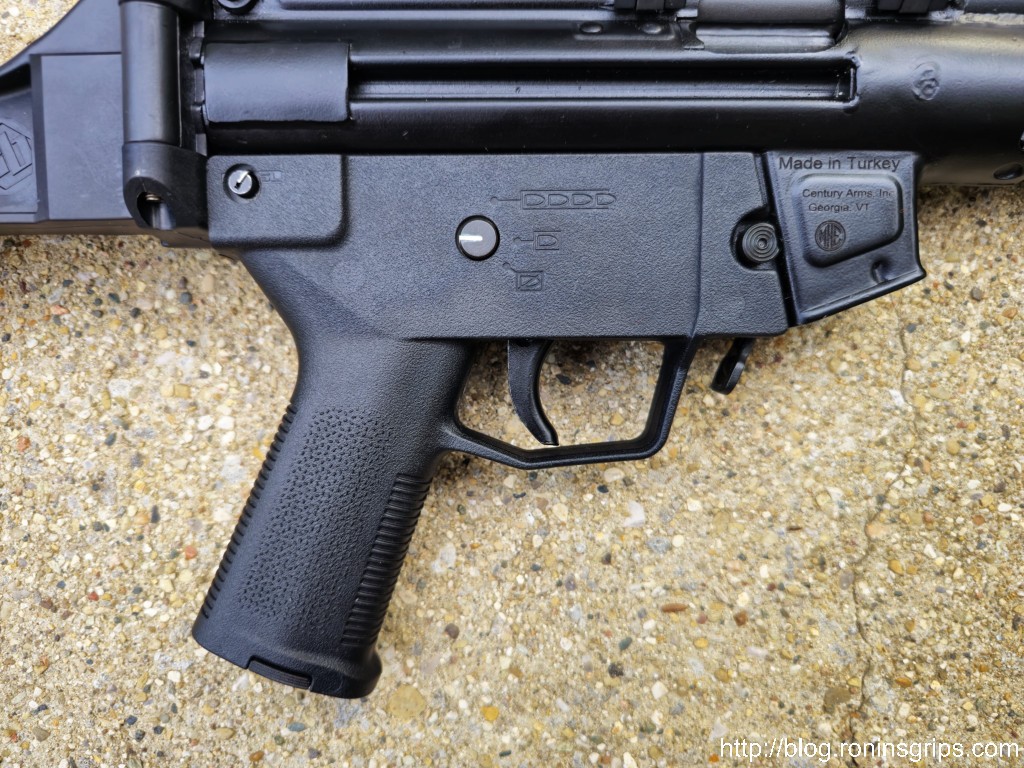
A few months ago, I installed one on my Zenith ZF5-P and really liked it. Whereas the MKE has a contoured grip, the Zenith has a basic straight grip that is only slightly more ergonomic than a rounded rectangle. I’d read a few posts about guys converting over the Magpul grip, so I did the same. You know what? I realy like it.
Doing the Conversion
The Magpul SL grip wasn’t designed for use on a MP5K but what you need to do is pretty straight forward if you have the tools and at least some basic knowledge of locating holes to be drilled.
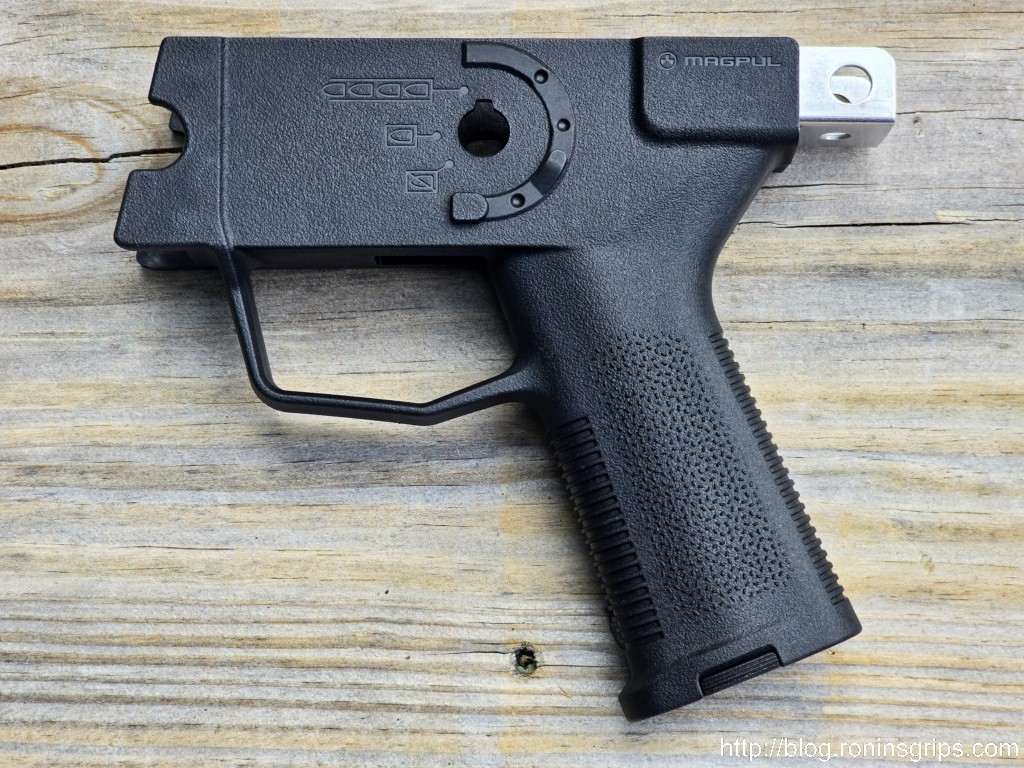
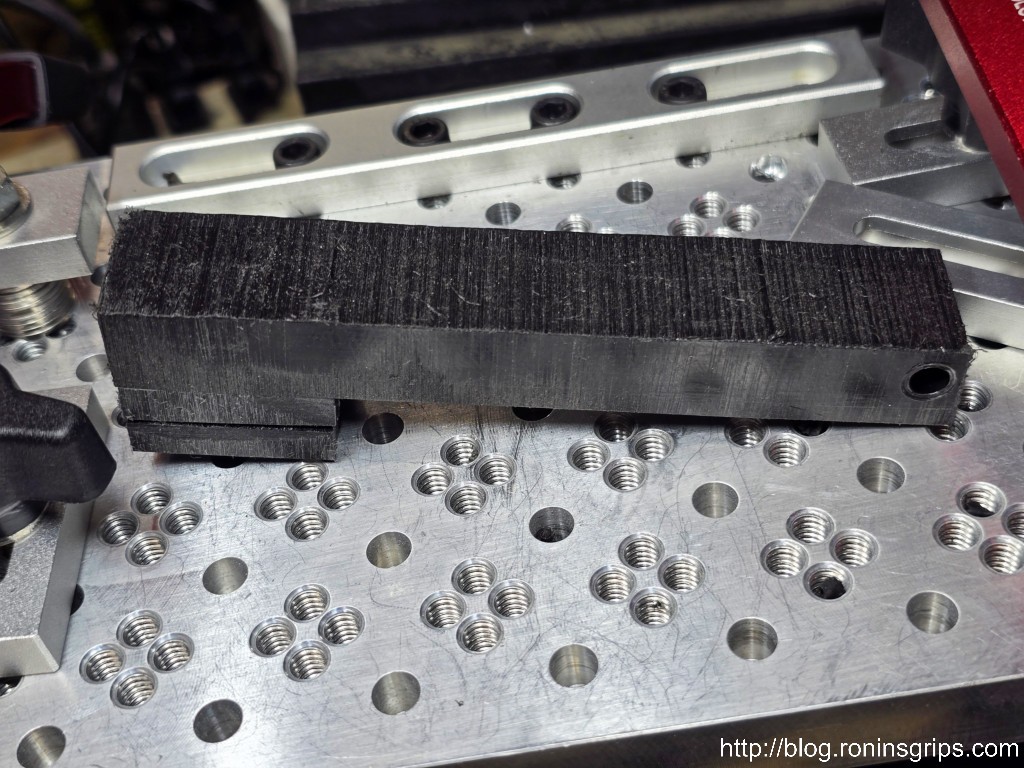
Let’s go over some basics – first off, the steel “tail” that sticks out of the Magpul will need to be cut off. I’d recommend using something like a hacksaw, reciprocating saw or a bandsaw. I have a metal cutting bandsaw so I used that. Please notice I did not list a Dremel or similar rotary tool with an abrasive wheel. They risk making the steel so hot that the plastic could be damaged.
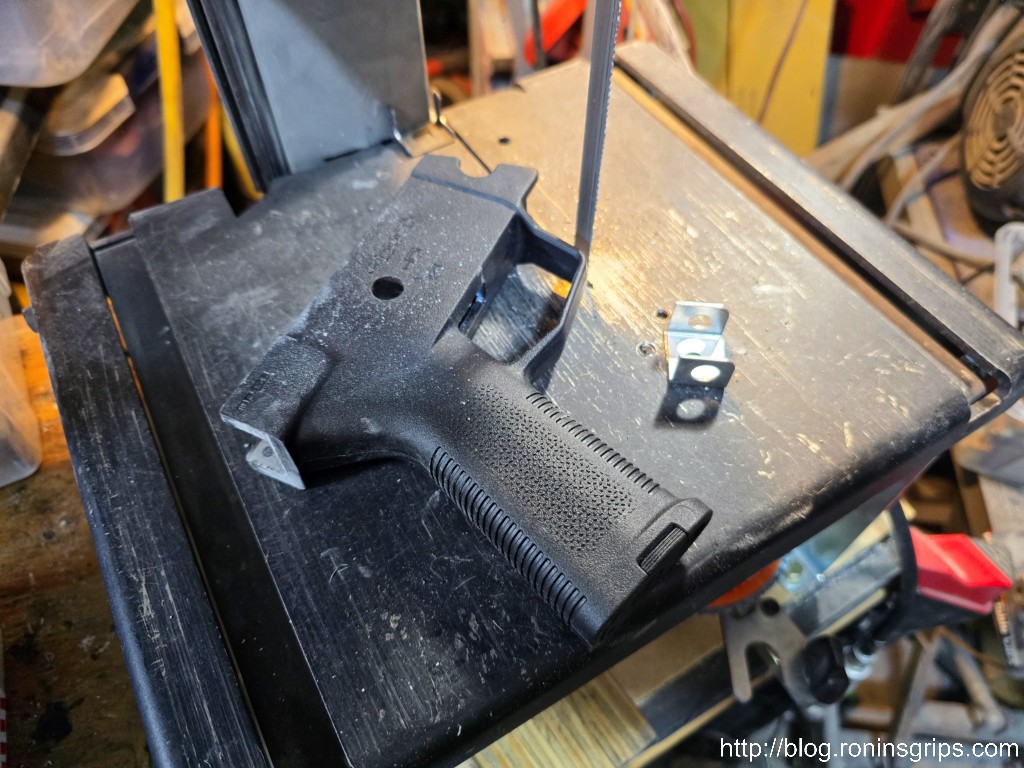
Next, sand the tail end smooth. Take off as little material as possible as it will help you get a solid lockup.

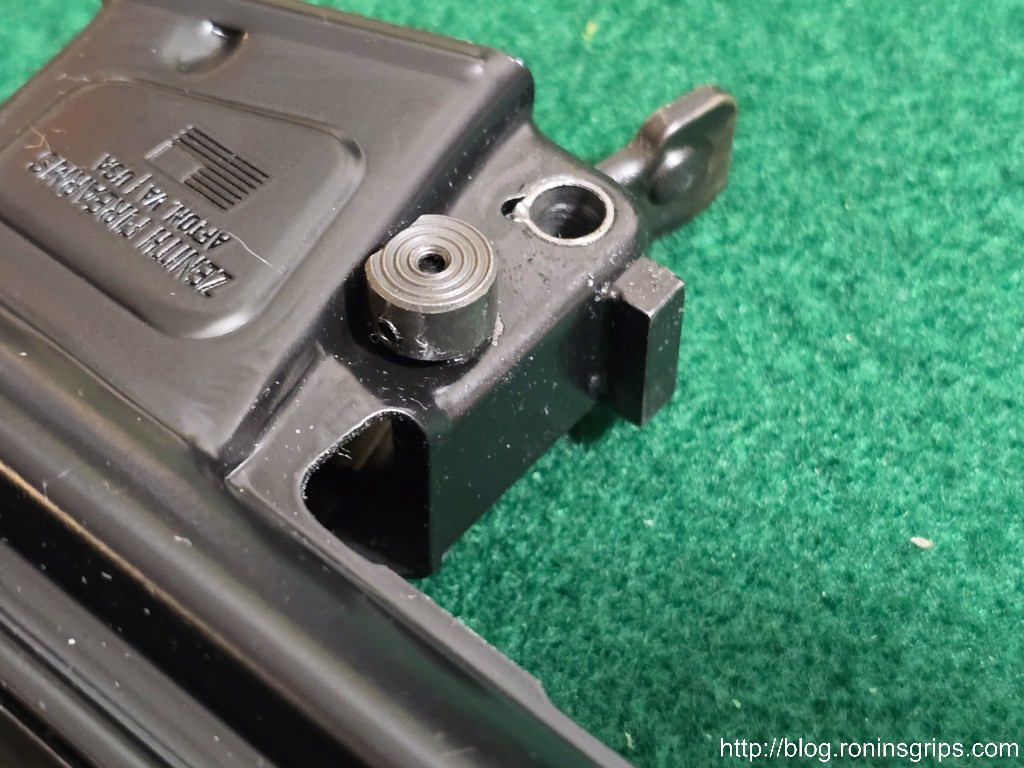
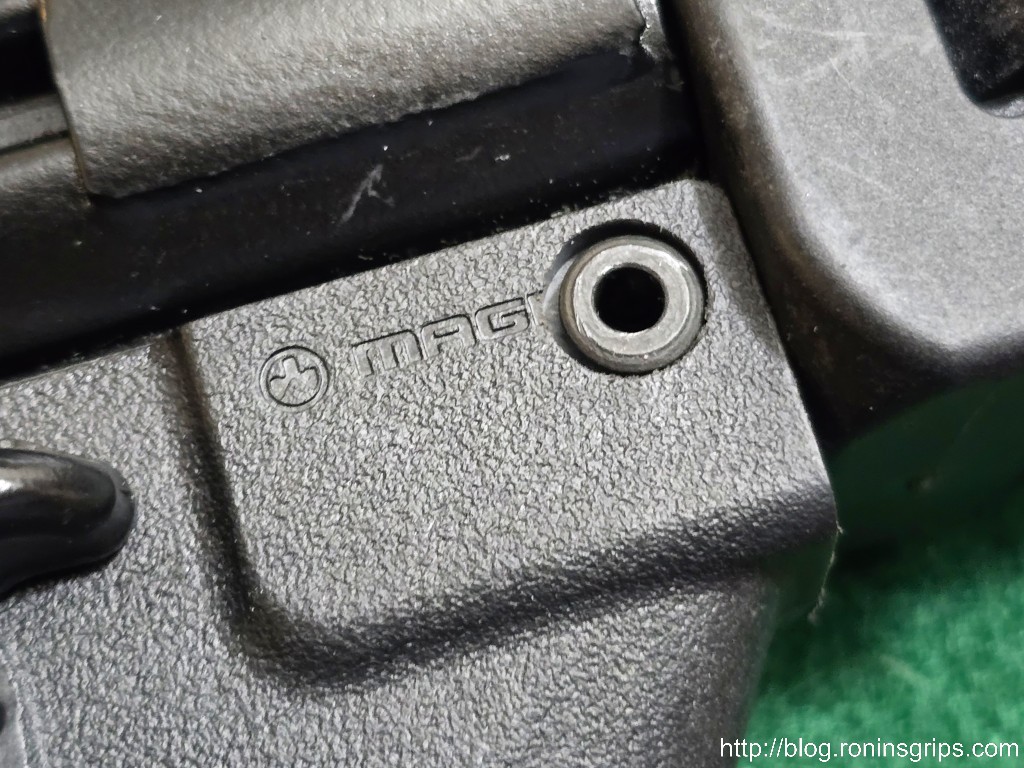
As you may have noticed, many MP5K-type weapons, such as those from MKE and Zenith, use two small pins to retain the grip assembly – one in the front at the bottom and one in the top rear. With the semi shelf and a snug fit, you just need the single rear pin to hold the grip’s rear end up and in place.
The front of the grip has a plate that interfaces with the semi shelf on your MP5K. Magpul includes instructions for SP5 owners that they may need to remove a little material for a good fit and I would assume this extends to the SP5K but I don’t know this for sure. With both my MKE and Zenith, no adustment was needed.
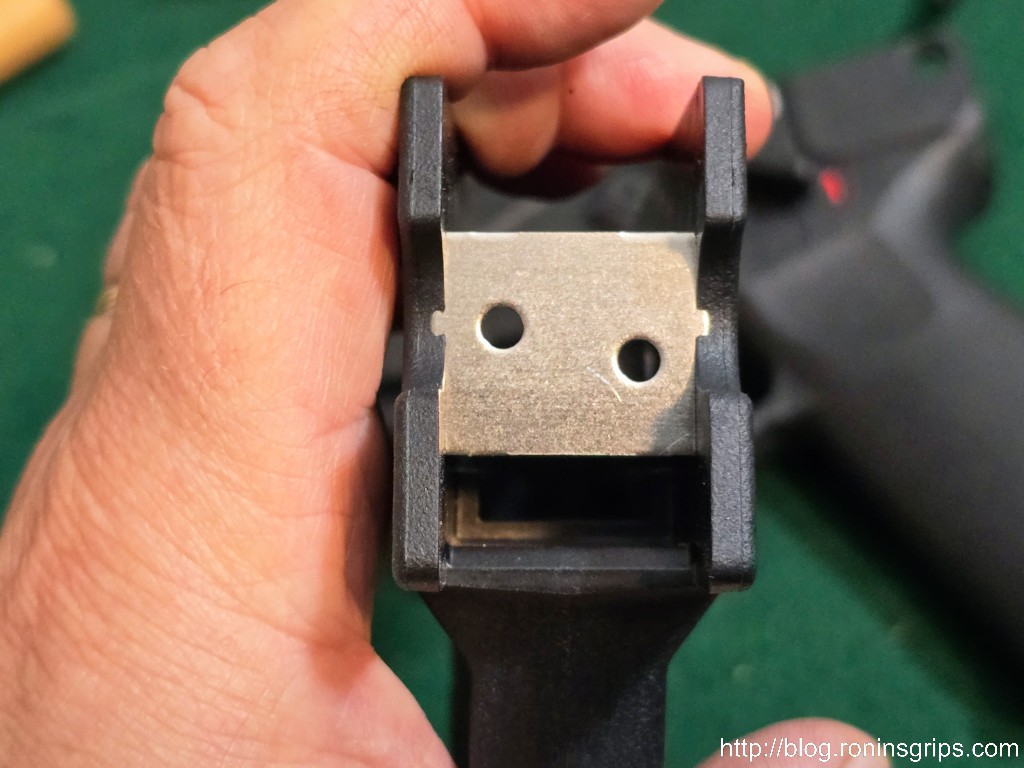
In terms of locating the hole, take your current grip and measure backwards from the front locking plate to the center of the hole. Then, measure down from the top of the grip. Use these two measures to locate where you need to do your cutting and then setup your mill accordingly or at least a good drill press because all you are doing is plunge cuts.
Cutting the rear hole.
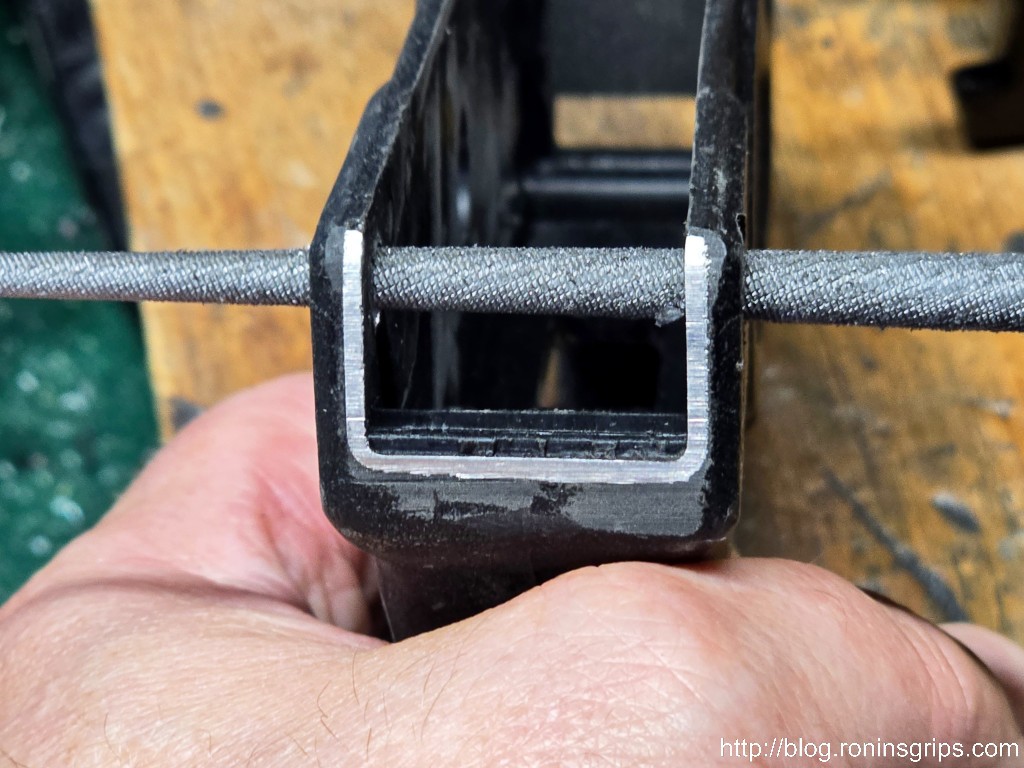
| Critical: You must make an insert from hard wood, plastic, or aluminum. If you don’t, the walls of the grip will flex and your holes are going to be a mess. I learned this the hard way. The width left to right is about 7/8″ and then you can decide how you want to handle the vertical. I’d recommend surrounding the area where you want to make the cut. I run my insert the whole length of the inside top to provide a firm support both for the clamps and the plunge cuts. You don’t wany anything to flex. |
The first step is to cut the reliefs where the pin goes. The head of the takedown pin is about 9-9.1mm wide. A 9.5mm cut doesn’t give you much room to adjust. 10mm is just a tad wider and gives you more room to adjust your cuts later with a circular file and not have the head unable to sit down in the recess. The reliefs need to be cut about 3mm deep.
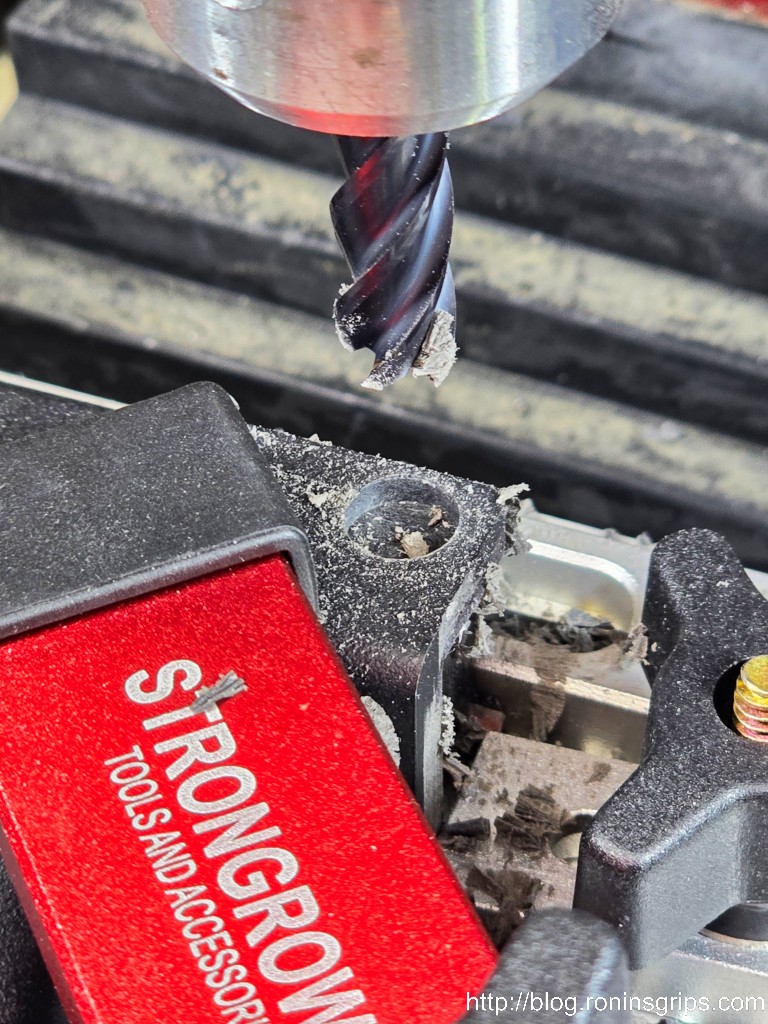
Next is to cut the 6mm holes for the pins. I’d recommend against a drill bit as it might get squirrely on you – both in terms of deflection or the bit getting caught on one of the holes in the steel reinforcement. Get a 6mm carbide end mill, make sure your grip is held securely and do a plunge cut.
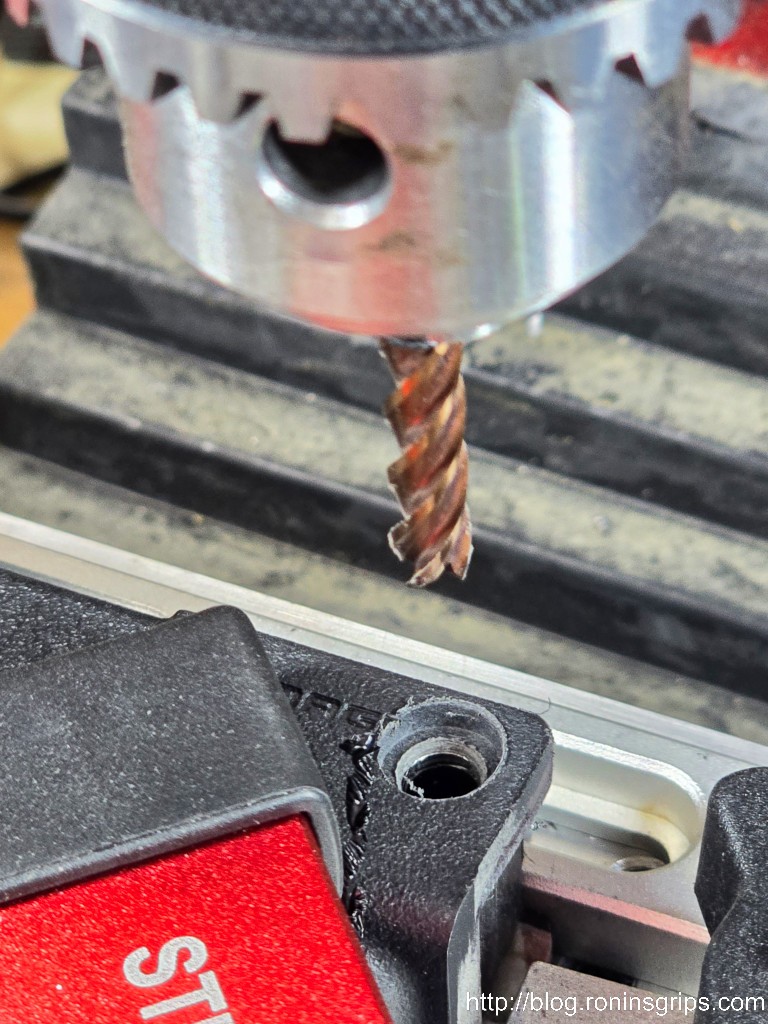
If you do use a drill press, check your runout. If you have more than 0.5mm on one side, you risk cutting to big of a hole. You want to be somewhere between 6.0 and 6.1mm. If you go too wide, the retaining wire may not get a good enough hold to keep the pin in place.
Cleaning Up
Use a fine file or diamond abrasive stick to remove all material left over from cutting inside the grip so you have a smooth surface.
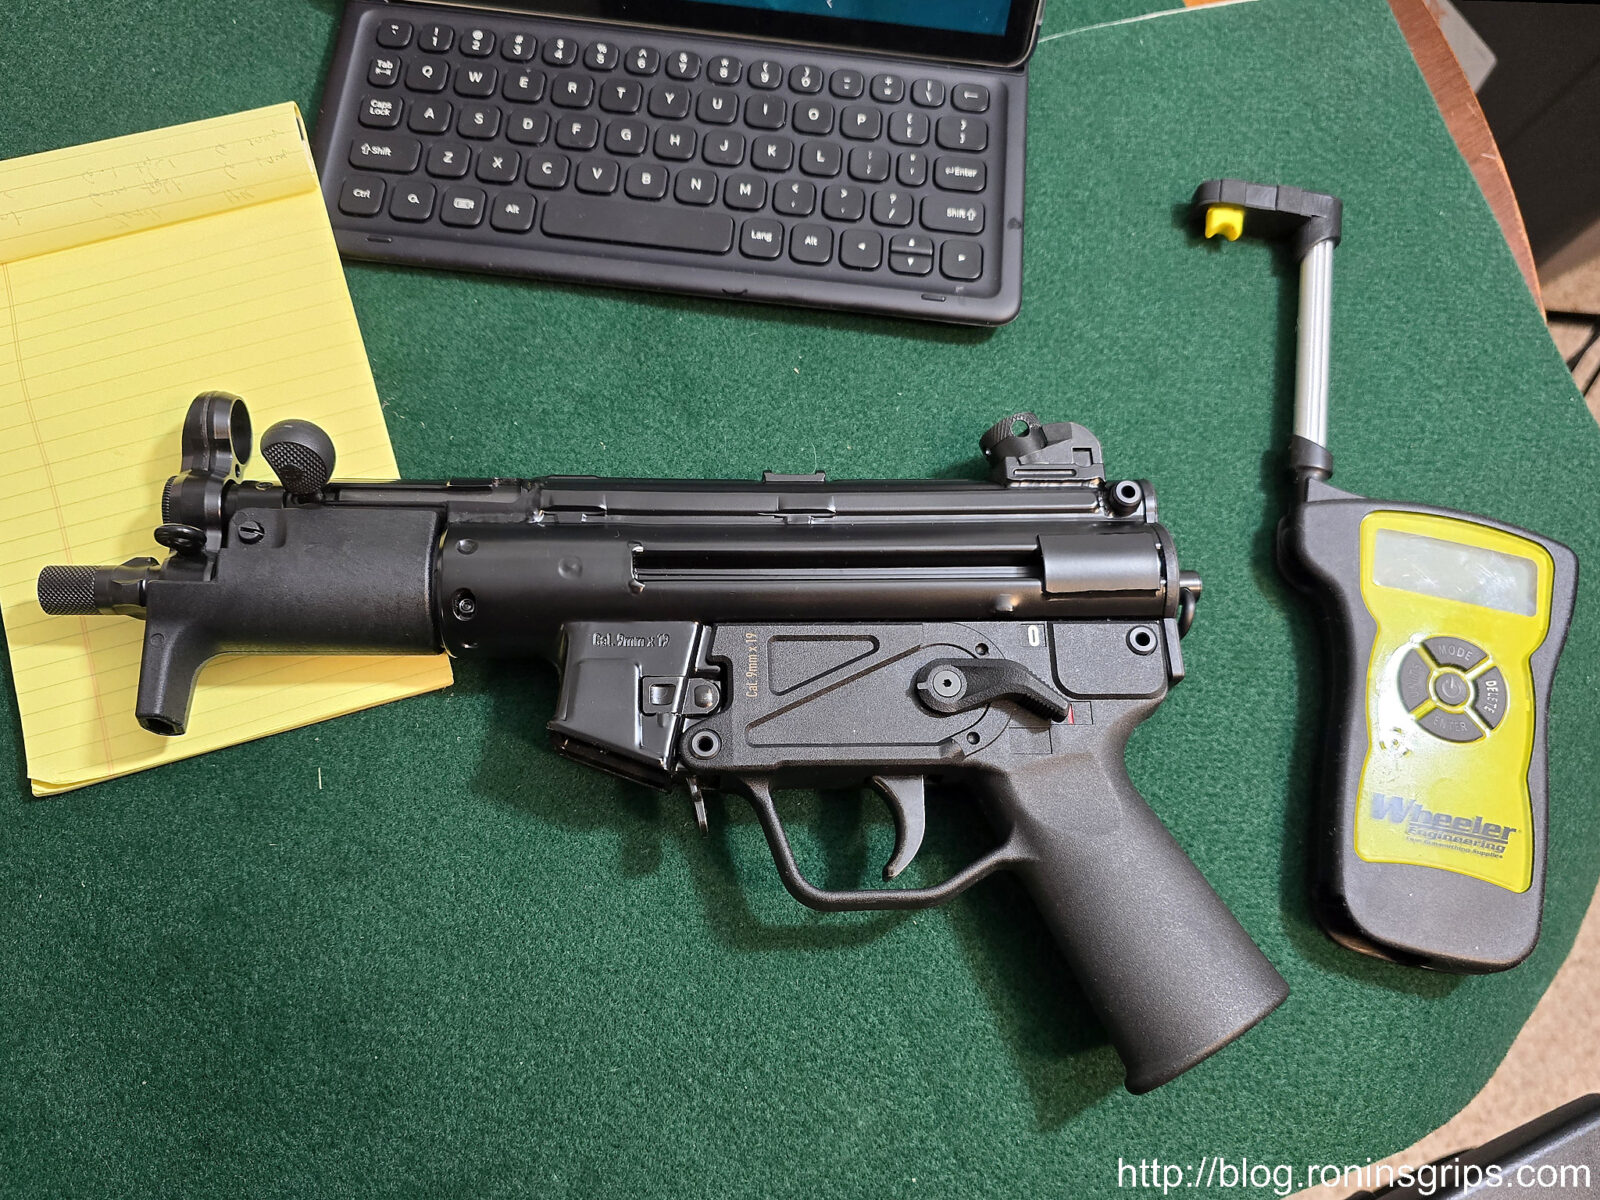
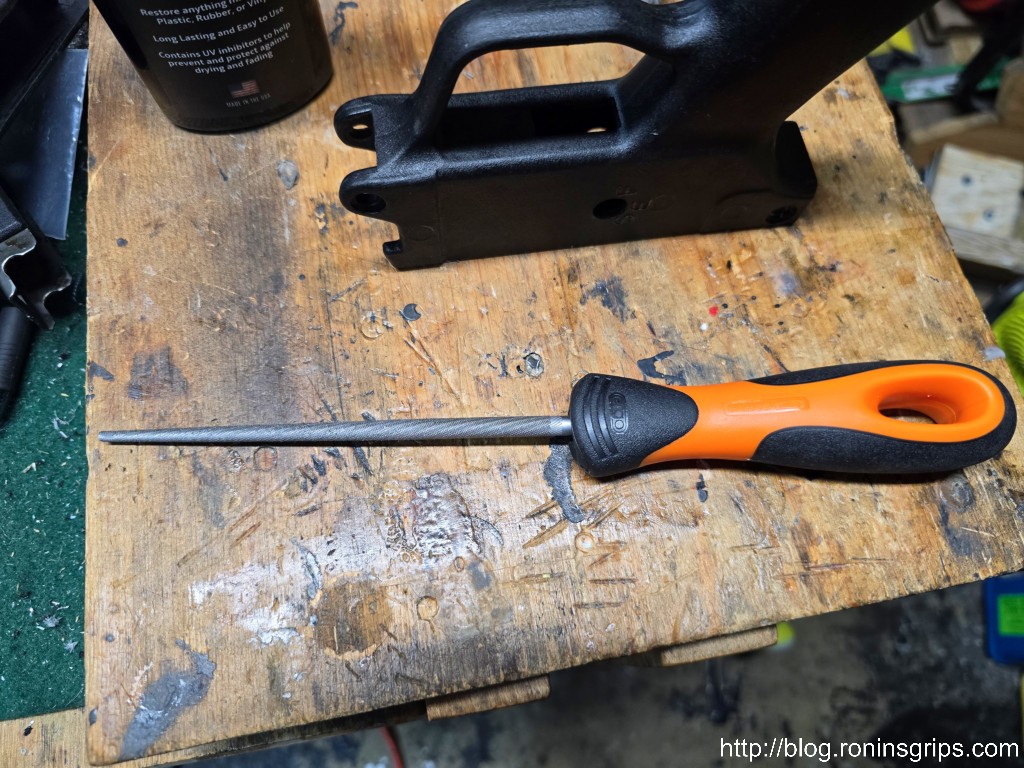
It’s time to test fit the grip. It may go in great all by itself or you may need to adjust it just a tad with a circular file. I’d recommend a 6mm tapered circular file so you have a lot of control.
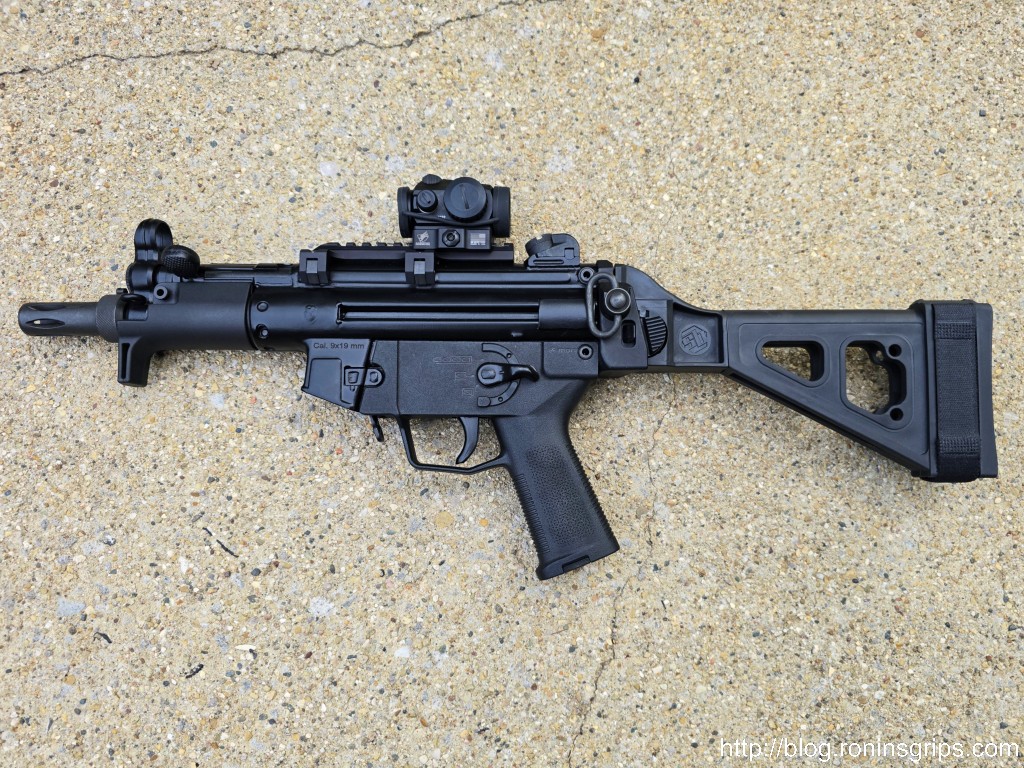
Note, test fitting the grip by itself is one thing. Doing it with the stock, brace or endcap in place is another. You may find further adjustments with the circular file are required. Also, you can make things fit sometimes by moving or tapping the grip or whatever is on the end around. The sheet metal of the receiver can flex and sometimes it gives you just enough alignment to push the pin on through. I often tap (not bang) them in with a small hammer with a non-marring head.
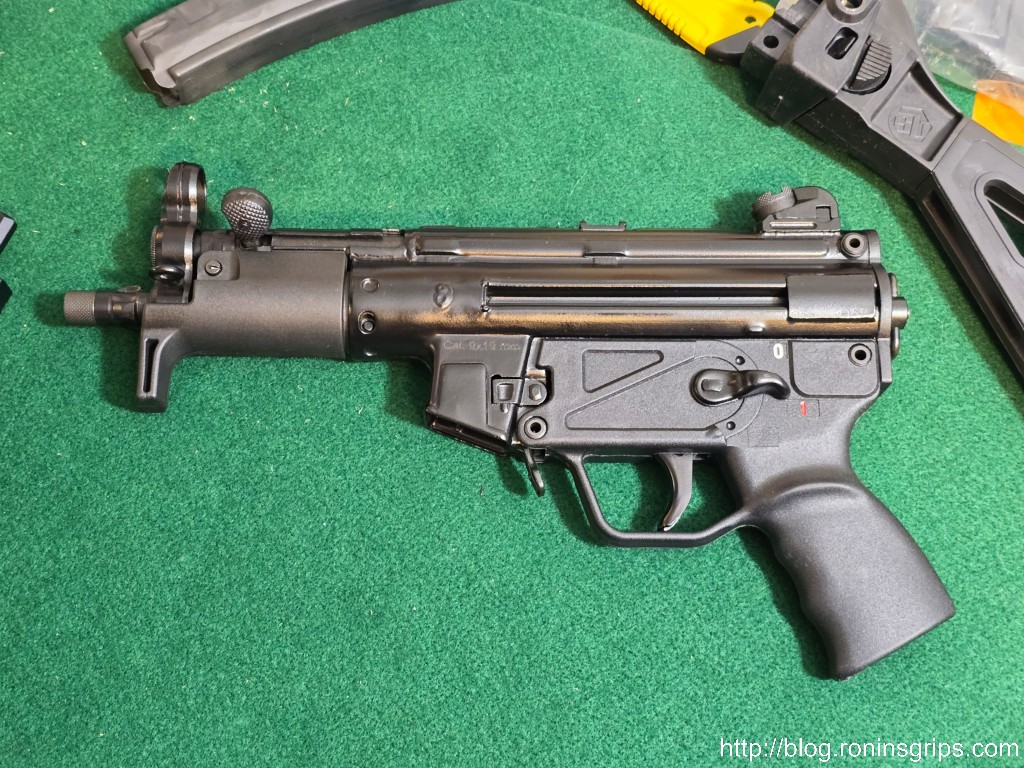
You want everything to be snug. You’ll find the front pin doesn’t matter if everything is tight. If you really want a front pin, you would need to make a custom pin given the width of the Magul’s front lower “ears”. It would also only be cosmetic because you would be inserting a steel pin into soft plastic that does not have a reinforcing plate.
The moral of the story is to keep the front-to-back length of the grip long so it is snug – again, don’t cut or sand off more of the black plastic than you must. Also, try to be as close as you can with the pin holes at least vertically. Because of how the grip is sandwiched between the mag well and whatever is on the rear, it’s not going anywhere. The rear pin is the final part to limit movement.

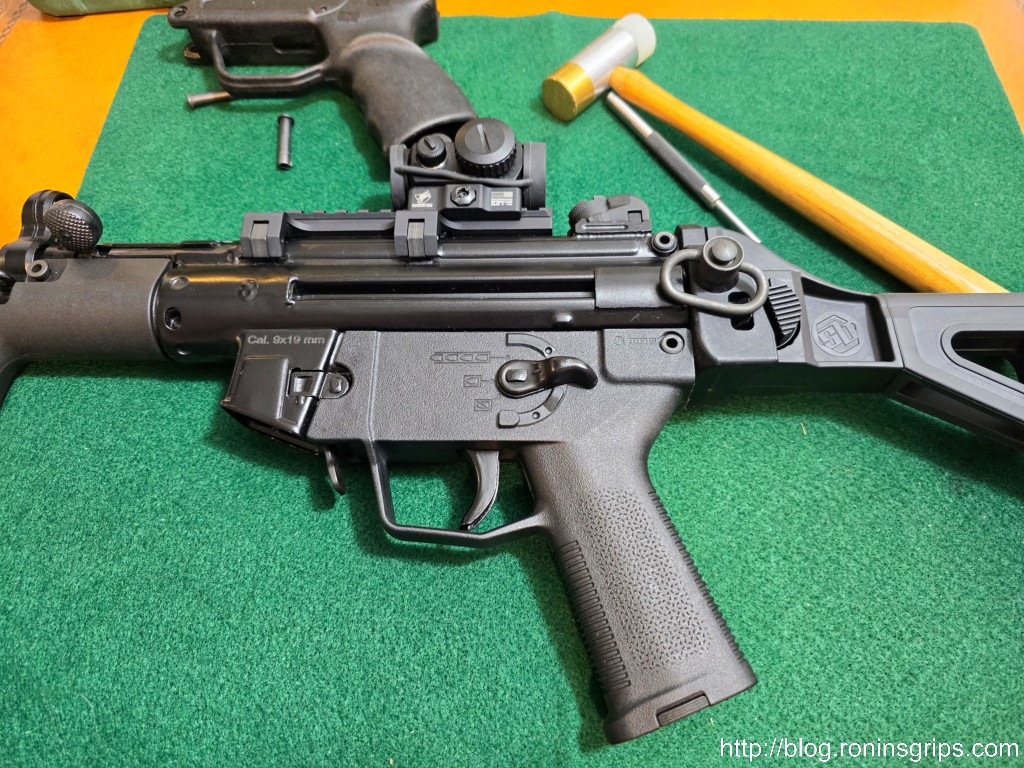
The Results
The MKE feels great. I will upgrade the selector the Magpul ESK but even with the stock MKE selector I like the feel more.
Summary
I hope this helps you out if you want to do this yourself. For folks who just want to do the final filing adjustments, we will converted Magpul grips for sale. Please click here to go to our store.
Here are the original Magpul grips in case you are looking for them:
Production Grip Comment
For our production grips. the holes are based on a new unissued German MP5K grip. Depending on a bunch of factors, the exact holes in the grip you get will vary a bit. Fitting will be required – front to back and the hole locations.
If you find this post useful, please share the link on Facebook, with your friends, etc. Your support is much appreciated and if you have any feedback, please email me at in**@*********ps.com. Please note that for links to other websites, we are only paid if there is an affiliate program such as Avantlink, Impact, Amazon and eBay and only if you purchase something. If you’d like to directly contribute towards our continued reporting, please visit our funding page.
If you are looking for an extended selector lever for your MP5 or MP5K, these are really nice.