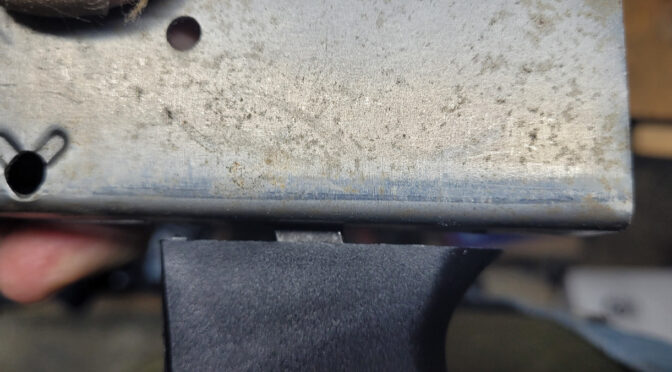
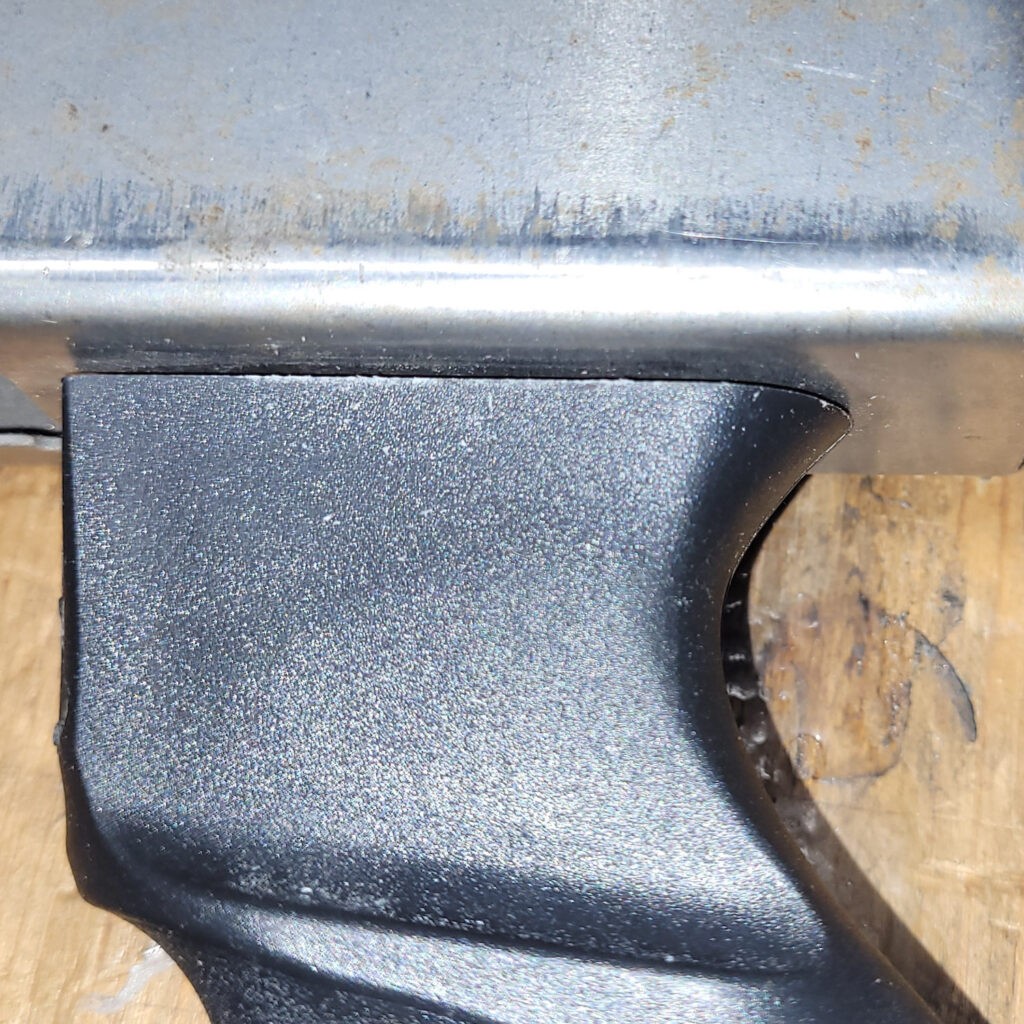
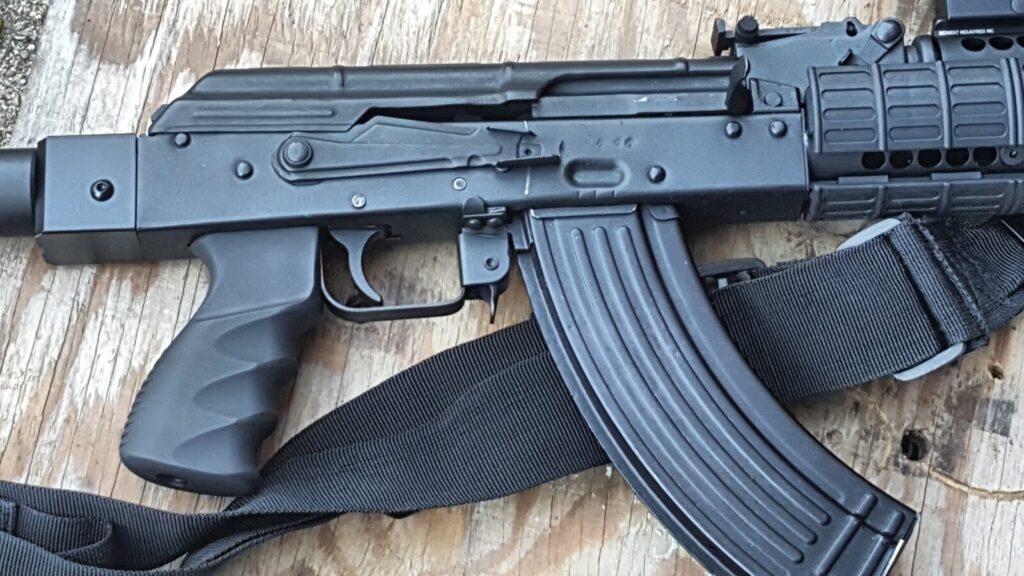
Some time back in 2017 or 2018, I bought some original Beryl second generation grips – the larger one with finger grip cut outs. I then made a couple of molds based on the originals. I thought they would be popular right away, but I’d sell one here and there and then Arms of America started importing Beryls with the AKM-looking grip. Guys started buying my grip and reports started coming back to me this year that my grip was loose on their Beryl rifles. This really confused me as my mold was cast from an original. At first I thought it was occasional issues with the customer or the rifle but then more reports came back and I had to dig in.
A customer, Phillip, sent me a ton of photos and links to posts of guys sharing how they fit my grips to their rifles. Whoa! I had no idea! Thanks to Phillip’s help, I was able to figure out what was going on and write this post.
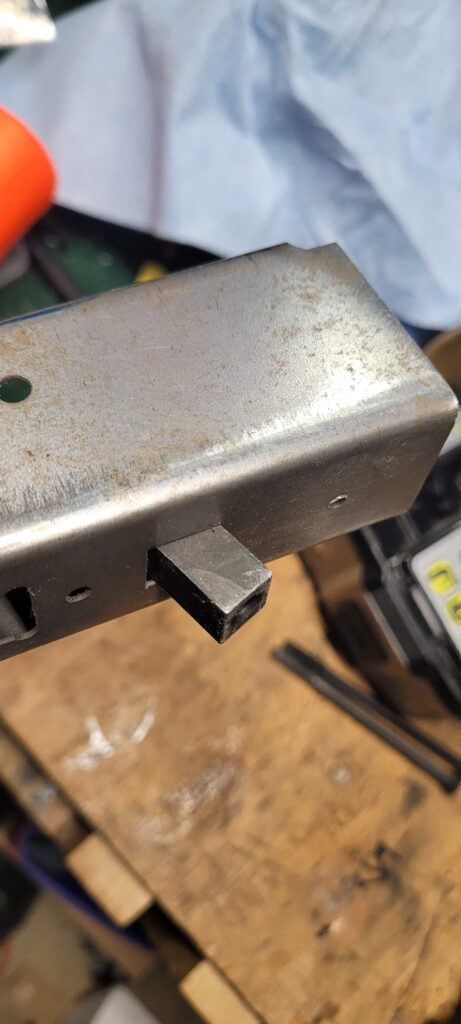
What is keeping the grip from sitting all the way is the grip nut – the small square forging that the pistol grip screw threads into for securing the grip against the receiver and trigger guard. It’s just a tad too long and the inside top of the grip is hitting it.
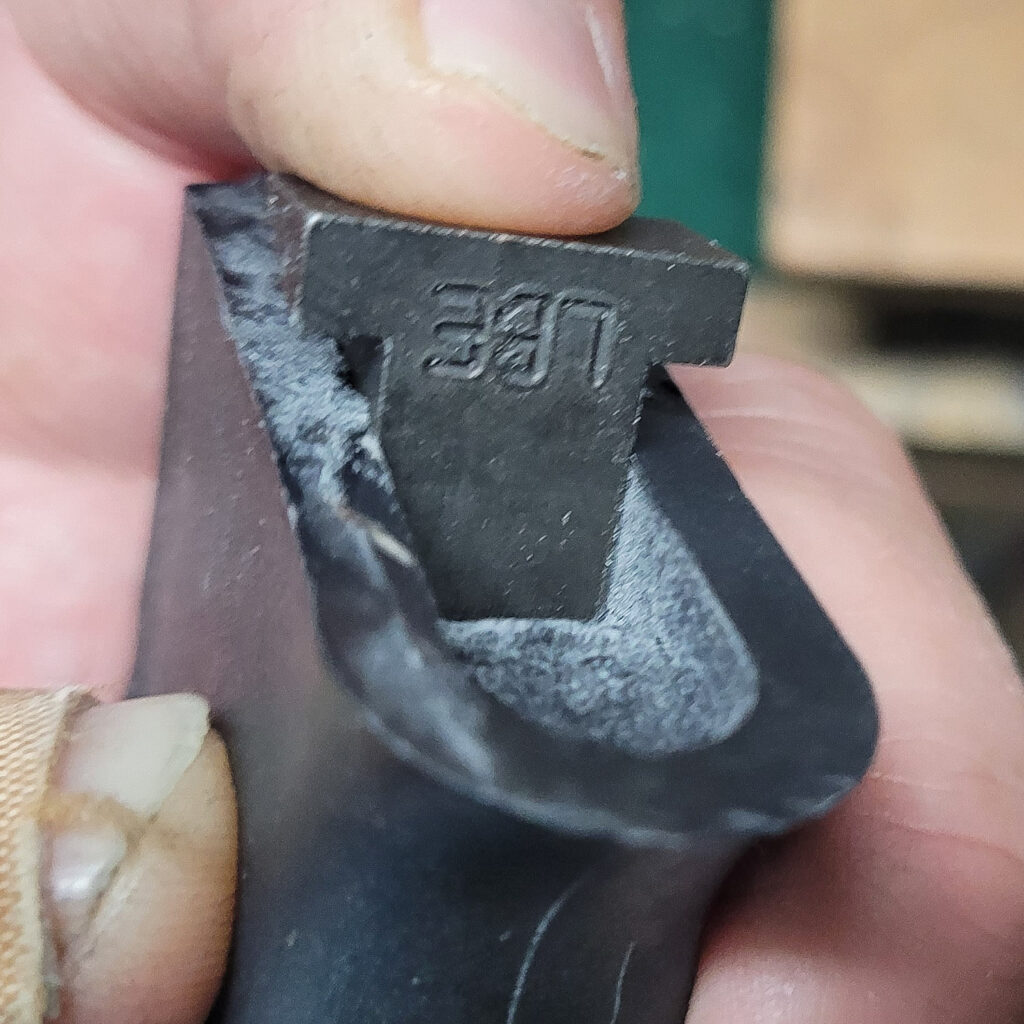
Trimming the Nut
At this point, I can’t change the mold so you need to make any adjustments on your end. You either need to carve open the inside top of the grip using a bur, sanding tip or even a small 1-2″ saw blade. That seems like a lot of work – the easiest seems to be to file or grind the grip nut’s bottom so it is a tad shorter.
If you want to save your original grip nut, you can buy another and trim it if you want. Any AKM-style grip nut ought to work. For the screw though, use the one we supply with the grip.
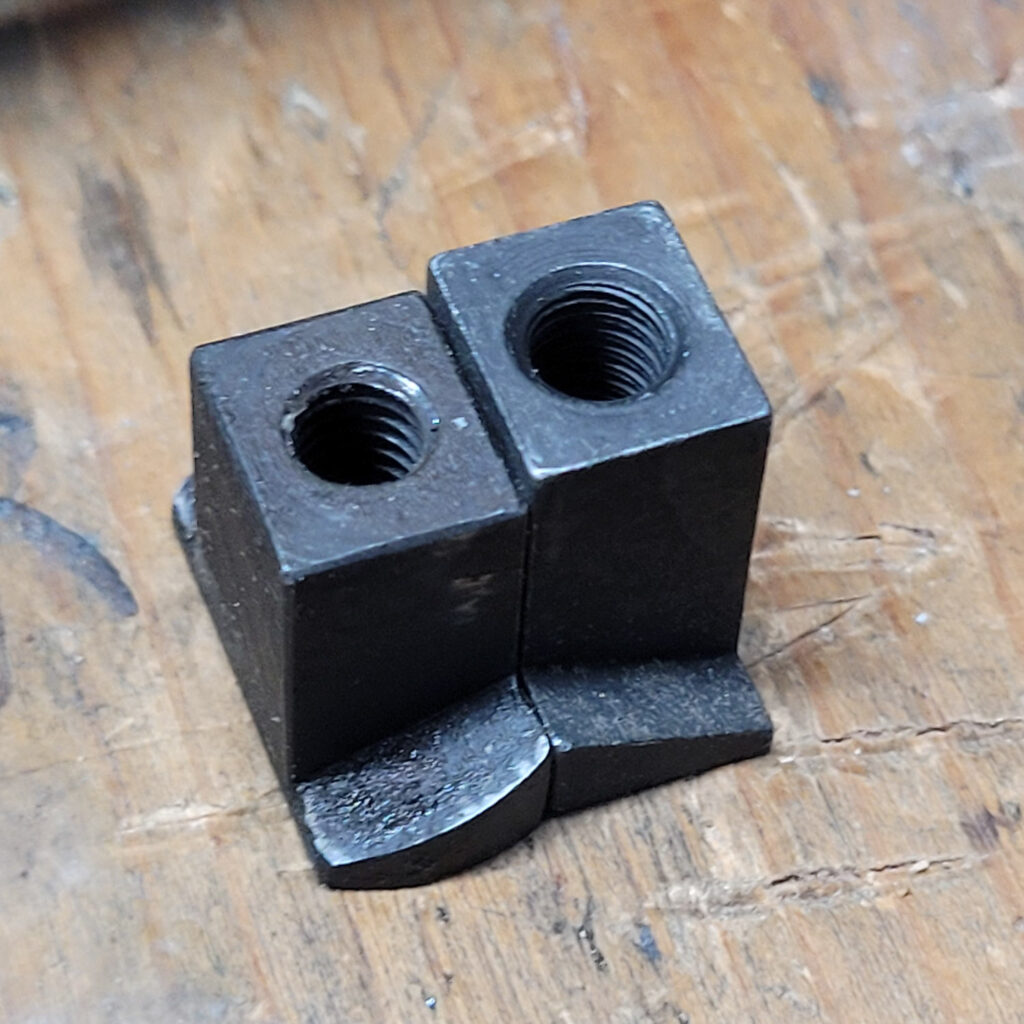
To fit it, trim off a bit and test over and over. You don’t need to do it all at once. If the threads seem off at some point, run the grip screw in from the other direction to clear the threads.
By the way, if you are wondering what the grip is against, it is an old AK-Builder bent flat where I messed up the top rails years ago and now use it for mocking things up.
Summary
I didn’t know the grip nut length was going to be a problem and don’t have a way to change the molds at this point. What I’d recommend is either trimming your nut or buying a replacement and trimming it as needed.
I hope this helps you out.
If you find this post useful, please share the link on Facebook, with your friends, etc. Your support is much appreciated and if you have any feedback, please email me at in**@*********ps.com. Please note that for links to other websites, we are only paid if there is an affiliate program such as Avantlink, Impact, Amazon and eBay and only if you purchase something. If you’d like to directly contribute towards our continued reporting, please visit our funding page.
