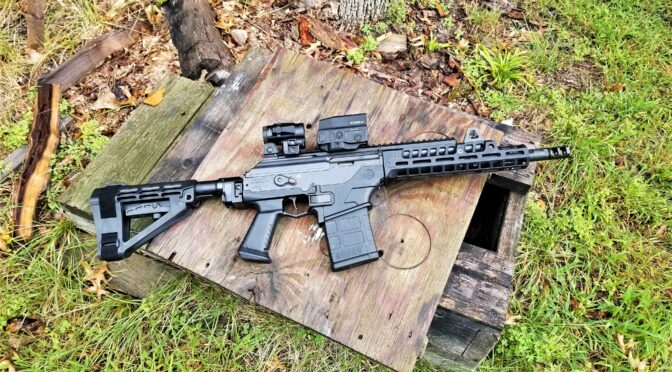
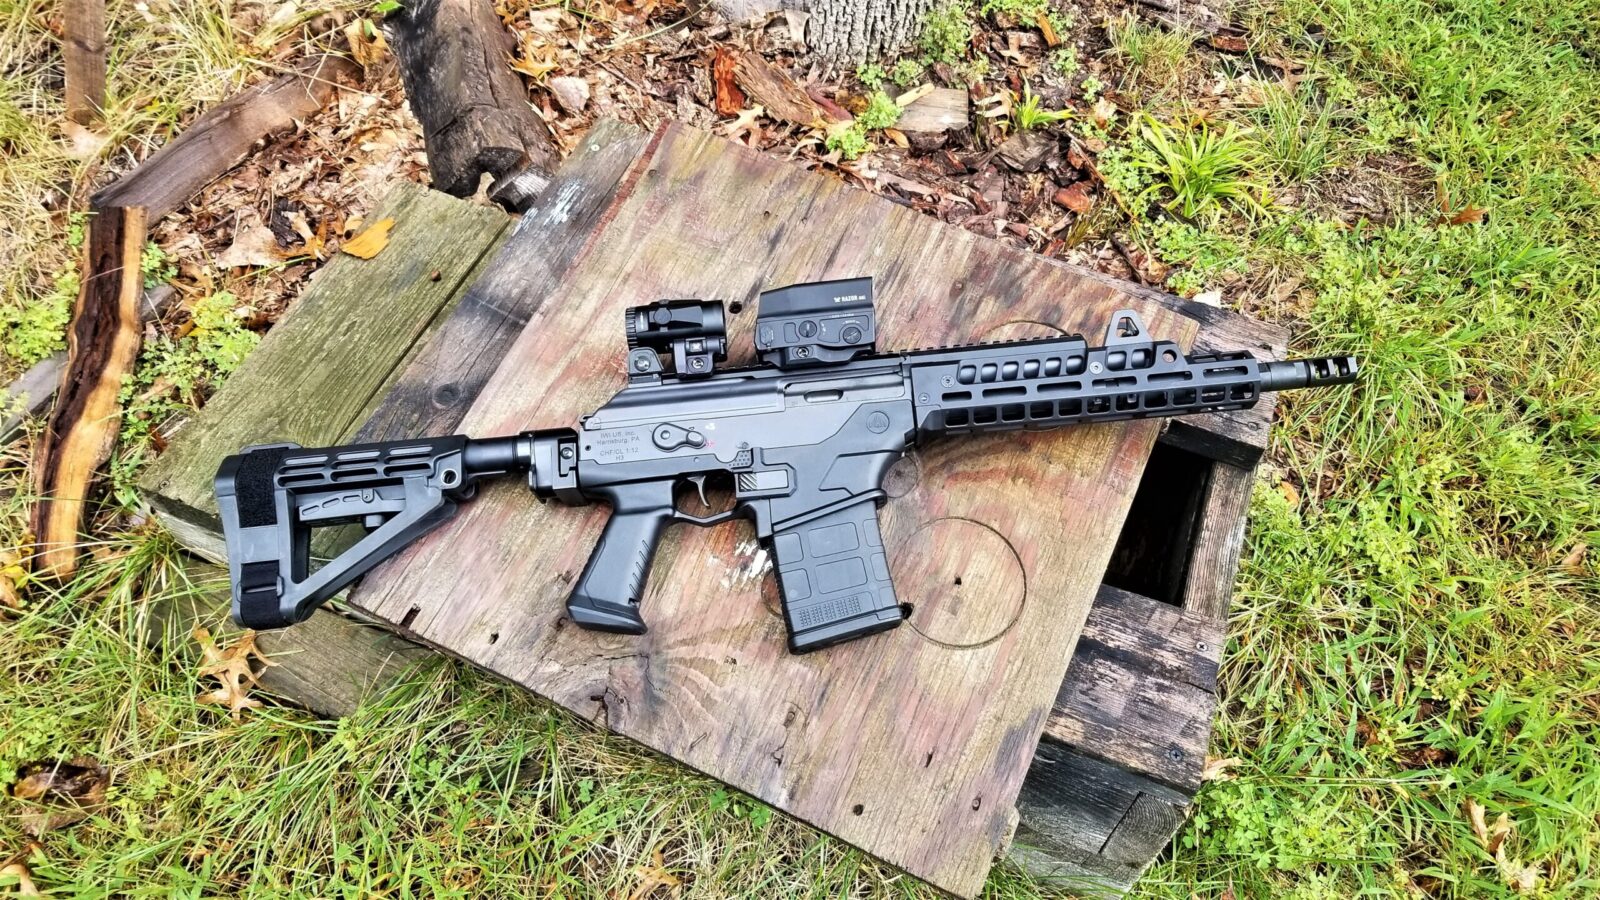
In my previous posts, I covered a bit of the history of the Galil Ace, did two posts about the differences between the Ace and an AKM that I observed (click here for the first and here for the second) and now that leads up to me making a few tweaks of my own to my 7.62×51 Ace pistol.
Moved to a SB Tactical SBA4 Brace
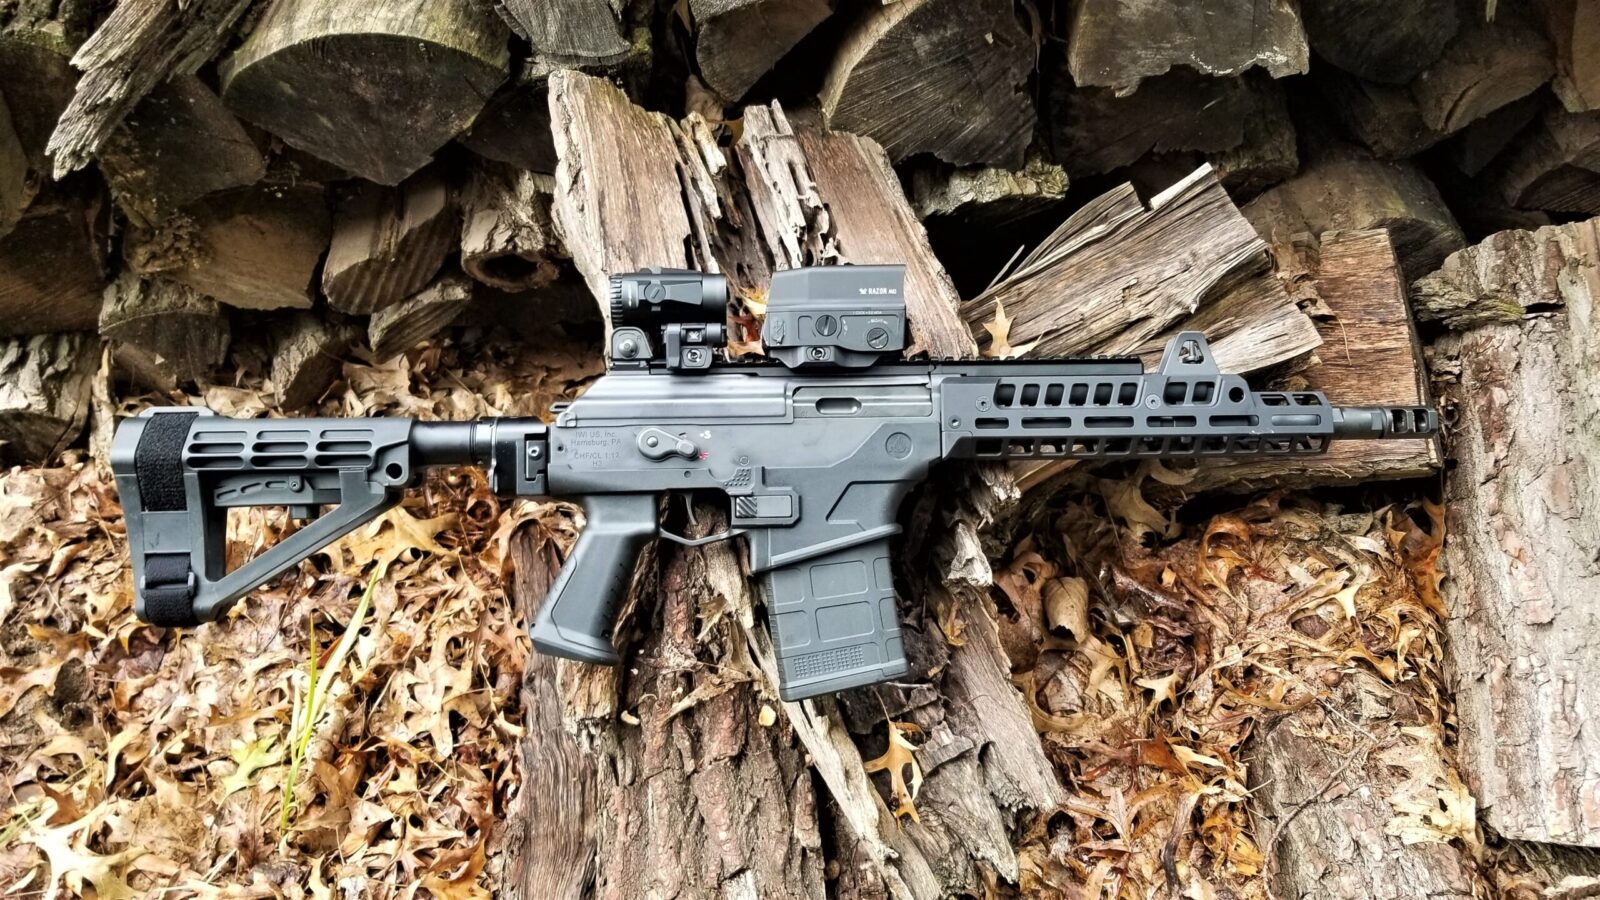
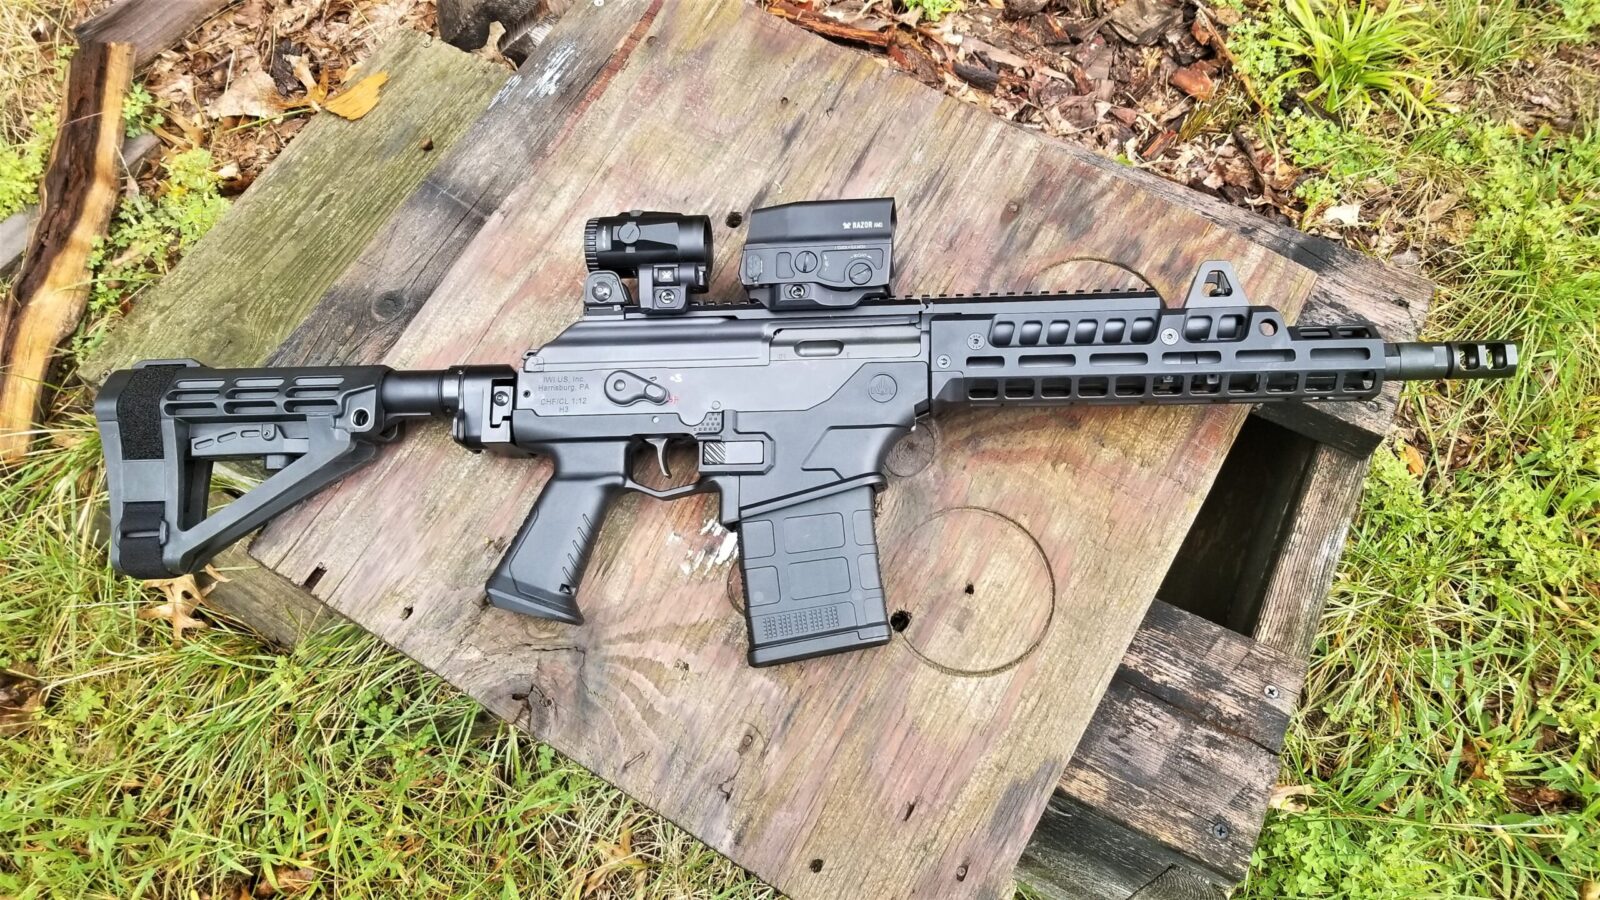
My Ace came with a SB Tactical SOB brace mounted on a proprietary IWI tube with a very heavy hinge. While the SOB is rugged, it is not adjustable so I installed and SB Tactical SBA4 brace. Seriously, the SBA4 is the most rugged brace I have found yet.
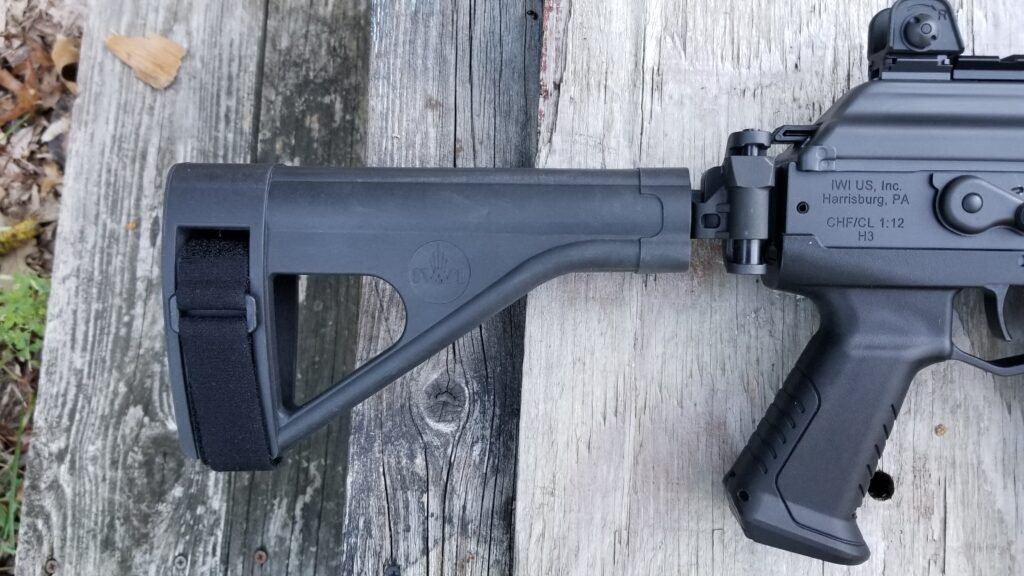

Now some may wonder why I didn’t just file for a short barreled rifle (SBR) tax stamp and run a normal stock. I may very well do this in the future but I didn’t want to deal with it right now. Both PSA and Brownells have the brace available.
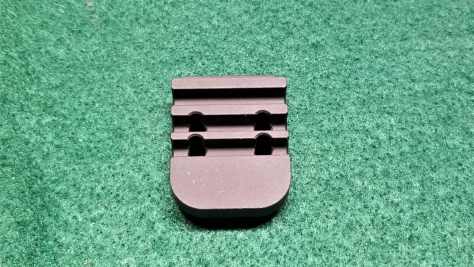
The Ace design allows for very easy changing of a rear block by simply driving out one roll pin. The block can the be lifted straight out and whatever you want installed in its place.
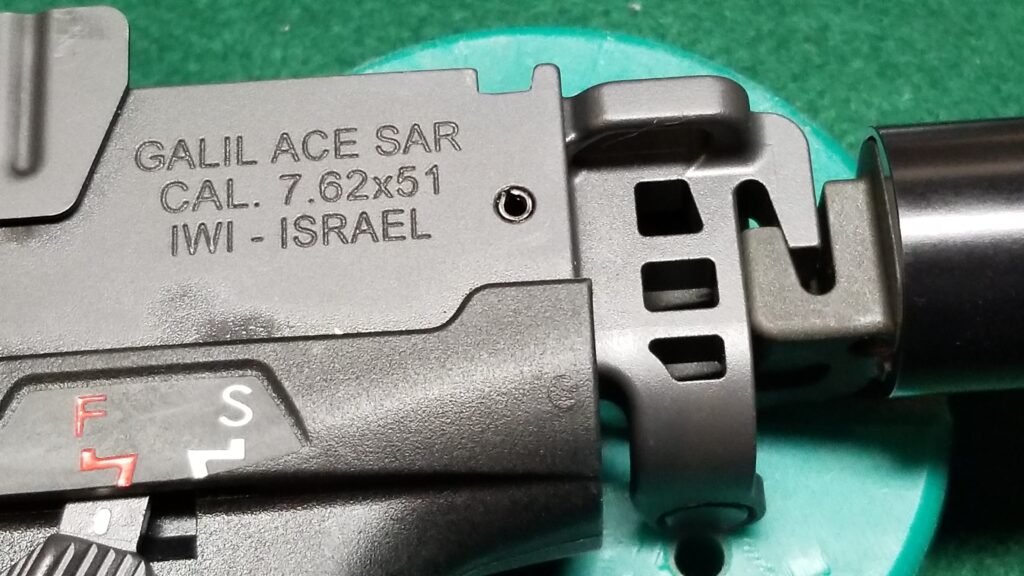

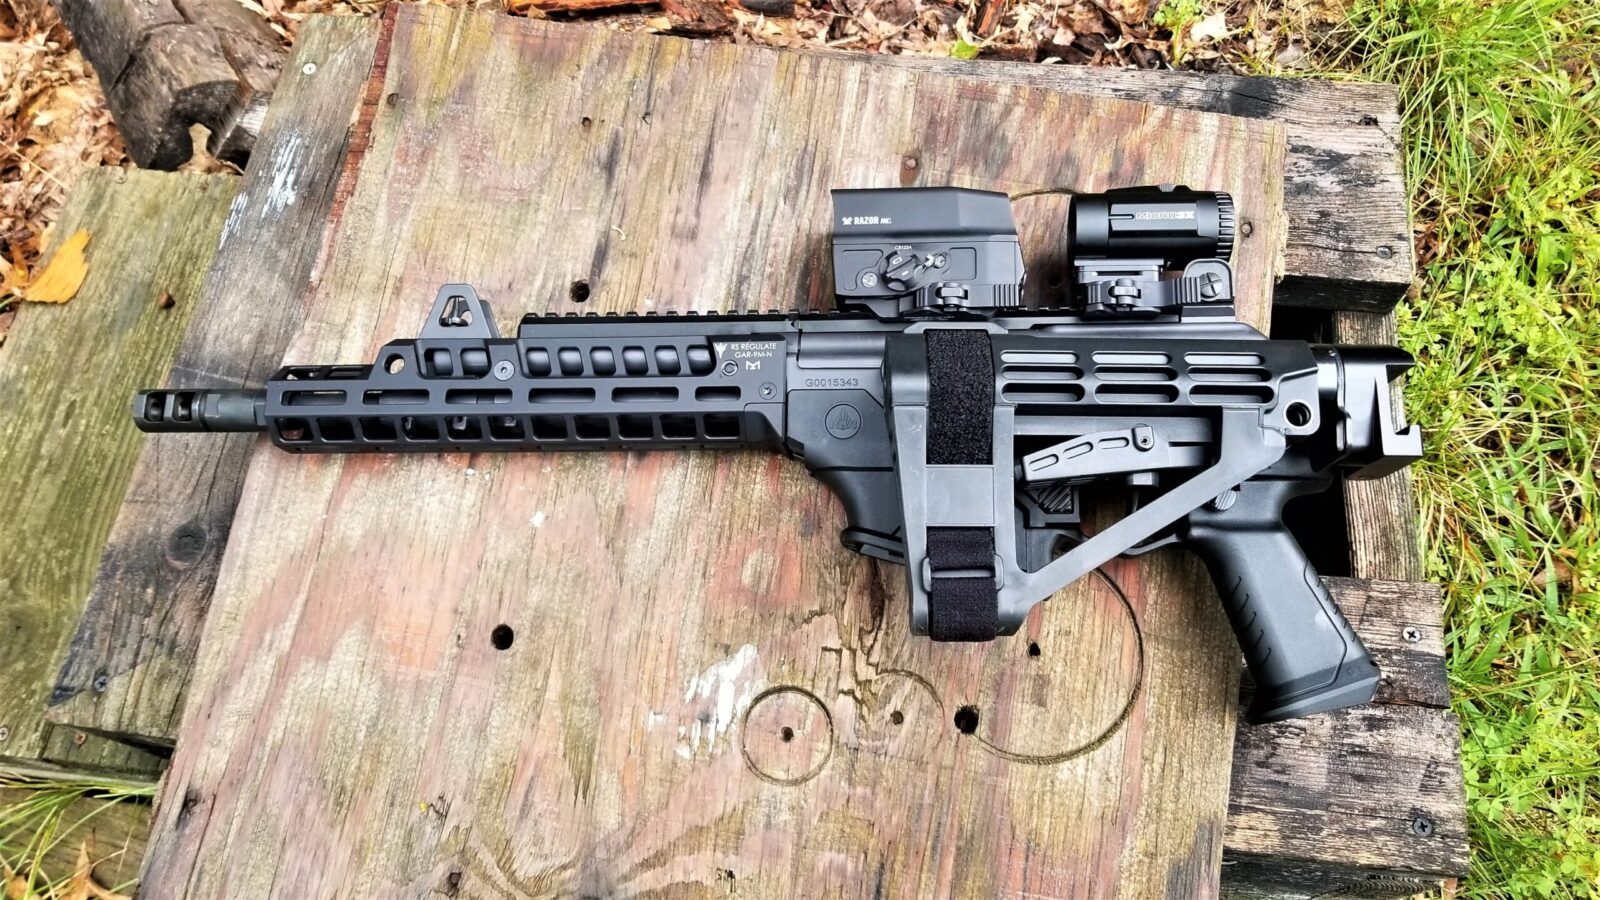
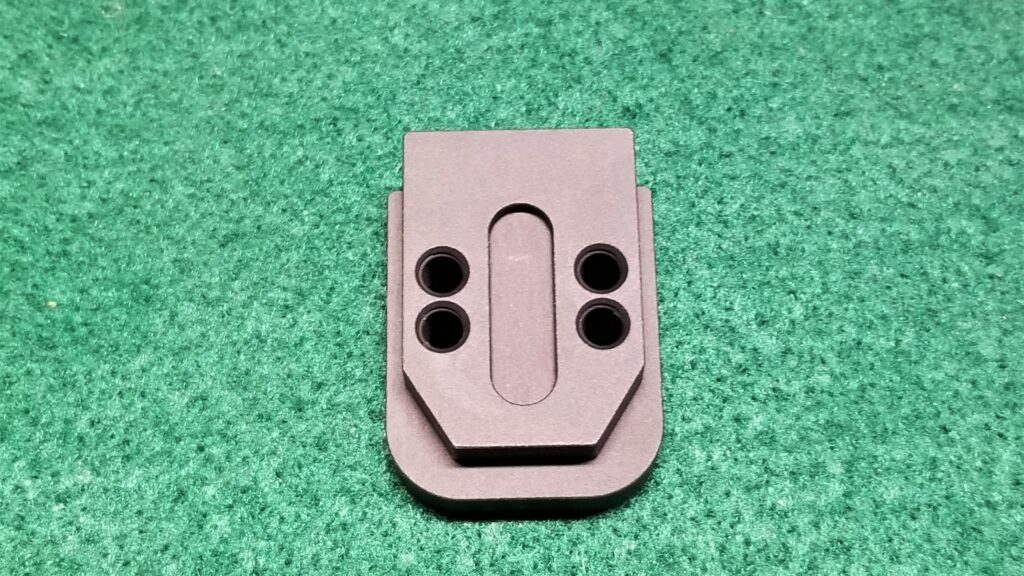
Since the SBA4 is ATF approved, I opted for a modular adapter block from KNS Precision going to an Ace Limited (owned by Doublestar and not IWI) folding M4 adapter – the FSM-AR. Note, if you install a folder, buy one with the boss – the raised oval shape. It will fit into the groove in the KNS Precision adapter and make for a very solid connection.


Special note – the charging handle for my Ace pistol is on the left side. In my case, I was not worried about operating when folded. If you want to fire with the stock folded, you must go with a right side folding mechanism. If I had it to do over, I would have used a right-side folder but I simply used what I had in this case to cut cost plus I don’t plan on folding it much.

The SBA4 comes with a Mil-Spec receiver extension (buffer tube) and I used a generic castle nut that I had in my tool box along with an end plate that has hoops to connect a sling.

I only use my Magpul wrench now for installing castle nuts as it enables a very positive/sure connection. I’ve done my fair share of scratching stuff with tools that used older methods and the MagPul is the way to go. I also used an automatic center punch to stake the nut.

The Magpul armorer’s wrench is available from both Brownells and PSA. Again, I highly recommend this wrench over others that I have used.
All in all, it was a very straight forward swap and allows for some adjustment now. In case you are wondering, the SBA4 is very beefy. I do not like the SBA3 as the end is soft and and ears that go around the shooter’s forearm just kind of bend and flop around. The SBA4 is very well done.
I definitely will SBR it at some point down the road but am happy with what I have for now.
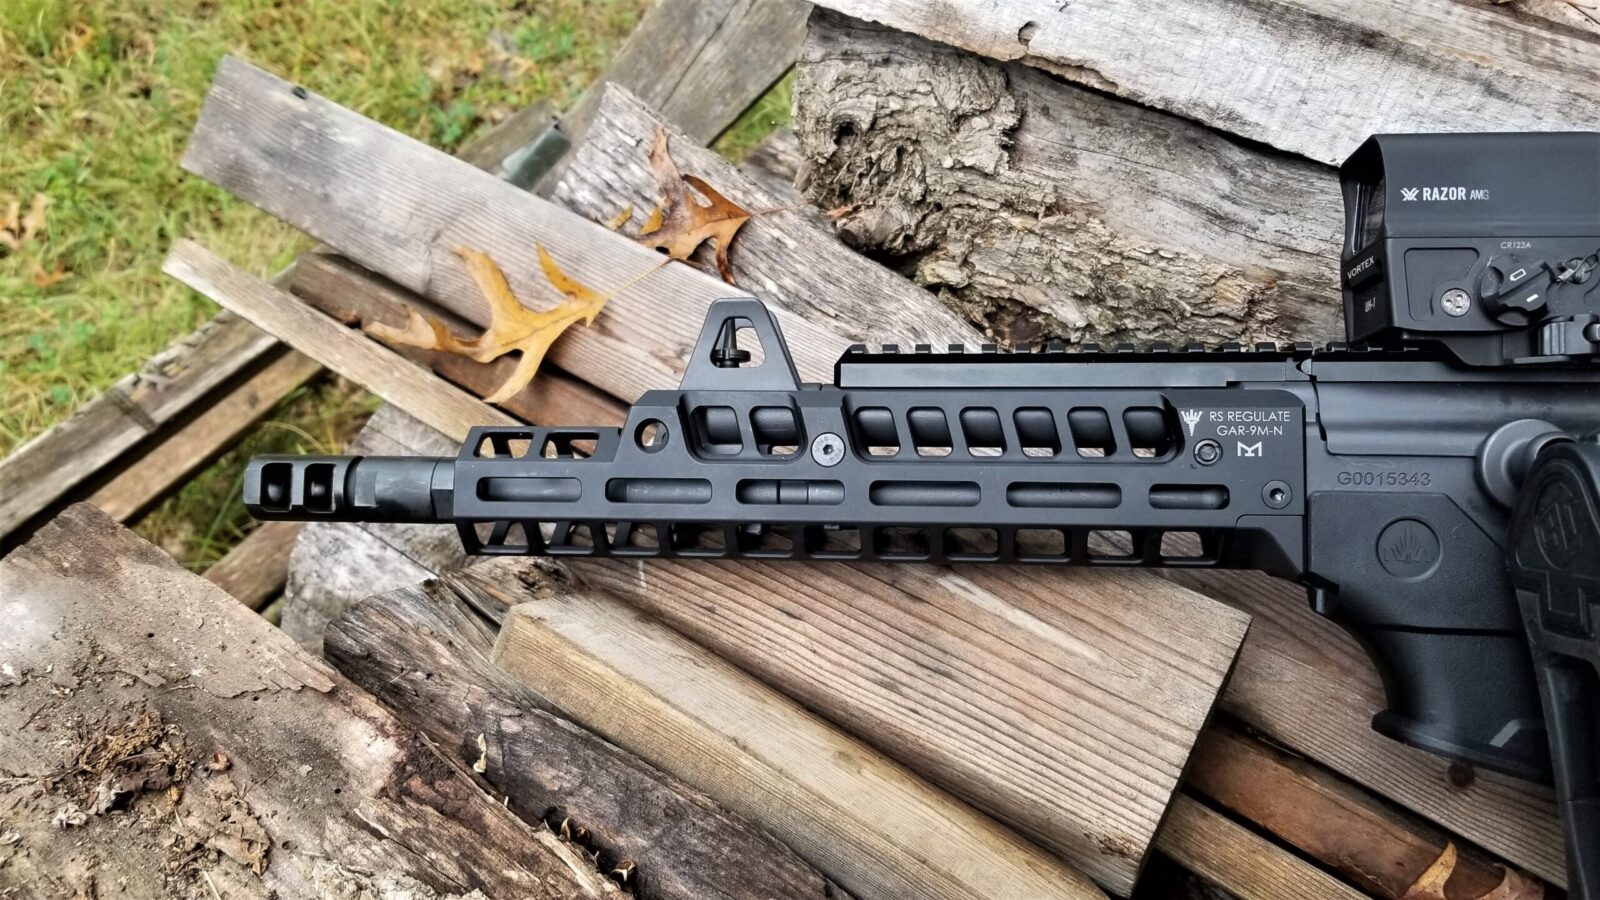
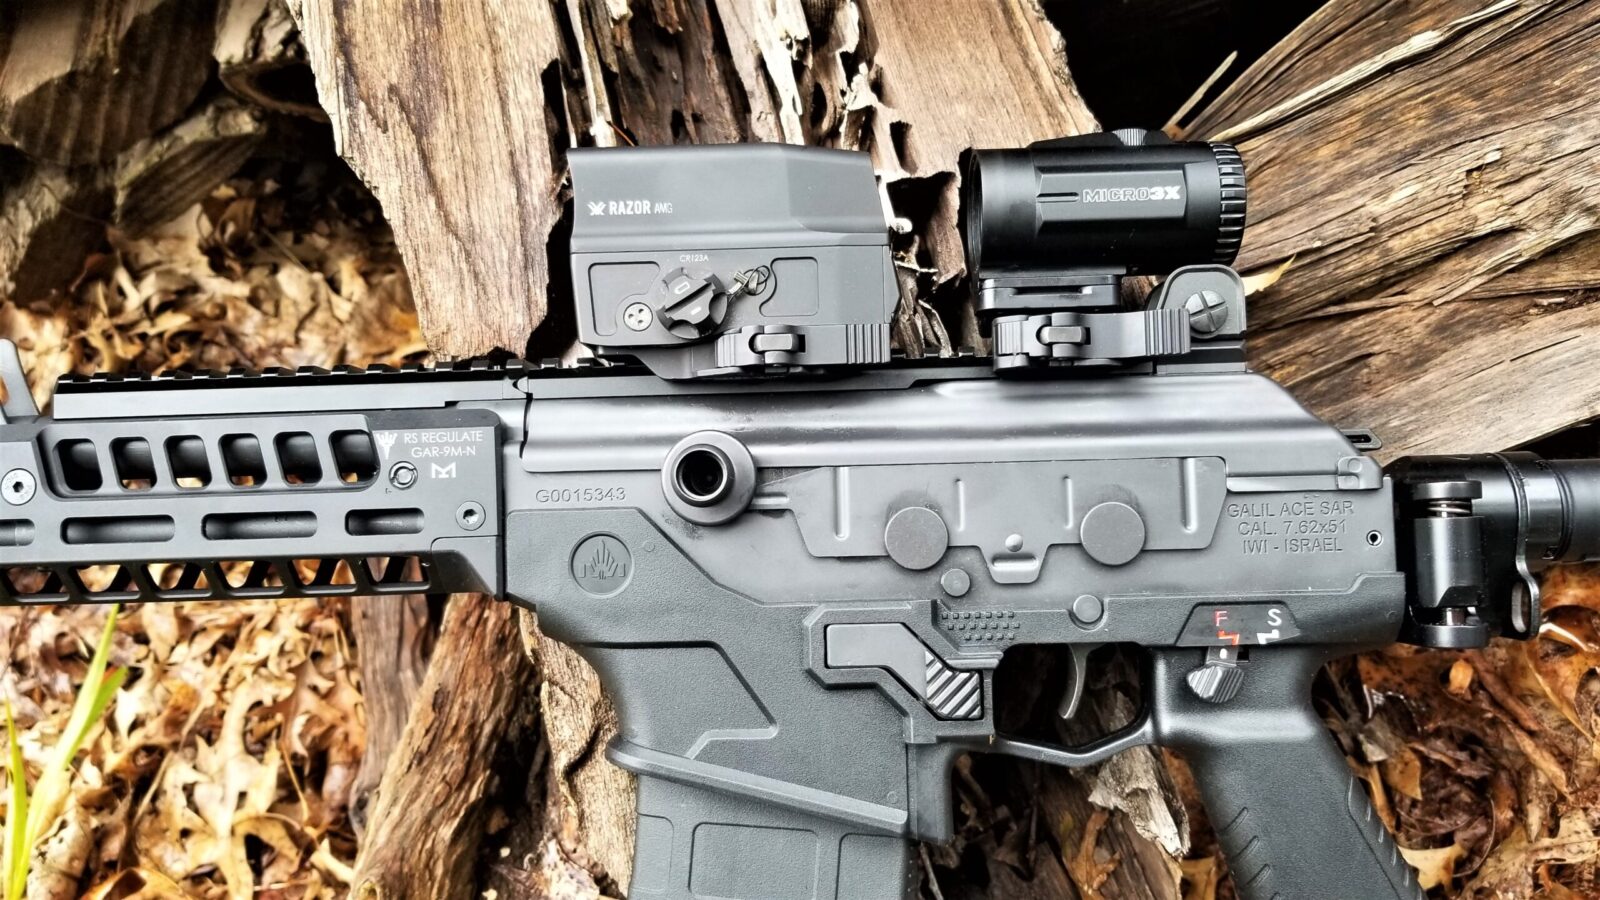
Installed a RS Regulate GAR-9M-N Handguard
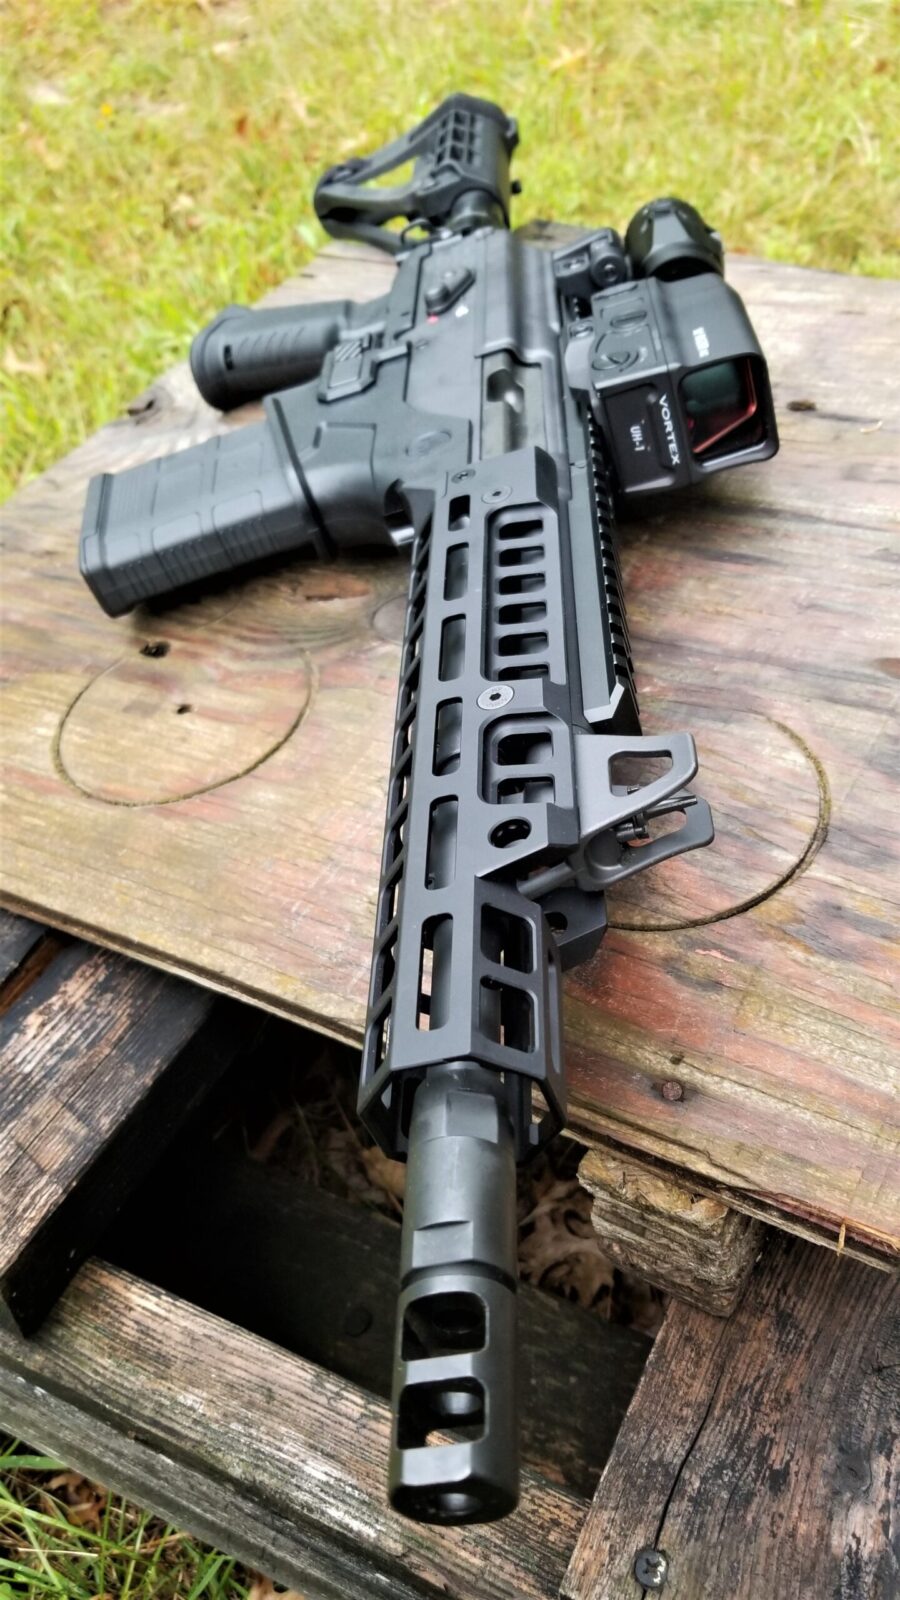
I was not fond of the original handguards and was pretty sure I would like the GAR-9M-N handguard from RS Regulate based on photos that Scot Hoskinson had posted. Let me tell you, it is a huge improvement. First off, it’s way longer and second it uses a M-LOK attachment method for accessories so you don’t have unnecessary rails bulking up the girth like you do with the originals.

Scot Hoskinson, the owner of RS Regulate, has put together a real nice installation guide with plenty of illustrations. The one thing I’ll tell you is that the two original handguard screws from IWI have threadlocker on them.


You can heat them up and make them easier to loosen, use a 1/4″ ratchet with a 4mm allen/hex head to break the screws free or, what I did, was a bit of both. With the gas tube off and out of the way, you can see where the two screws mount on the barrel. I heated that up and backed them out with the ratchet pretty easily.

From there, you basically pull the stock handguard down nose first and pull forward. Then, follow Scot’s instructions. You will need to pay attention and install a small spacer between the barrel mounting point and the handguard when you install the new screws. I applied blue Loc-tite and torqued them down to 25 in/lbs per Scot’s instructions. You also have to install one long screw at the rear that you’ll want to use the blue Loc-tite and torque to 25 in/lbs also.


This is a slick handguard – the fit and finish are superb. I’ve come to expect that from all RS!Regulate products. Scot’s created another great product in my honest opinion. His AK scope mounts are the best hands down in case you aren’t familiar with them.
Opted For a Vortex Razor AMG UH-1 Optic and 3x Magnifier
I figure this will be a close in weapon – certainly within 200 yards probably – and will figure that out when I get it to the range. With that in mind, putting a high power optic on it just does not make a lot of sense but I also wanted magnification just in case so I checked out what Vortex Optics had to offer.
I’ve now used a boat load of their red dots and scopes on all kinds of firearms including 12 gauges, .50 Beowulf and .338 Lapua. They’re solidly built, good glass and back by a no-nonsense warranty. So they are my go-to for optics and have been for several years. Yes, I do actually have to buy them and no, they do not pay me to say that.
At any rate, I’d been eyeing the Razor AMG UH-1 for a while. Now that is a mouthful and I notice a lot of guys just refer to it has the “Huey” due to the UH-1 helicopter. It’s a true holographic sight which means a laser image (a hologram) is projected into the viewing window. The benefit of this is that regardless of the angle you look through the lens at, if the dot is on the target, it’s going to hit there.


Battery life is somewhere around 1,500 hours and there are a lot of variables that can influence that including the brightness of the reticle (there are 14 levels), whether you are using a CR123A battery or a rechargeable LFP123A. Note, Vortex found that recoil kills the basic rechargable RCR123 batteries in 2-300 rounds. They stopped testing the LFP123A at 10,000 rounds and it was still working. I’m using the supplied CR123A still at this point and will likely use Surefire CR123A batteries going forward as I keep them in stock for lights.
In short, the Huey is very slick and it’s getting great reviews. I’ve been a long-time red dot fan and the UH-1 is my favorite at this point.
To get a better view at 100-200 yards, what I did was to pair the Huey sight with the Vortex V3XM Micro 3x magnifier. What this does is give me the ability to install, remove or even swing the installed optic out of the way when I need or don’t need the target to be magnified 3x.


The V3XM is small, light, has a quick release lever also, just like the Huey, and pairs very nicely with it.
Magpul PMags and Drums
The 7.62×51 Ace uses Magpul’s 7.62×51 PMags. You can get them in a number of sizes as well as a drum if you really want to rock and roll. I bought some 20s, 25s and one of the D50 drums. I’ve not tested the pistol yet but expect it will work great with all of them. Note, both PSA and Gun Mag Warehouse have a variety of mags and drums that will fit.

Summary
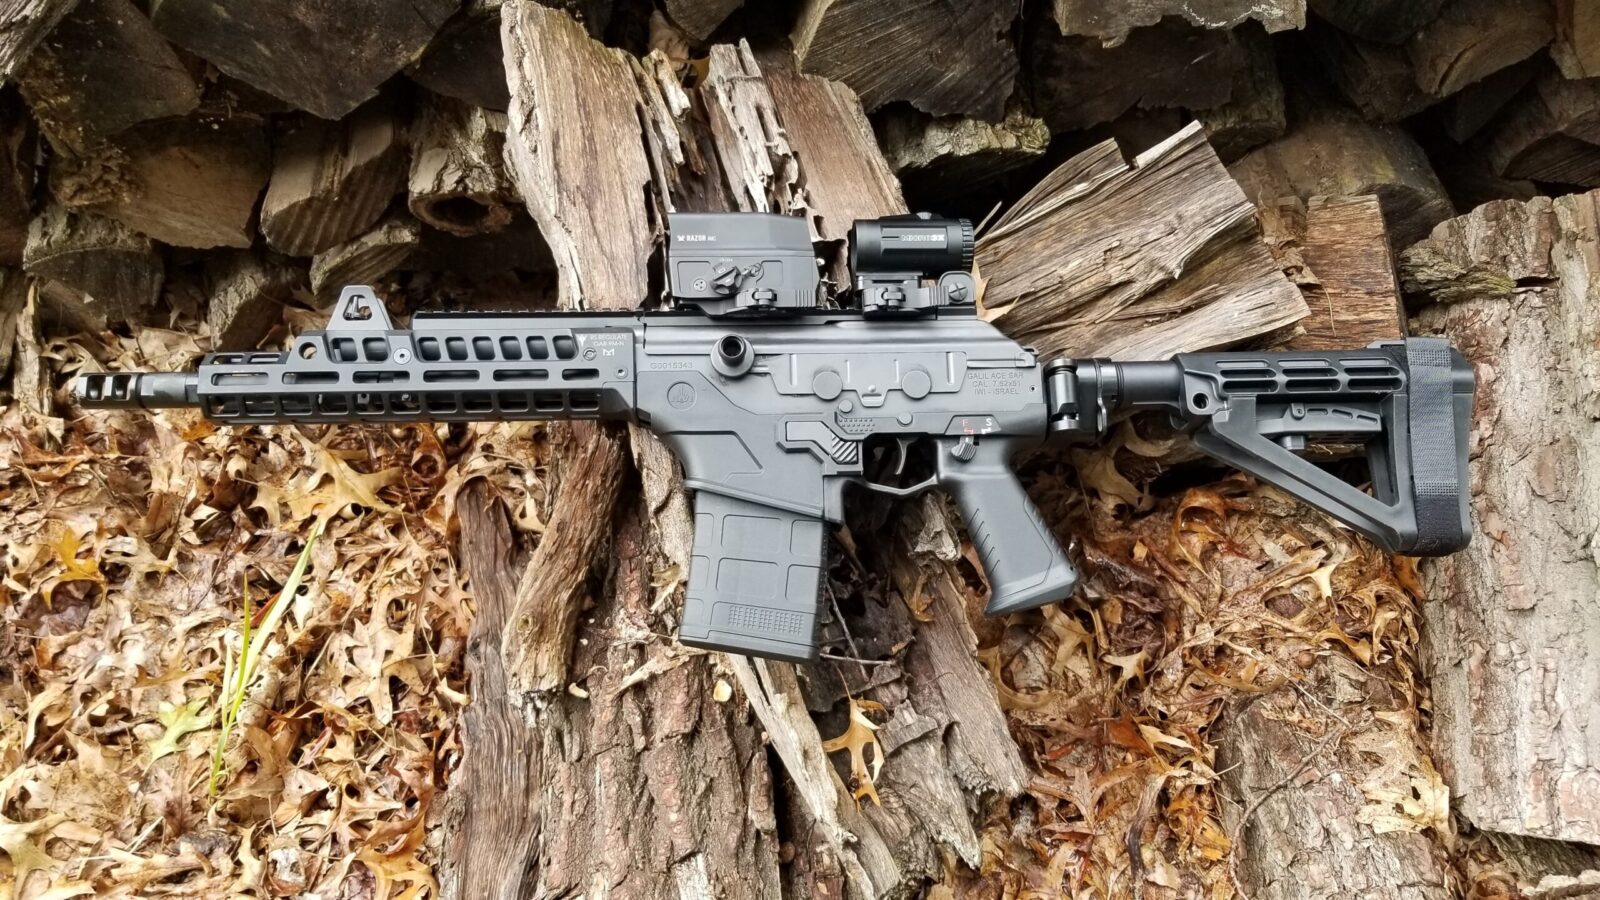
The pistol really turned out slick. It balances well and ought to be a blast. Now just to find some time to get to the range before it really gets cold 🙂 Here are some photos for you:
Note, I have to buy all of my parts – nothing here was paid for by sponsors, etc. I do make a small amount if you click on an ad and buy something but that is it. You’re getting my real opinion on stuff.
If you find this post useful, please share the link on Facebook, with your friends, etc. Your support is much appreciated and if you have any feedback, please email me at in**@*********ps.com. Please note that for links to other websites, we are only paid if there is an affiliate program such as Avantlink, Impact, Amazon and eBay and only if you purchase something. If you’d like to directly contribute towards our continued reporting, please visit our funding page.
