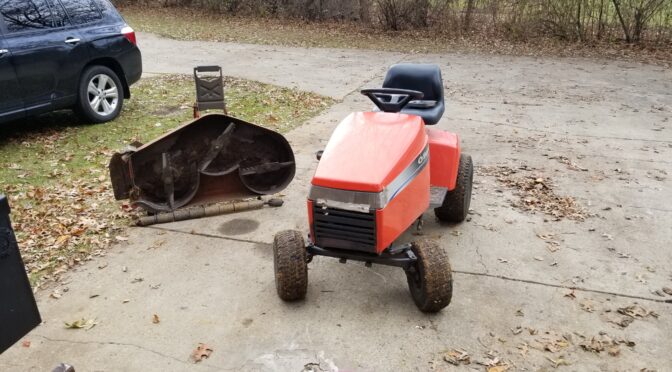
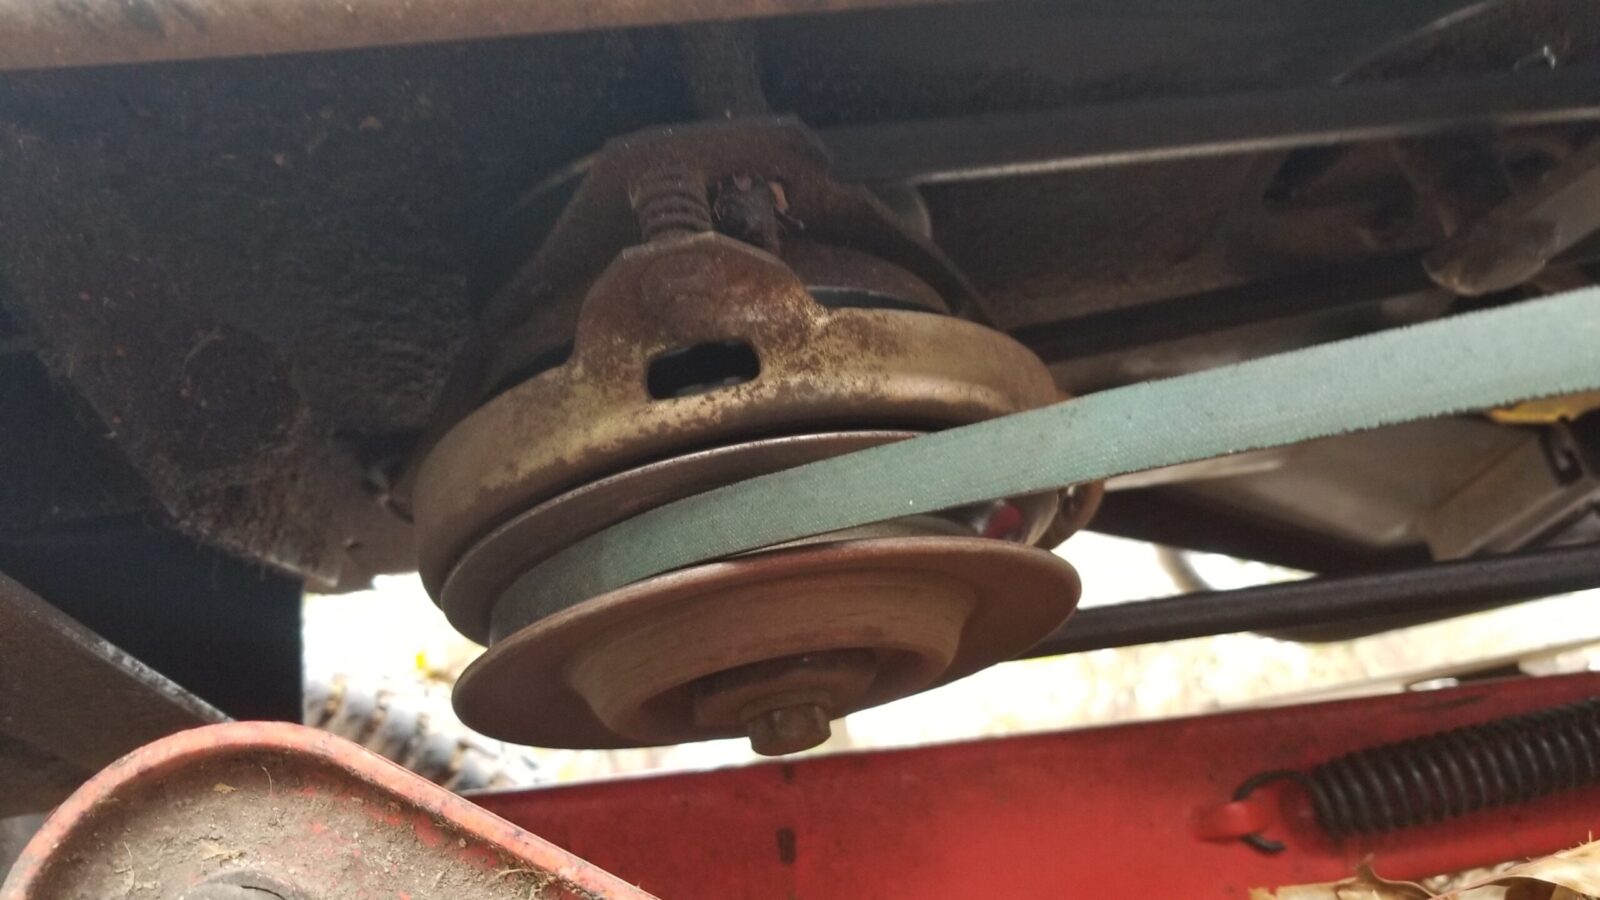
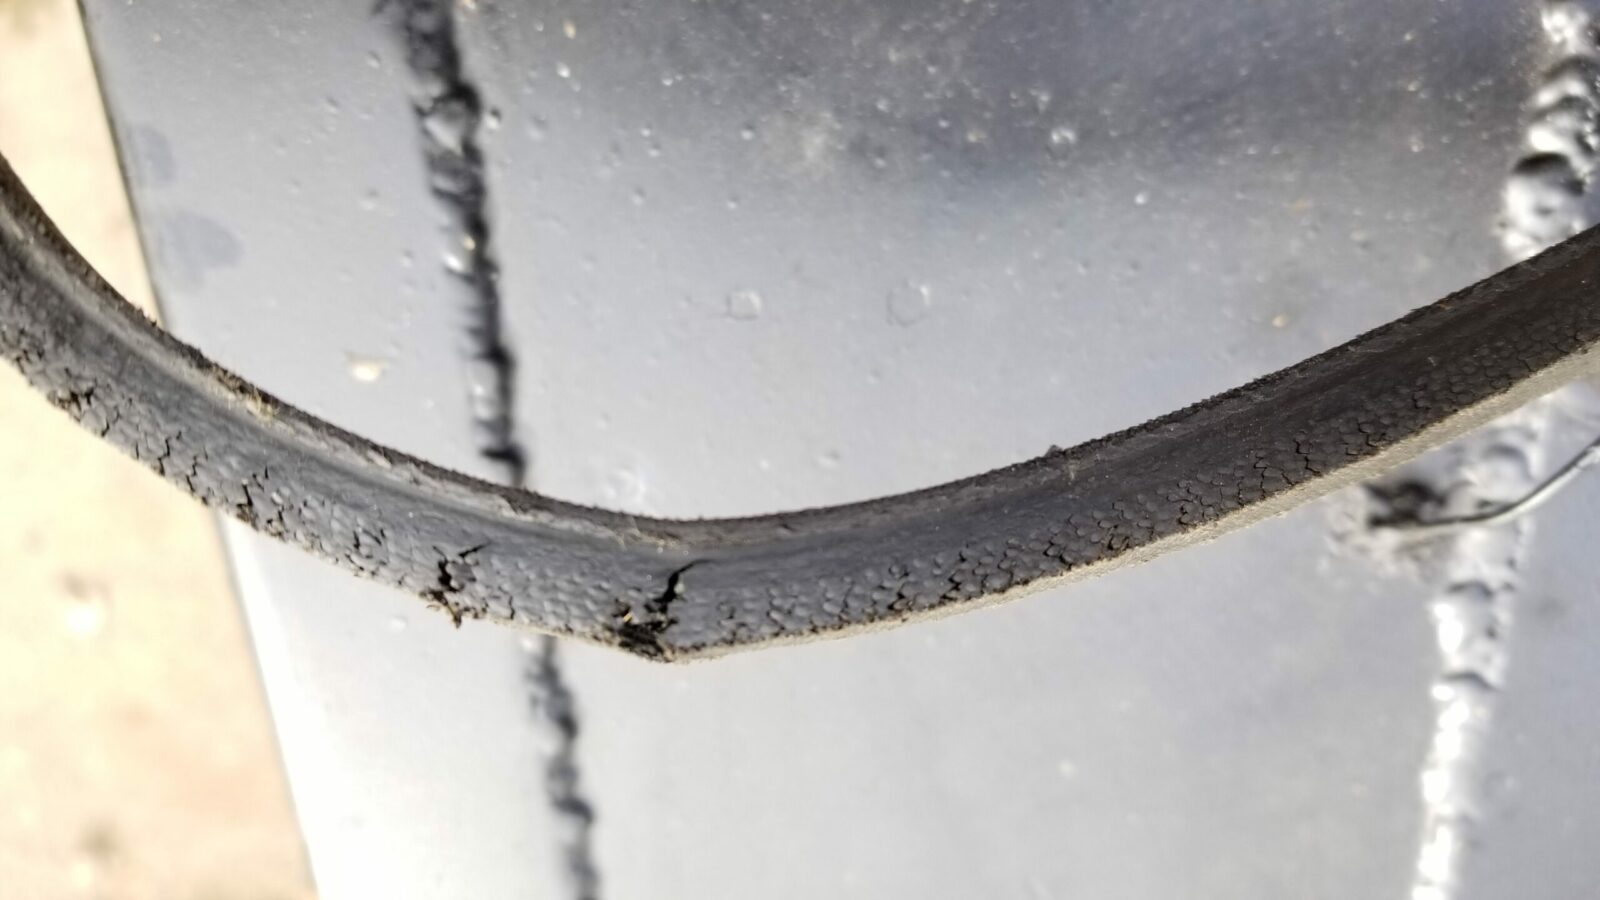
This fall we had a ton of leaves to mulch as usual. This means every week I mow our acre and a half for about two hours at a time. Long ago, I replaced the OEM Simplicity blades with Oregon Gator blades in the tractor’s 44″ mowing deck to help with this. At any rate, I pushed on the parking brake and all of a sudden heard a weird rattling sound so I turned the tractor off expecting to see a branch stuck underneath – no such luck. I started feeling and looking around and the drive belt felt loose and the idler assembly was as far as it could go. I looked closer and could see the cracks in the 21 year old original drive belt. Argh …. it needed a new drive belt and I really didn’t have the time but what are you going to do?
Finding the Belt
Simplicity did me a favor by having a decal under the hood that identified the drive belt part number along with a few other belts:
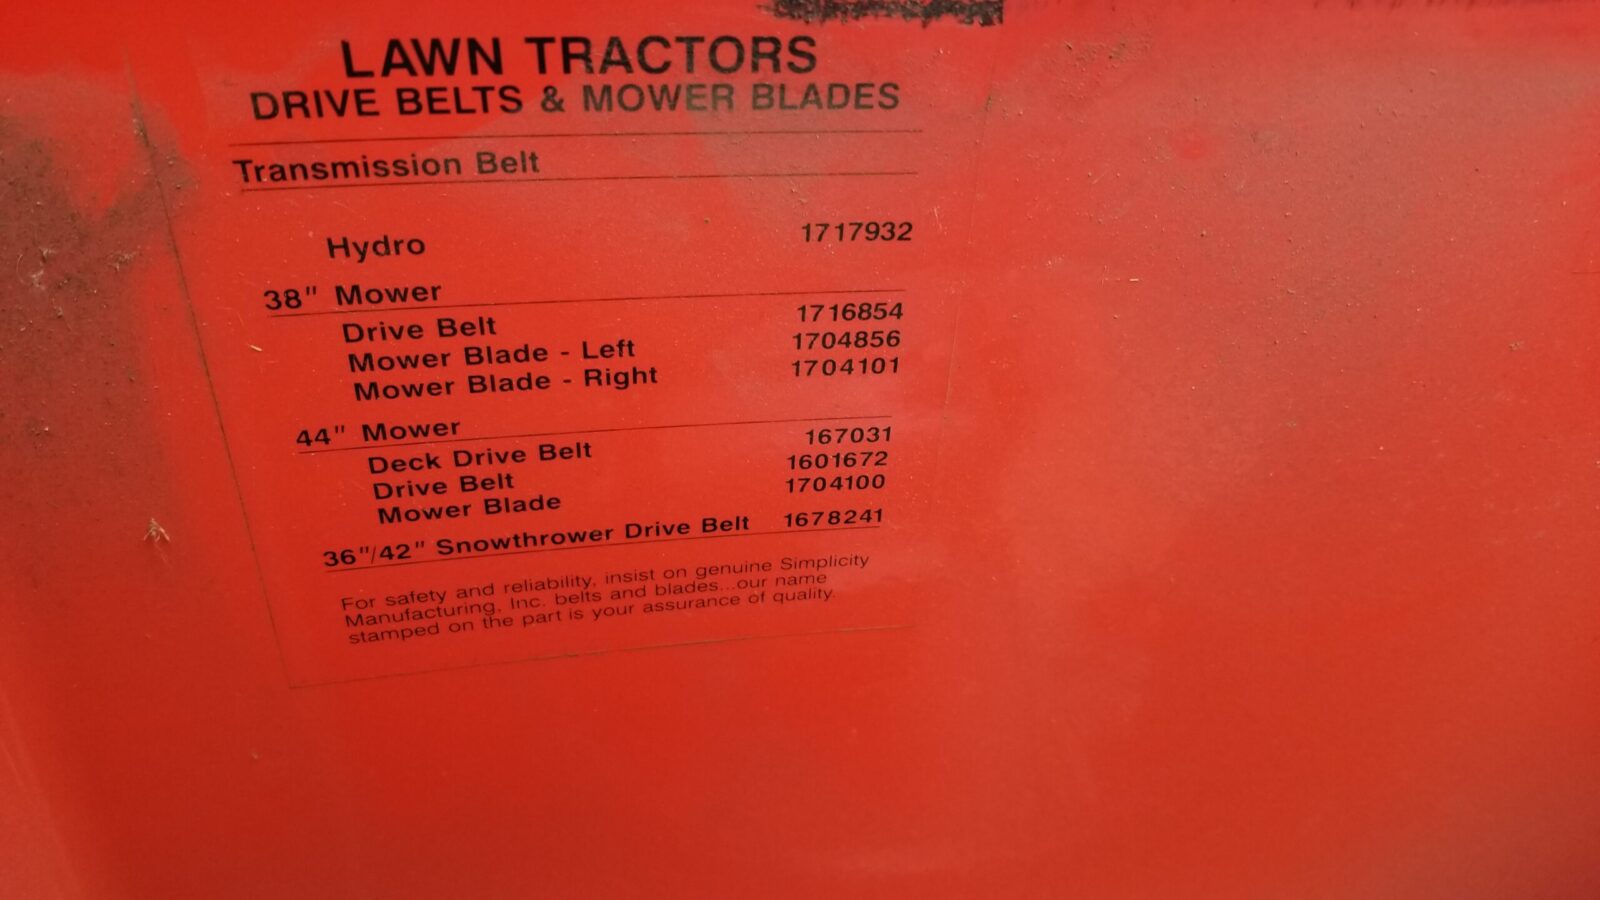
The correct drive belt part number for the tractor is the 1717932. If you look that part number up, it is an 84″ belt with a 4L profile. “4L” means that the top of the V=belt is a 1/2″ wide and from top to bottom, it is 5/16″ tall. The “L” means the belt is for light industrial or lawn & garden use.
Now, one could argue the original belt lasted 21 years so just get the same thing – either an original Simplicity part of a good 4L-84 belt. I tend to like safety margins and when something is a bear to do, I really just want to do it once and not worry about it again for a long time if ever. I have no idea how long the tractor will last – I’m replacing parts like the ignition switch and starter and even more recently torquing the motor mount screws back down. More concerning is that it smokes just a tad after it starts (wearing valve stem seals I bet) and has a slow oil drip (seals). At some point it will die on me but I do hope it is a long way down the road plus a friend pointed out I like tinkering and it gives me something to do – as if I ever have free time anways.
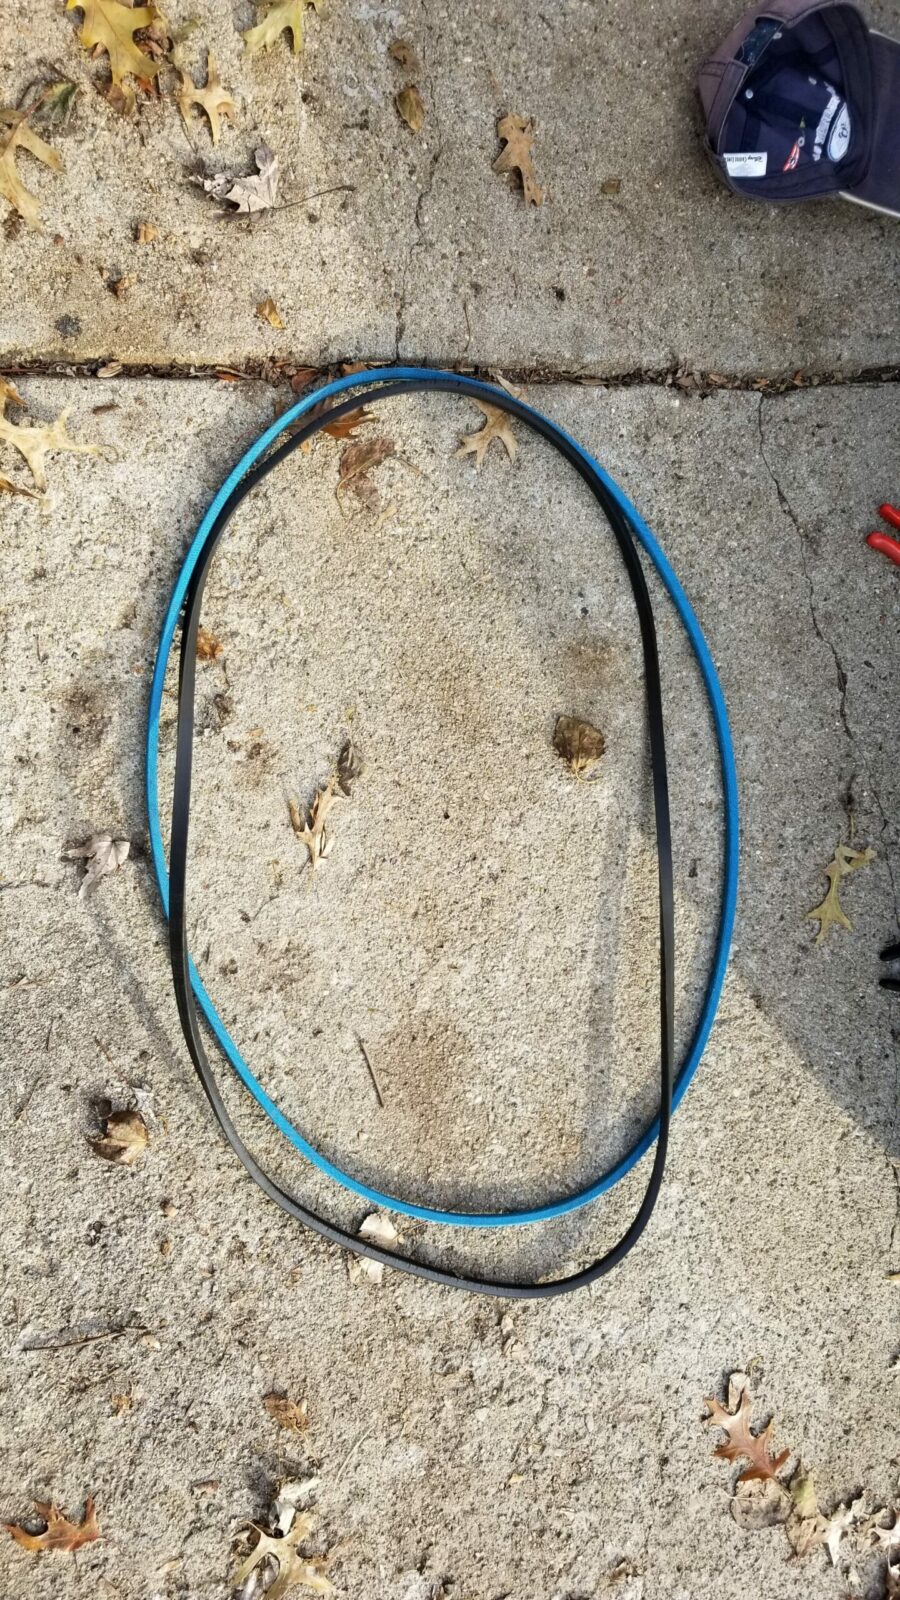
At any rate, let’s get back to the drive belt. All belts deteriorate over time. The question becomes how fast will they break down? There are many factors including the rubbers and fibers used plus the strain placed on the belt. 21 years was really a good run but I wanted to up my game and move to a 4LK belt – the “K” means that that Kevlar fiber is used vs. polyester or whatever.
Ordering The Belt
Once I knew the Simplicity part number, it was easy to do the searching and I found a Kevlar belt on Amazon that I ordered. Amazon’s delivery speed is astounding now – I have Prime, ordered in on 11/21 and received it on 11/22! I like Amazon because I can see the ratings and the delivery speed is fantastic.
I did take a bit of a gamble on the D&D PowerDrive belt – it had one good review and one complaint that it was the wrong size. D&D belts get mixed reviews but seem to be more positive than negative so we’ll see. I’ll post updates about how well it lasts because it definitely will be installed correctly.
If you are wondering why I didn’t get a Gates or a Dayton – I tried to go with an easy purchase experience. Hopefully it sorts out in the long run and time will tell.
How to Install the Belt
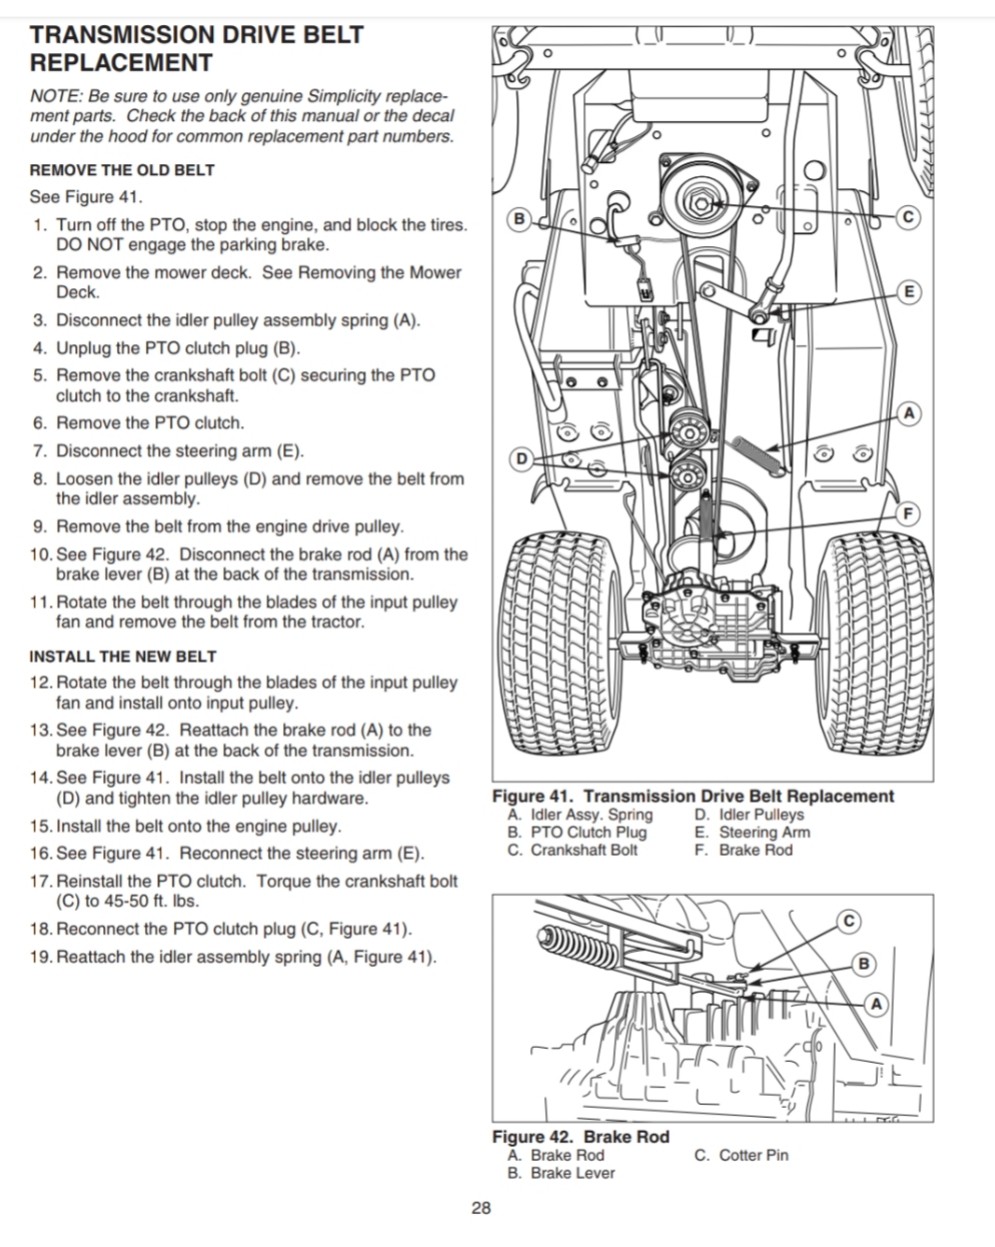
The installation went pretty well with two notable exceptions that I will cover shortly. I did some digging on the web and found a PDF of what to do that I then converted into a screenshot for you:
My two biggest headaches were unplugging the PTO clutch and then removing the damn cotter pin on the brake rod. For the PTO clutch electric fitting, slide a blade up under the locking tab and then keep working around the block with a small screw driver to try and loosen it up. I suspect that fitting hadn’t been disconnected since the factor and it did not want to come loose. Be careful to pull the fitting apart by focusing your efforts on the plug and the housing – if you pull on the wires, they may pull out. Eventually it did come apart and when I reassembled it, I applied silicone di-electric grease to both seal the connections and ease disassembly in the future.
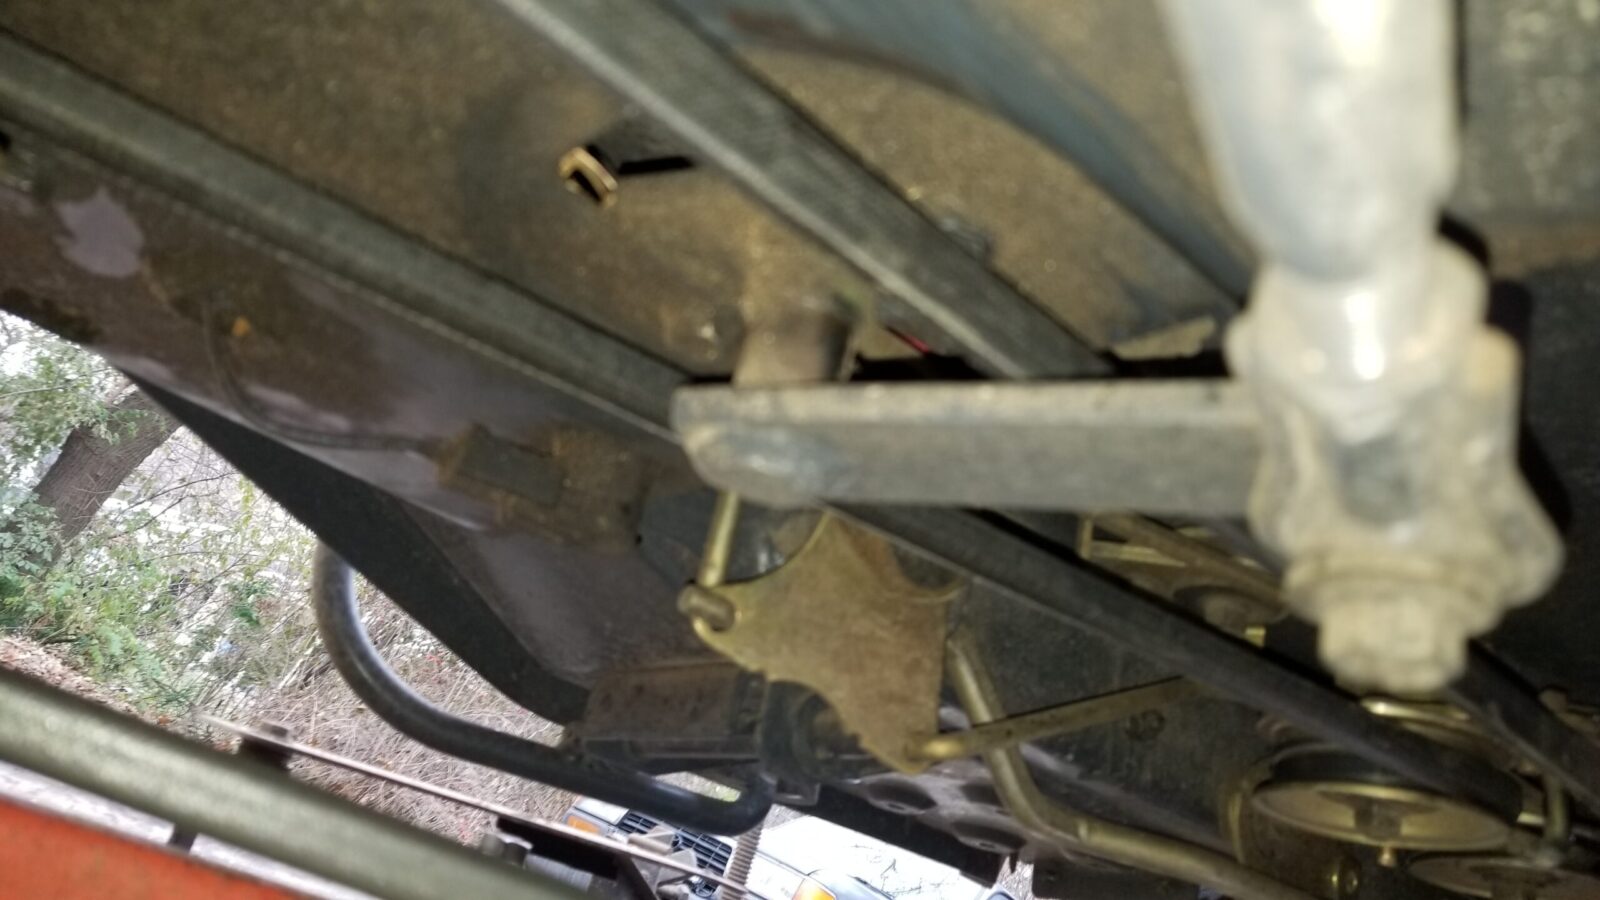
The hardest step was removing the cotter pin (C) that secures the brake rod (A) onto the brake lever (B) in Figure 42 above. It is an absolute pain in the ass to get to and I had to work blind because I could only get one hand back in there. How they made it a pain was that the closed end of the pin was facing towards the inner rear meaning I could not hook it and pull. What I did was to take and hook the flared ends and pulled them relatively straight. I then shoved one jaw of a pair of needlenose pliers into the eye of the pin. To remove the pin, I then rotated the pliers and wound/curled the pin around the jaws until it was out of the hole. Sheeesh. When I reassembled it later, I put the eye facing the front of the tractor so I can grab and pull it way easier. By the way, I did not use a Dremel to cut out the pin because the plastic reservoir for the transmission oil was too close for comfort.
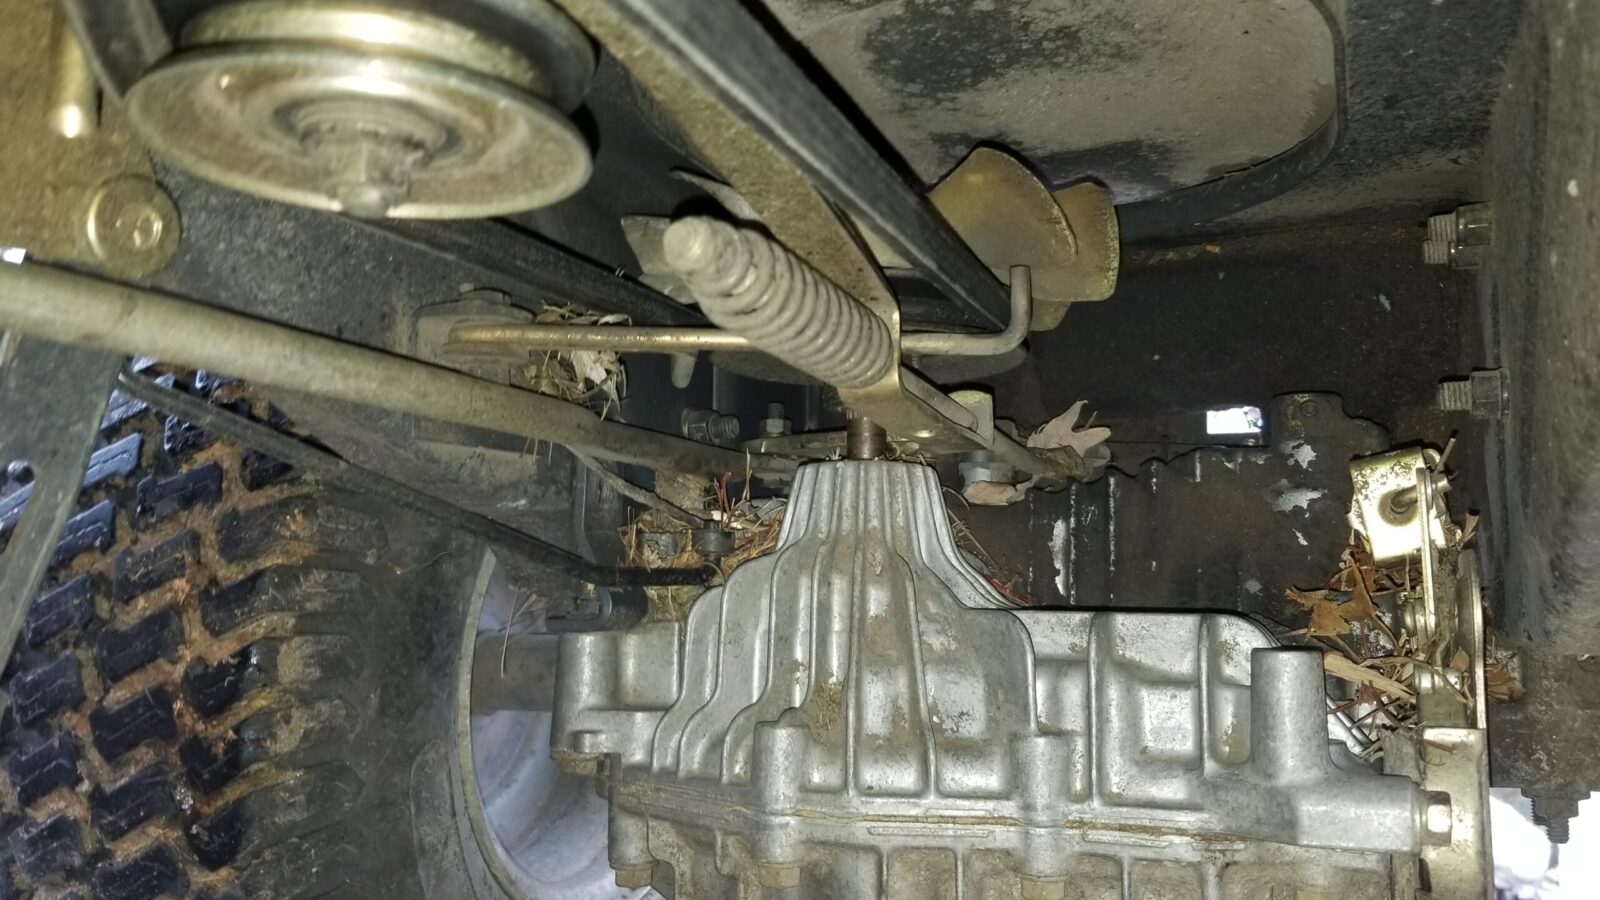
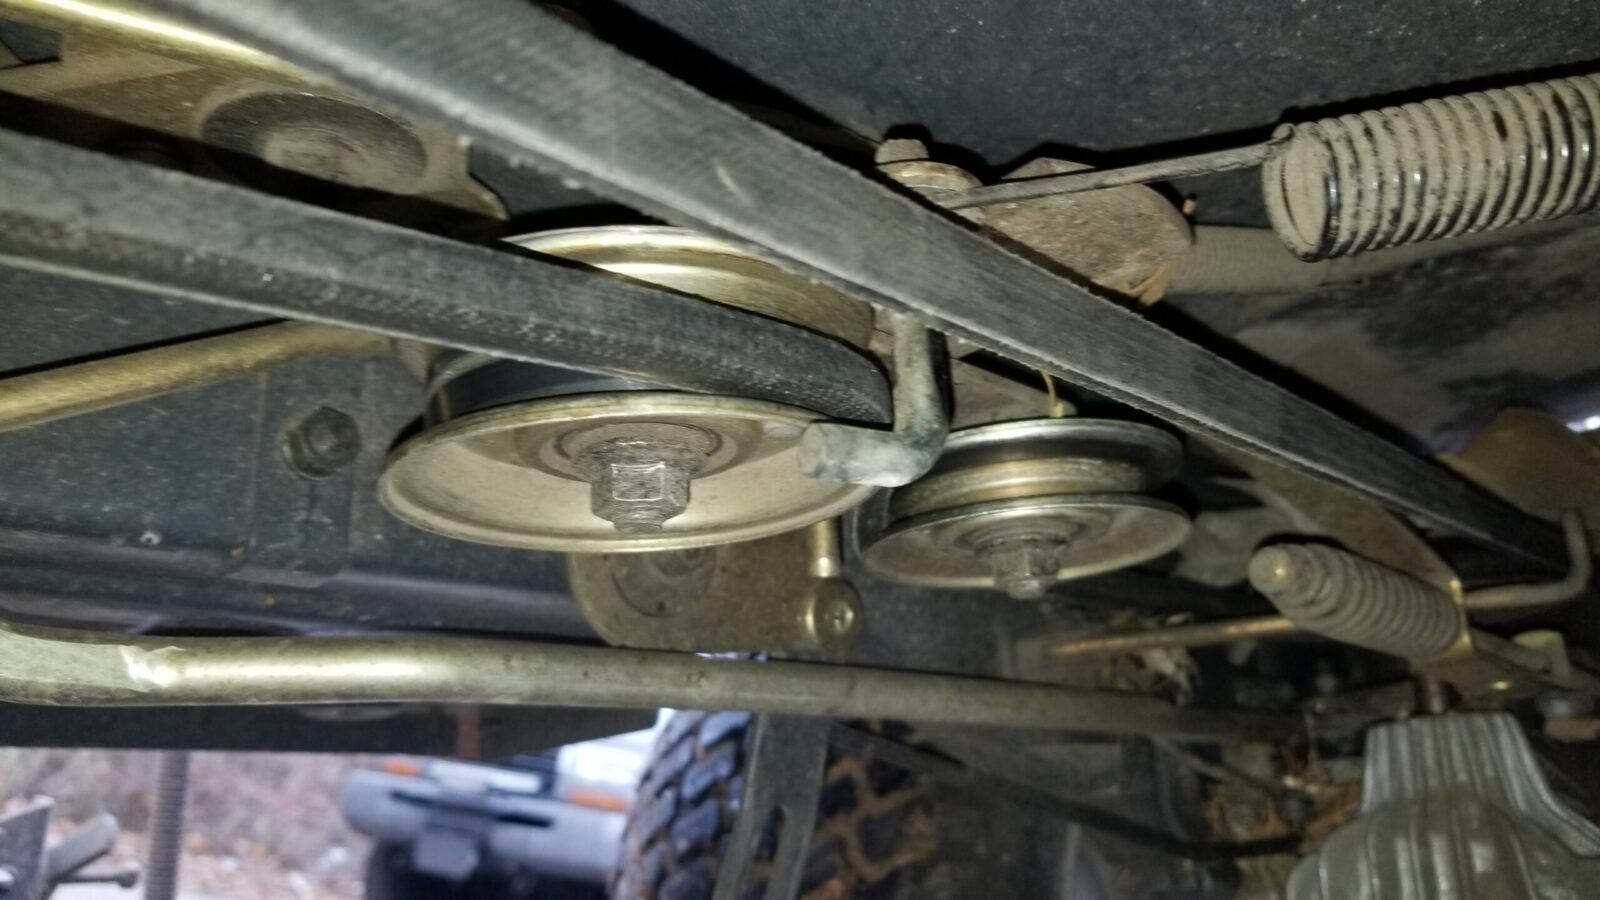
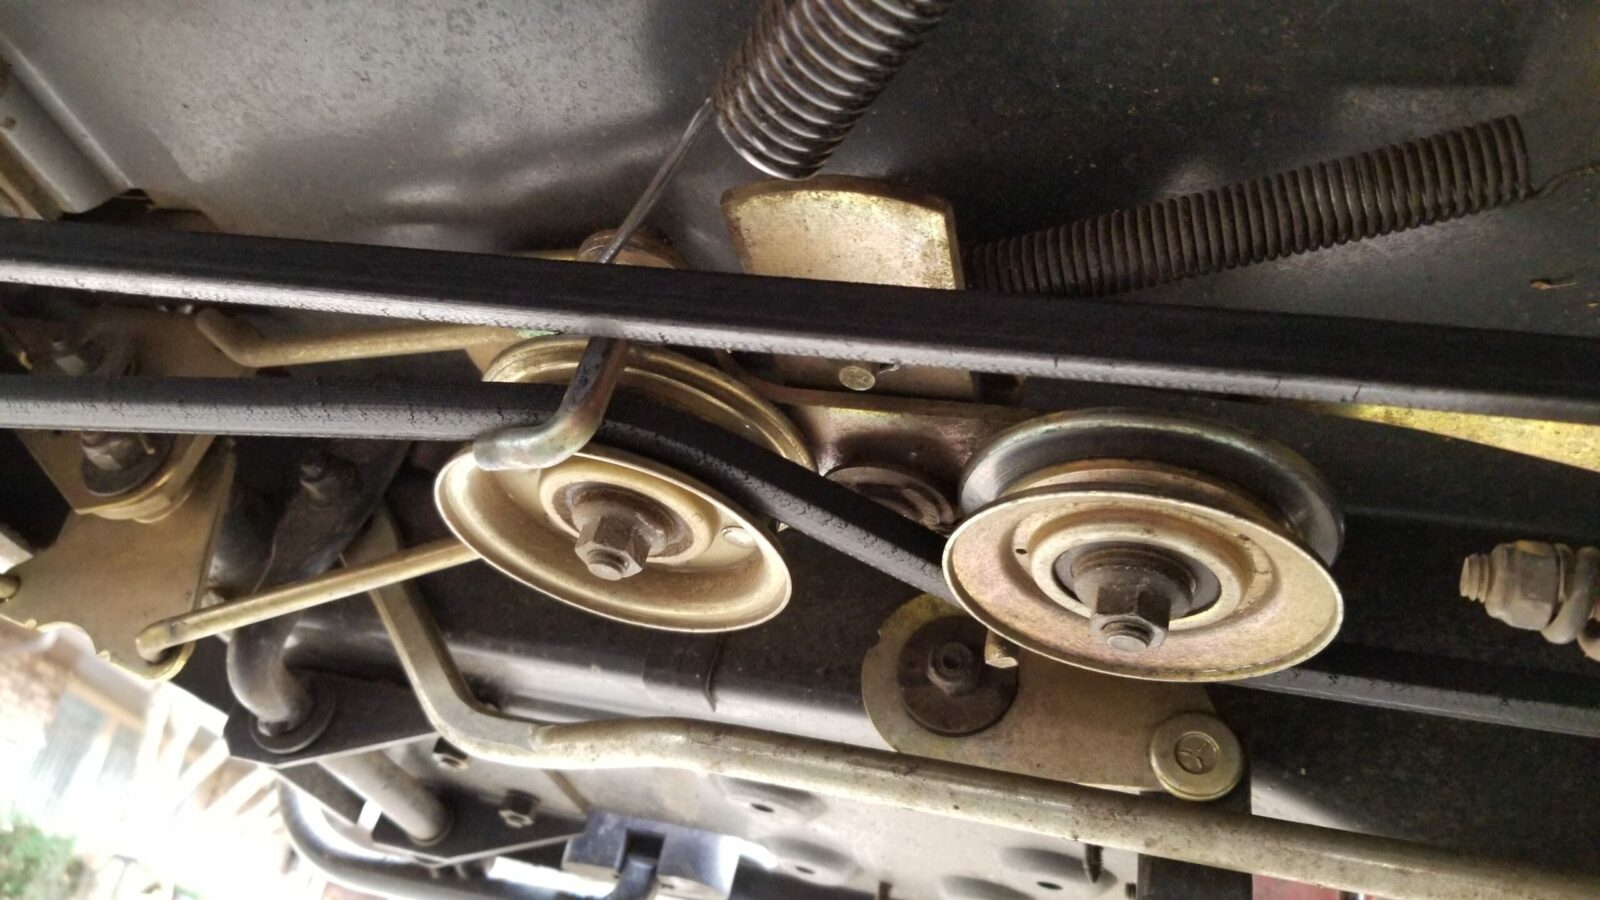
Before you remove the old belt, pay careful attention to the belt and how it passes around the brake assembly, through the idler assembly and around the arm. The illustration above is pretty good but the devil is in the details and the belt must not rub on anything when reassembled. My tip would be to take a ton of digital photos to refer to. In the old days you had to sketch stuff and the photos are way easier.
In Conclusion
Kudos to Simplicity for a good illustration and guide. Re-assembly went smoothly and I then mowed/mulched leaves for two hours including some really thick areas so it passed the first trial by fire. Looking up under the tractor, the belt looks solid – no fraying or cracks. We’ll see how it holds up over time and I’ll report back but so far, so good. I hope this helps you out.
2/12/24 Update: The D&D belt is still working just fine! Click here to go to the Amazon product page for it.
If you find this post useful, please share the link on Facebook, with your friends, etc. Your support is much appreciated and if you have any feedback, please email me at in**@*********ps.com. Please note that for links to other websites, we are only paid if there is an affiliate program such as Avantlink, Impact, Amazon and eBay and only if you purchase something. If you’d like to directly contribute towards our continued reporting, please visit our funding page.