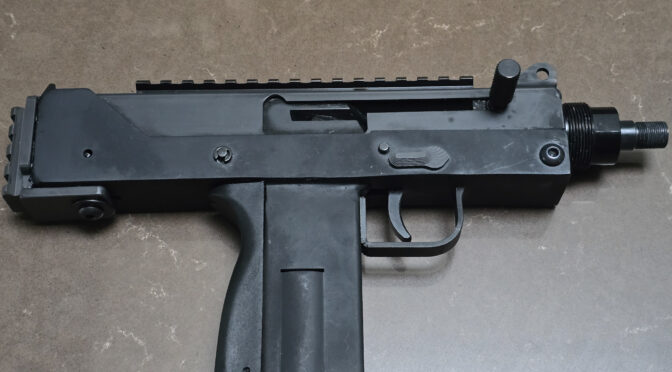
As I mentioned in the first post, a fit of nostalgia over the MACs and then seeing the 3D printed firearms coming out using MAC uppers started me digging. What really cemented the deal is that you can build a VMAC9 very affordably. I’d argue it’s one of the best deals out there and at the end of the day, you have a modular firearm you can change over time as your needs change.
There are a number of companies that make complete uppers and I am only going to list the ones I heard good things about. Just remember that any person or business can produce a defect. I look for general trends, comments about customer service and how much money is being spent. The reason for this is that under a certain price level, I will gamble. Conversely, once somethings is over a certain level, I will not.
So, here’s the list if you are looking for MAC-type uppers and I’d recommend you do some research to here what folks are currently saying about a given company:
- JC Arms – https://jc-arms.com
- Lage Manufacturing – https://www.max-11.com/index_2020.php
- Masterpiece Arms (MPA) – https://masterpiecearms.com/cat/defender-series/
- Practical Solutions – https://macmachineguns.com/
- Velocity Arms – https://www.velocityfirearms.com/product-category/vmac9/vmac9-upper-kits/
Velocity Firearms Uppers
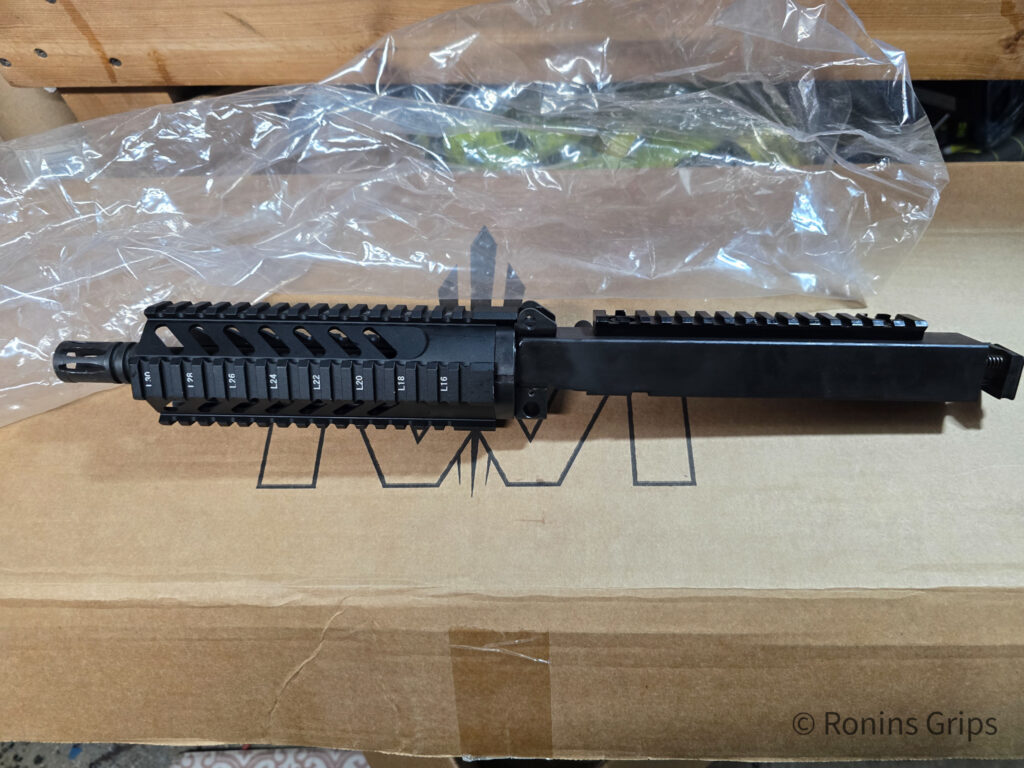
Being new to building a MAC, I decided to one stop shop and buy the lower and upper parts kits from Velocity Firearms. I went with side cocking uppers because I wanted a Picatinny rail on top to mount optics. I bought their 5.5″, 11.25″ and 16.7″ complete uppers – they had their barrels installed and came with complete bolt and spring assemblies.
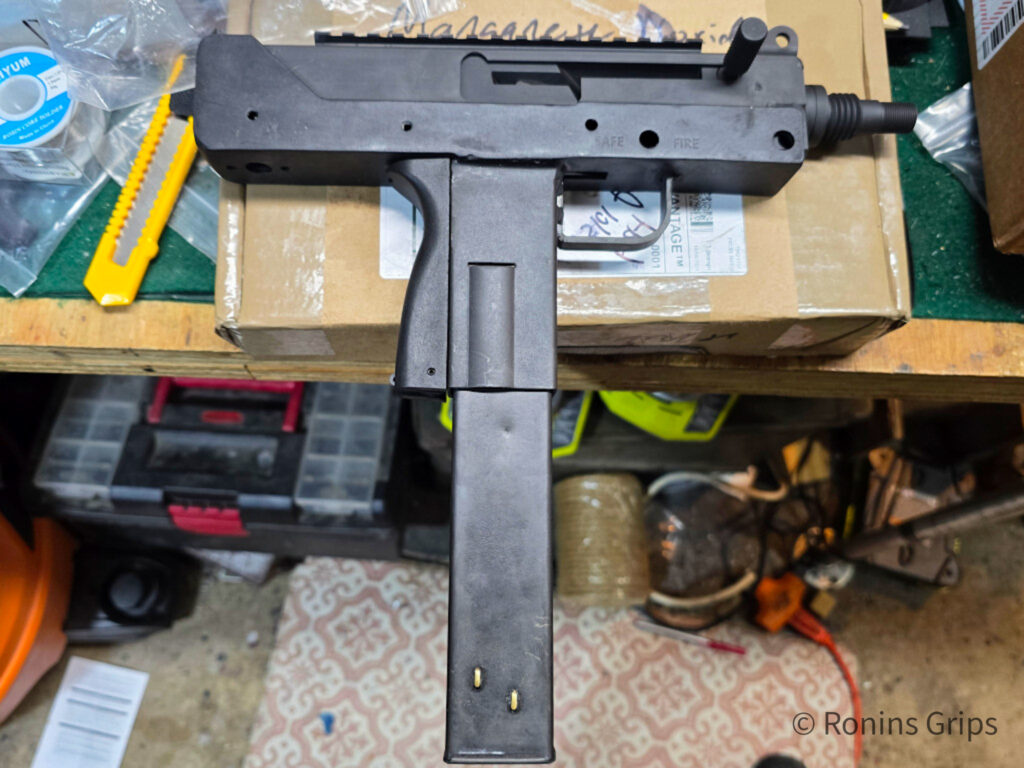
Up to this point, I had three assembled lower receivers. Once married with their respective uppers, I created two pistols and one rifle subject to the applicable regulations of the ATF and laws of Michigan. The two pistols had to be registered as such. Note, I am not a lawyer and this is not legal advice. I will tell you one thing – know what laws and regulations apply to whatever you build.
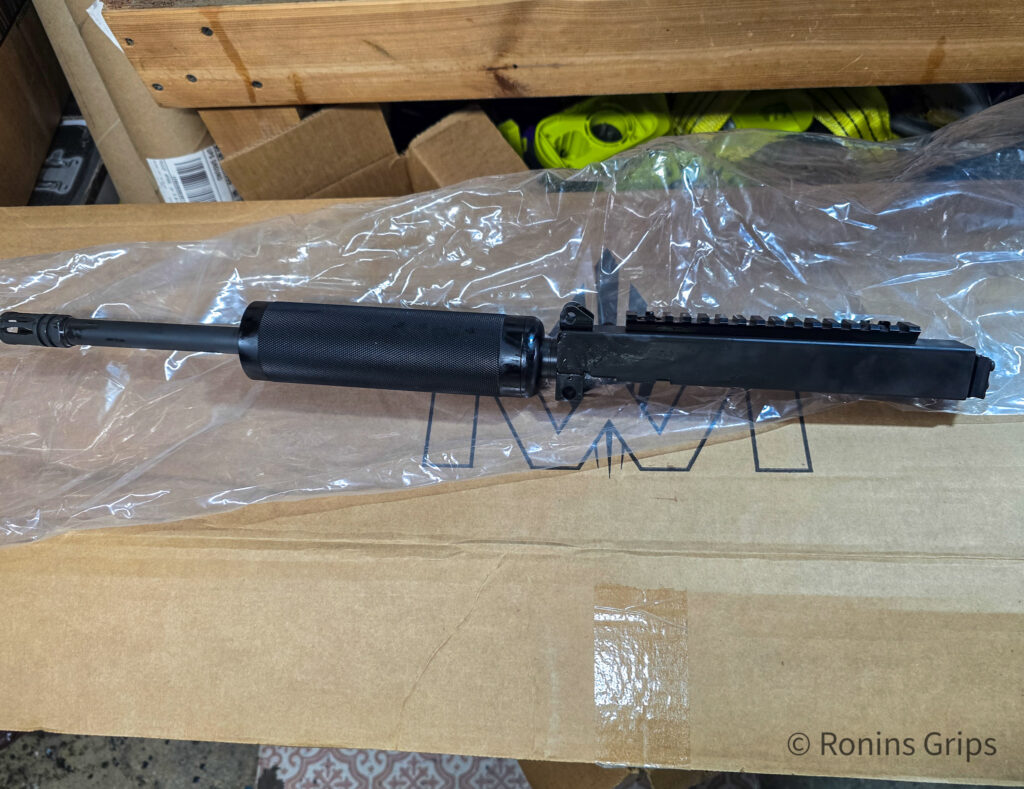
Fitting Will Likely Be Required
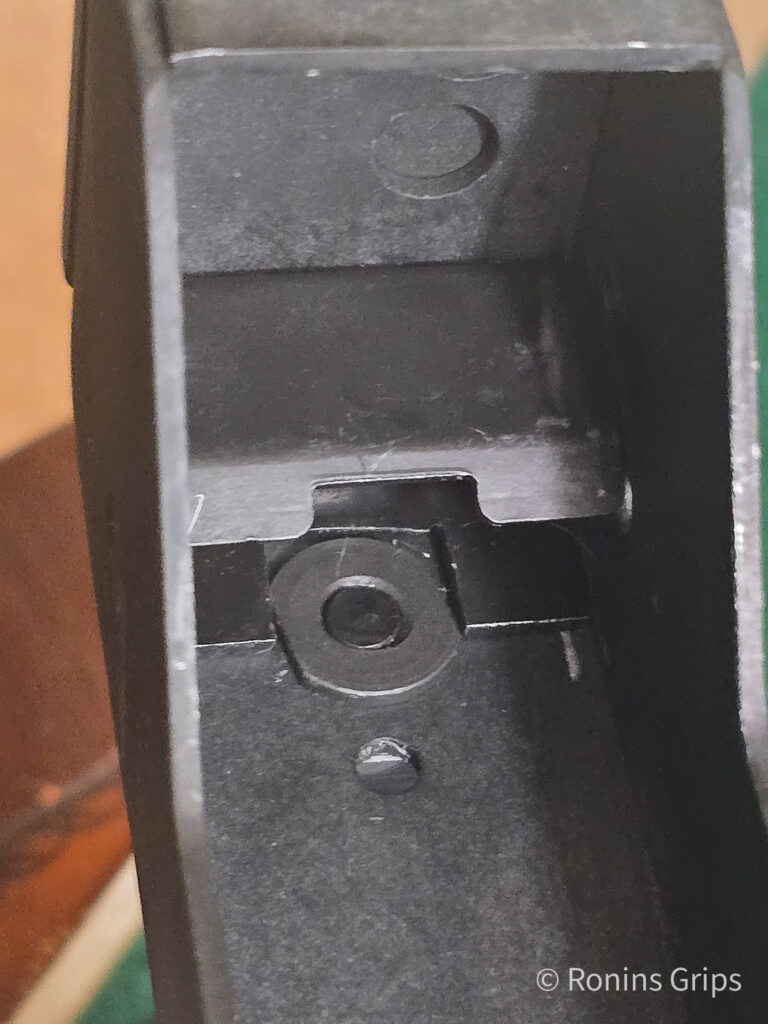
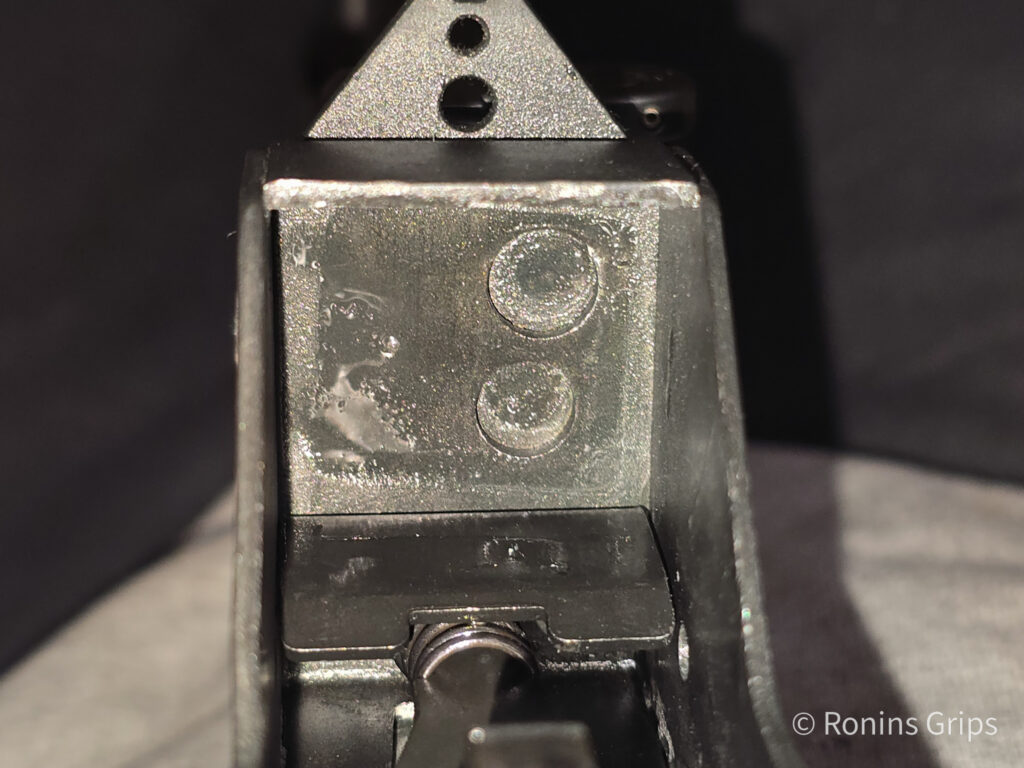
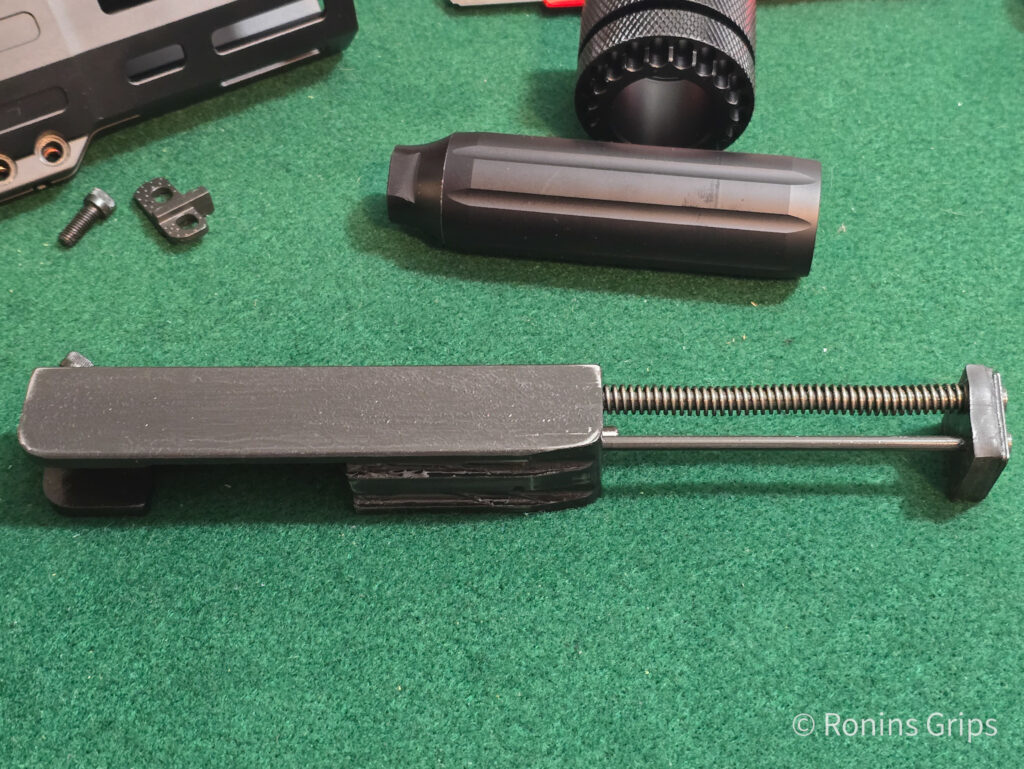
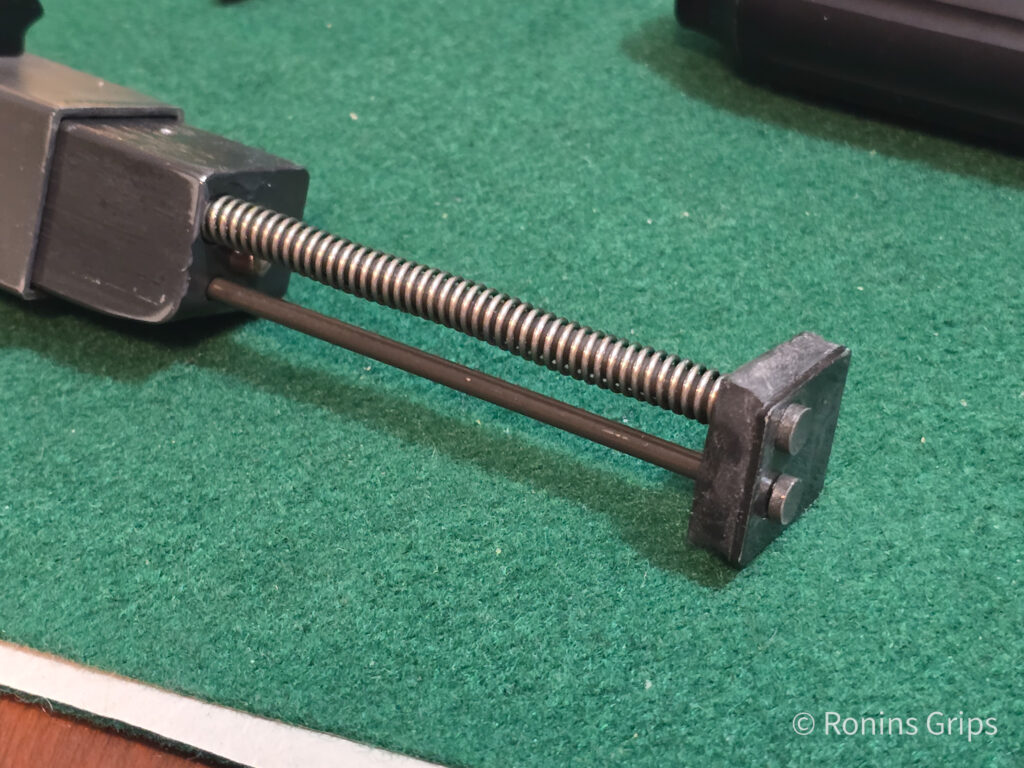
The front of the upper receiver has a trunnion that holds the front in position. The rear of the upper is held up by a spacer. I’ve seen it called the “Flat Rear Spring”, “Sear Spring Holder” and “Rear Spacer”. Regardless of the name, it’s height matters a great deal.

Why was my bolt binding?
Well, I hinted at the problem above. My flat springs were sitting on the bushing of my Practical Solutions 1913 rail adapters. When I racked the slide back, the alignment issue was so bad that the bolt would jam open at the rear plus the upper did not want to go back into the raised portion of the lower.
I write these posts after I build firearms and may seem like I have things figured out but let me assure you – at the time, I was having a WTF? moment. I somehow wound up talking to Sam Schneider, who owns Practical Solutions, who is a class 2 manufacturer specializing in MACs and Class III firearms. He has a wealth of knowledge about the MACs and explained the importance of getting the vertical spacing right. My “flat spring” sitting on the bushing of his adapter was throwing everything off when the bolt travelled backwards.
Ahhhh … That made sense. The bolt is at the mercy of the upper’s channel and it also rides the recoil and ejector rods that are spaceed by going into the back of the receiver. Of course it would make things bind up if they were off.

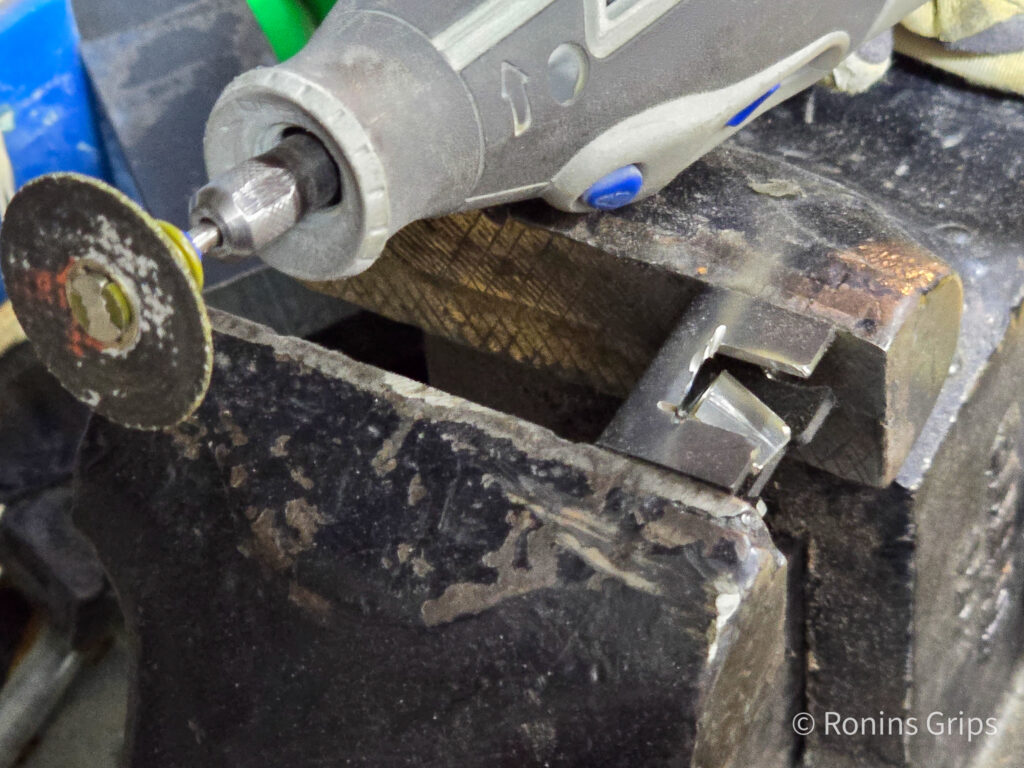
At this point, it cycled better but I could still feel it binding just a bit. The last step was to crush the flat spring just a bit in my vise to lower the upper a bit further.

Summary
There are a lot of MAC/VMAC upper options out there. Make sure your flat spring is seated on the bottom of the lower and is at the right height. If you feel binding, odds are it is too high and you can see this because the upper is hitting the top rear of the lower and not wanting to seat fully. Just take your time and bend the flat spring and test over and over until it fits.
I hope this helps you out.
Note, I have to buy all of my parts – nothing here was paid for by sponsors, etc. I do make a small amount if you click on an ad and buy something but that is it. You’re getting my real opinion on stuff.
If you find this post useful, please share the link on Facebook, with your friends, etc. Your support is much appreciated and if you have any feedback, please email me at in**@*********ps.com. Please note that for links to other websites, we are only paid if there is an affiliate program such as Avantlink, Impact, Amazon and eBay and only if you purchase something. If you’d like to directly contribute towards our continued reporting, please visit our funding page.
