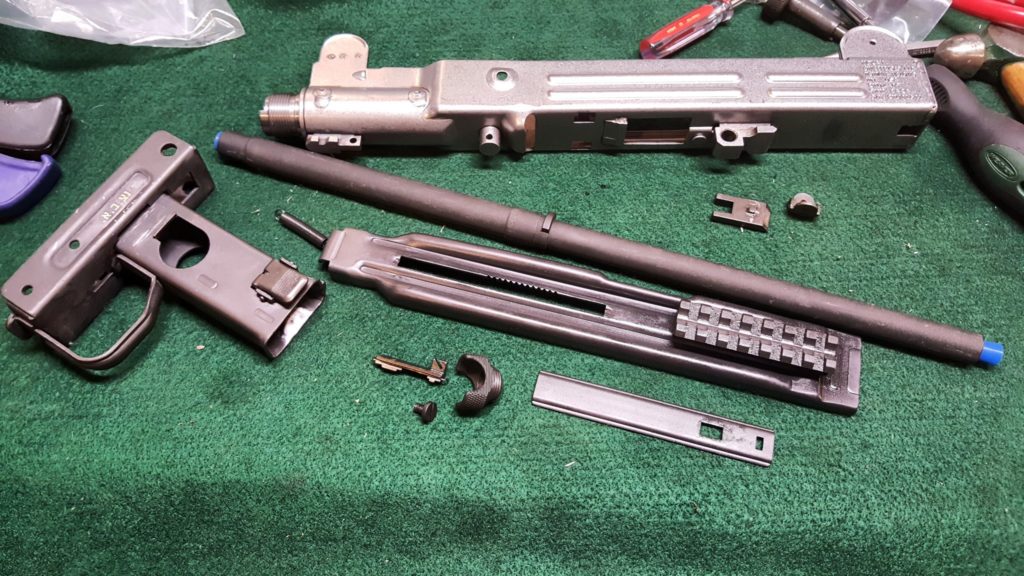
I’ve used John Norrell’s Molyresin finish for years and like it. It’s easy to apply and quite durable. My preferred approach is to abrasive blast a steel surface, parkerize it and then apply the Molyresin and bake it on. There was one challenge this time though – it was below freezing and a snow storm was going on so I opted to just blast and apply the finish. This ought to hold up fairly well. With AKs, I am always fighting the selector lever scraping the receiver but don’t have that situation with an Uzi.
1] Clean everything with brake cleaner or acetone. I use a ton of brake cleaner. Also, be sure to wear nitrile gloves to avoid getting oil from your hands onto the clean parts.
2] Here’s a time-saving trick – the Uzi’s original parts were parkerized. Just clean anything with a good parkerized surface thoroughly but do not blast it off. If the “park” is worn away, proceed with blasting the surface. The reason is simple – parkerizing creates a surface that the Molyresin can really adhere to when baked on – even more so than blasting alone. Molyresin will not last if you just spray it on a smooth surface and bake it so don’t even consider doing that. In short, at least blast the part including all edges, corners, flat places, and so forth unless they are parked already. If you have the capacity to park parts [click here for a tutorial], do that and then apply the finish.
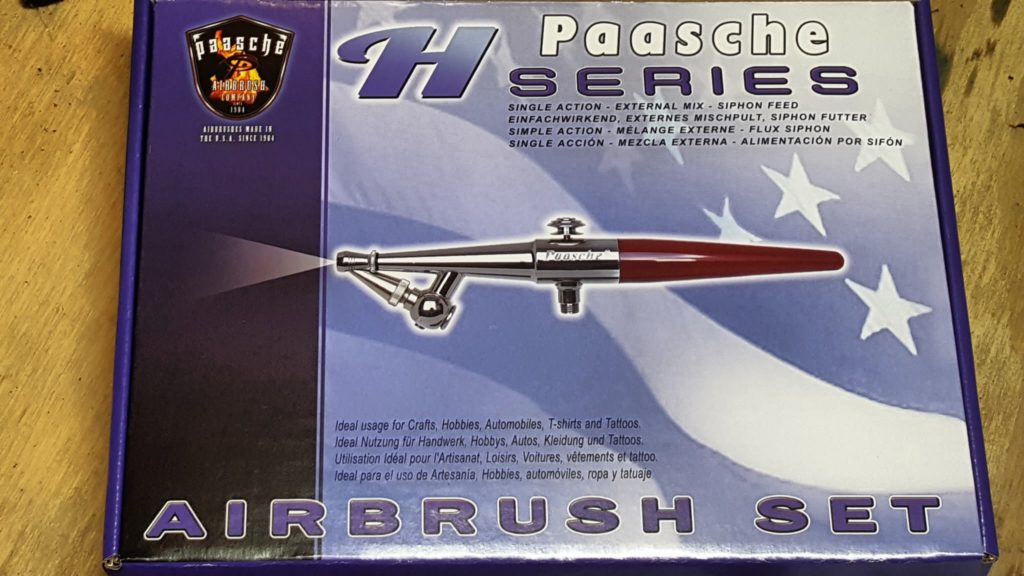
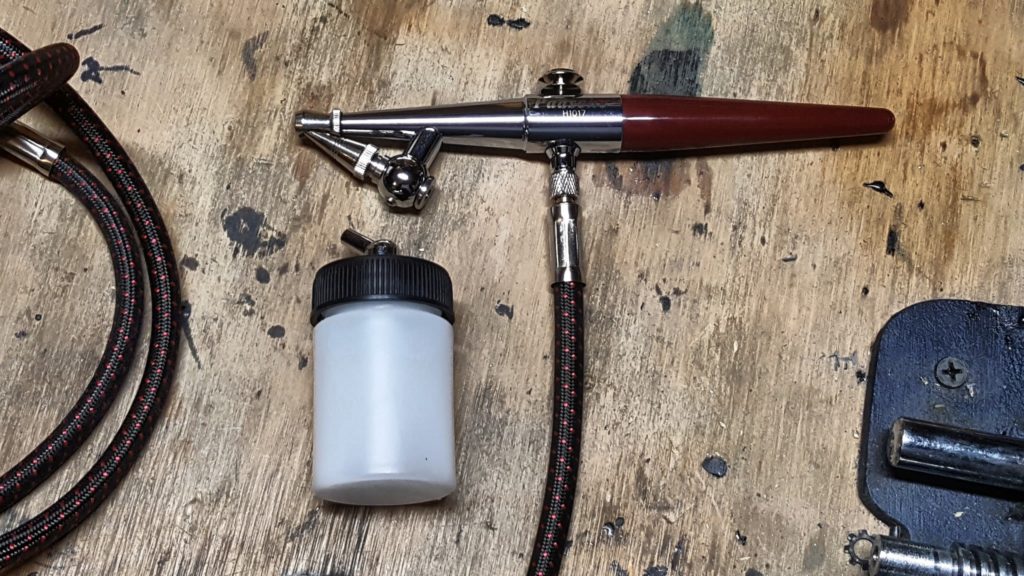
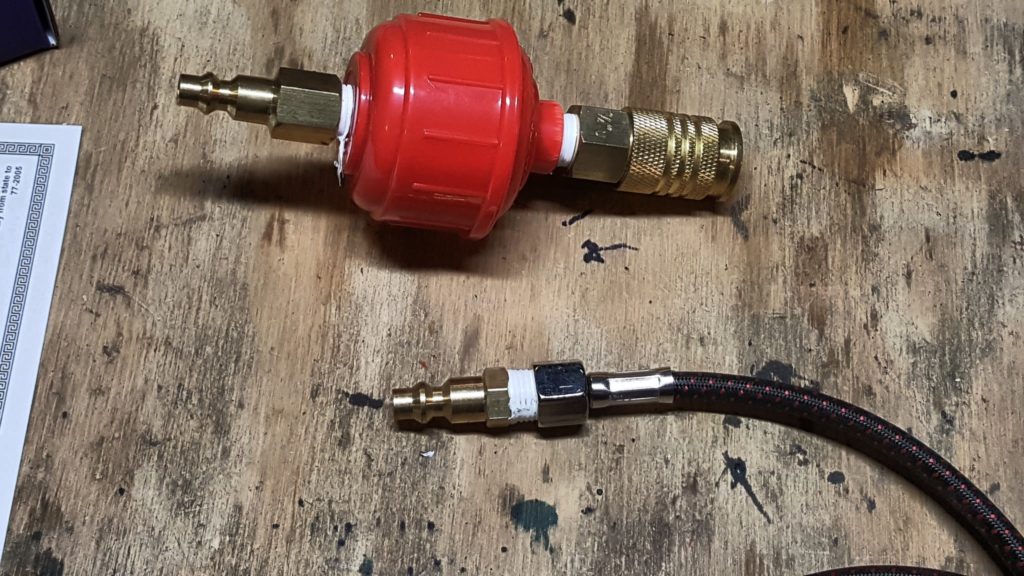
3] I used to use the Harbor Freight air brushes but have had a ton of problems with them failing so this year I invested in a nice Paasche H-series airbrush after hearing good things about them over the years. The quality is night and day better. I read a bunch of confusing junk on the Web about guys questioning how to hook up their air line. After buying the kit from Amazon, I simply applied quality PTFE tape to a male 1/4″ plug with a male 1/4″ NPT end and screwed to Paasche air line on to it. Done.
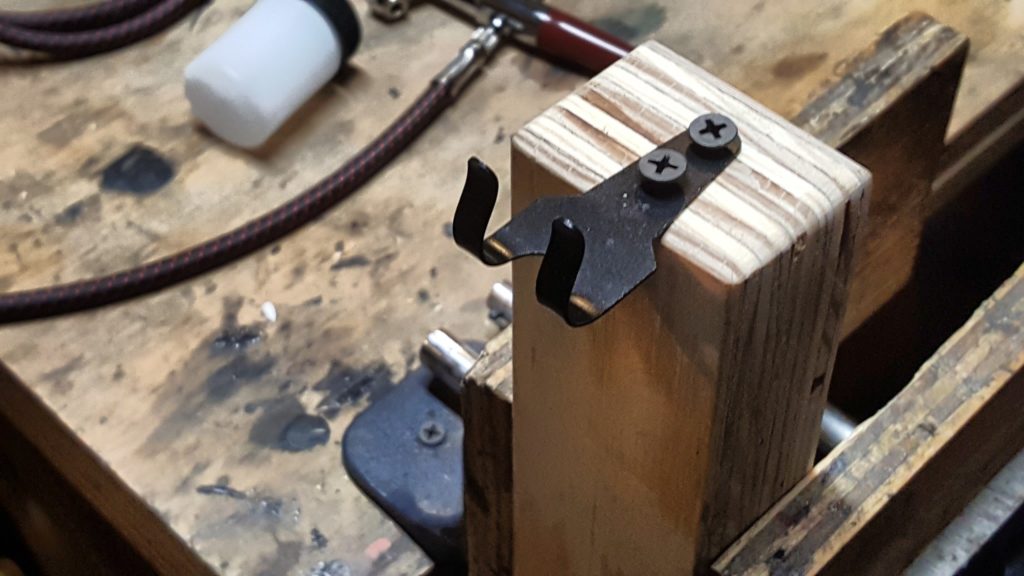
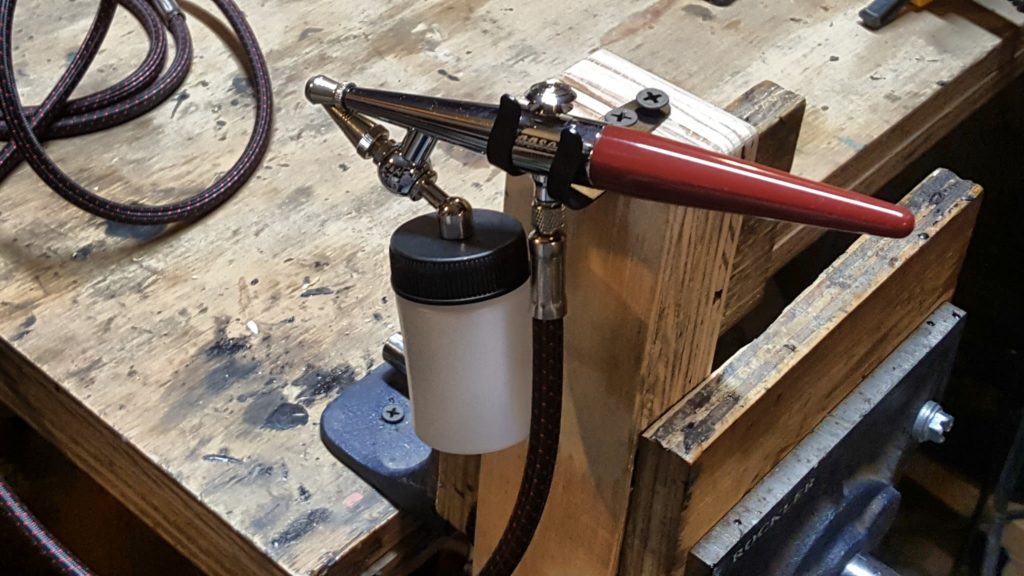
Paasche supplies a small bracket for holding the airbrush. I screwed it onto some scrap plywood so I can move it around as needed:
Also, I am really obsessive about clean air – I run a high-end filter system in my shop and still put a screw in filter just before the air brush’s air line just to play it safe. If you run your air brush off your home compressor, you definitely need to do this.
Another tip – don’t use cheap Teflon/pipe thread tape. I’ve had excellent luck with the following:
4] John has really good instructions online for applying Molyresin. I bought a quart of semi-gloss black for the Uzi build plus I plan on using it for a few other projects I have planned thus I bought the big bottle. They say an 8 oz bottle has enough Molyresin to coat 2.5 AR rifles. I used a tad over one ounce on the Uzi but I’m inefficient with my application because I am spraying all the little parts also. You have a ton of adjustments you can do when applying a finish via a paint brush so your actual coverage will vary. I have a simple theory though – I’d rather have left over finish than be in the middle of something and run out!
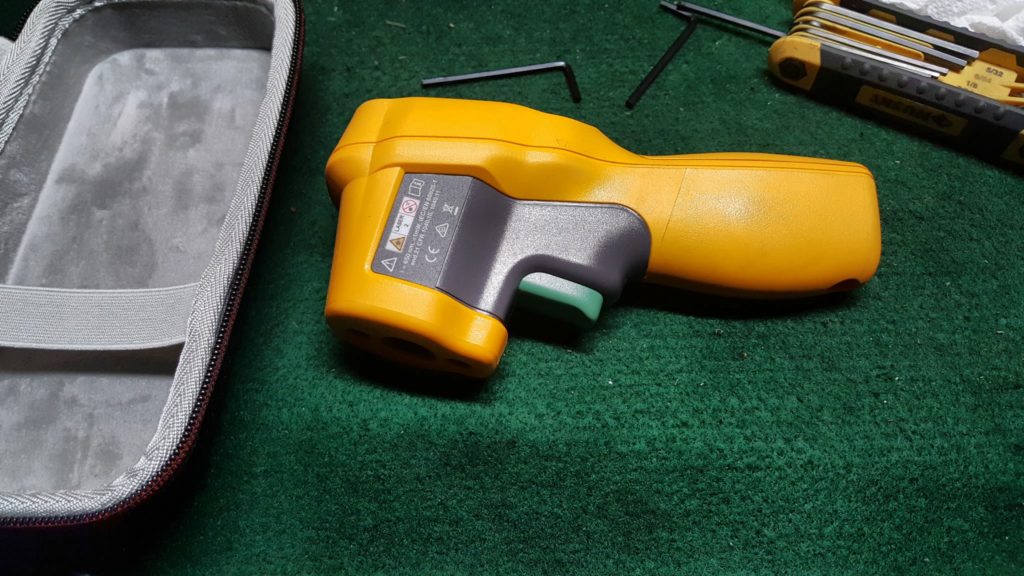
5] You need to preheat your parts to 150F. This allows the solvent to evaporate very quickly. Since the Uzi parts are all relatively small, I used my portable roaster oven that I bought at WalMart on sale. Oven thermostats are notoriously inaccurate so use a good thermometer to confirm the actual temperature. I use a Fluke 62 Max Plus due to my work with plastics and steel. My oven runs about 47 degrees cooler than what the dial heat setting claims for example. At any rate, I start preheating my parts while I get m airbrush ready. All the cleaning and surface prep is done at this point and I am wearing either nitrile gloves.
6] So, I used the size 1 tip that was installed in the Paasche brush and set the air pressure to 20 pounds and then dialed the tip in and out until I got the spray pattern that I wanted. One of the nice things about the Paasche is that the company stands behind their products – you can ask questions, lots of people have written about them and you can also download the manuals. I can tell you one thing, I am never going back t the Harbor Freight brushes now.
7] Shake the heck out of the Molyresin to get the settled pigment into suspension. Don’t just shake it once or twice – make sure the cap is on and shake vigorously for 20-30 seconds. Molyresin has pigments that are carried along with the solvent that must be deposited onto the metal and then baked into place. The liquid solvent is really just a carrier.
8] I apply the Molyresin in several coats until I have a uniform color everywhere. One trick I learned years ago is to take a cardboard box and cut slots in it to push in screws to paint their heads. Be sure to periodically shake your airbrush to keep the pigments in suspension.
9] For the barrel, I do install rubber plugs in the ends of the barrel to prevent finish from going inside. You can buy these tapered silicone rubber plugs from a variety of sources and reuse them. My current batch is from Amazon.
10] When you are done, clean the airbrush with MEK. One thing I do is to clean the little supply bottle first, fill the bottle with MEK and then blow in through the brush to clean the internals. Note, use MEK in a well ventilated area as you do not want to breath those fumes.
11] Place the parts in the oven at 300F for one hour to actually set the phenolic resin. This temperature is critical as nothing will happen if you heat to a lower temperature and you may affect the sheen of the finish if you go hotter. Again, use a good thermometer to make sure you are at or just over 300F – allow for the accuracy of your thermometer in other words. If your thermometer’s rated accuracy is +/- 1% then shoot for 303-305F for example or even a tad hotter but not less. The one hour is also a minimum. Boosting the temperature and reduce the time is not recommended.
That’s it – the parts are ready to be assembled.
To reinforce one important point — I follow the Molyresin application instructions to the letter and get very good results and that is why I have used it for years and have no plans on changing.
This is my Fluke – the -20 to +1202F range model:
Unless you will be working with metals and need the higher temp, you can save money by going with:
Since stuff gets beat up in my shop, I always put instruments in cases and use this one:
If you find this post useful, please share the link on Facebook, with your friends, etc. Your support is much appreciated and if you have any feedback, please email me at in**@*********ps.com. Please note that for links to other websites, we are only paid if there is an affiliate program such as Avantlink, Impact, Amazon and eBay and only if you purchase something. If you’d like to directly contribute towards our continued reporting, please visit our funding page.

