I’ve heard about using ultrasonic cleaners on firearms for years but never really investigated them. Recently, I had a need to clean a bunch of HK33 grips that had cosmoline, oil, and whatever else on them. Actually, I knew well in advance because they were part of a project and I had to figure out how to clean up a 50+ of these used grimy grips.
My Cleaning Options
I knew cleaning that many by hand with a solvent would take forever and be expensive. Hot water and dish soap was an option but slow and time consuming. An ultrasonic cleaner seemed like a perfect solution. I talked it over with my friend Scott, who owns Michigan Gun Exchange. Scott has one in his shop and uses it to clean firearms. He showed me how it worked and I was impressed. This type of cleaning would be perfect.
Ultrasonic Cleaners
An ultrasonic cleaner cleans parts three ways – the liquid bath, ultrasonic vibrations and heat all combined at once. If you’ve every fought getting cosmoline or old grease that has set up, you know how heat is your friend.
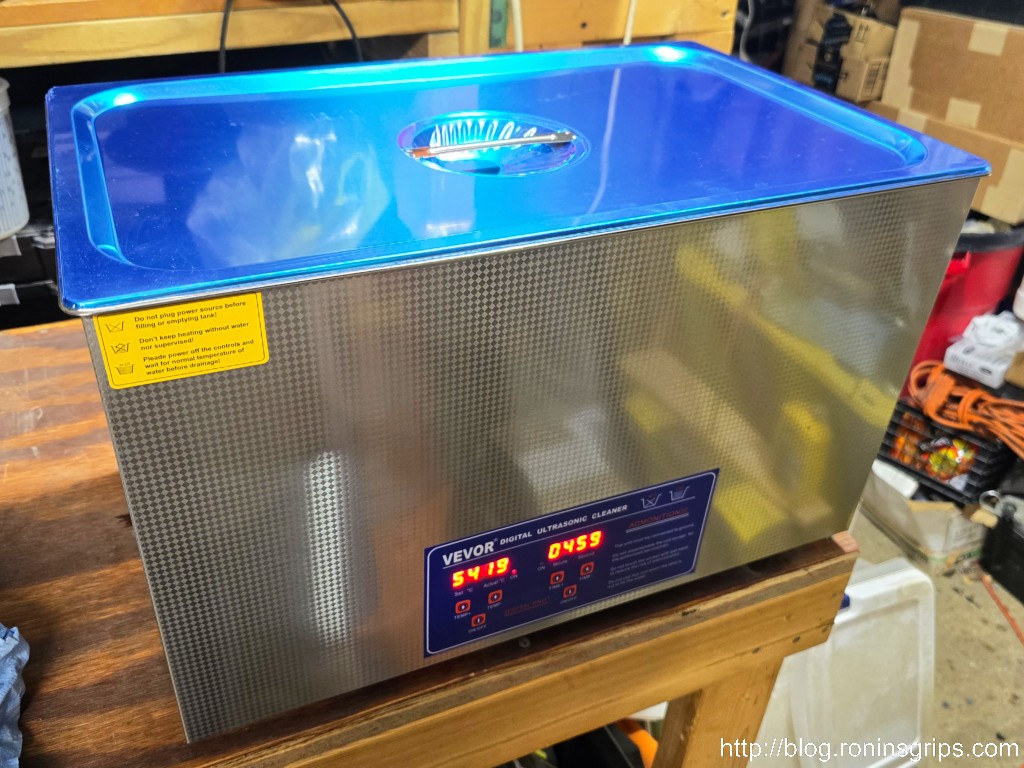
Okay, it was time to research. I couldn’t afford or have the space for a giant unit. Doing some digging, the Vevor 30 liter unit got good reviews and looked like it would work for the majority of firearm parts I would need to put in it. I considered the length, width, height and the diagonal for really long parts. The stainless basket you put the parts in measures 18.3″ x 10.8″ x 6.7″. The diagonal is 21.25″.
Note, in terms of actual volume it holds, they say the unit is 30 liters in the title but also report that it measures between 29 and 30 liters or 7.7-7.9 gallons. They recommend the fluid be at least 75% full to protect the heating element plus you never run an ultrasonic cleaner dry or it can damage the unit.
By the way, on a larger unit like this, make sure it has a drain valve and the Vevor 30L does.
Yes, it would work so I ordered it off Amazon.
Deciding On The Solvent To Use
Dedicated ultrasonic cleaner fluids are rediculously expensive. What a lot of gun guys do is to use 50:50 Simple Green and water. I started reading more on that and there was one small detail I wanted to avoid – aluminum left in plain Simple Green for too long is apt to react and cause pitting. The aluminum friendly formulation is Simple Green Pro HD.
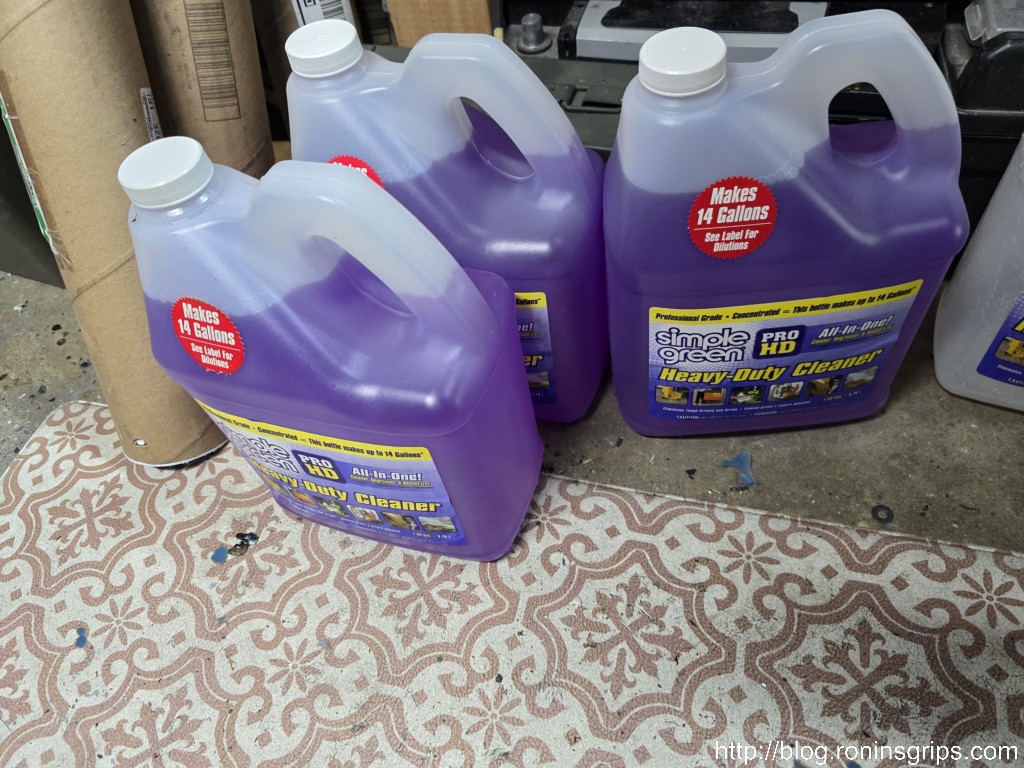
Simple Green’s recommended ratios for their Pro HD formulation are:
- For heavy cleaning: 1 part Pro HD to 3 parts water
- For medium cleaning: 1 part Pro HD to 5 parts water
- For light cleaning: 1 part Pro HD to 10 parts water
Well, given how thick cosmoline, grease and oil can be, I went with the heavy cleaning 1:3 ratio and it worked great.
Two comments – first, I bought mine from Home Depot. They ship to a home for free in my area. Amazon is rediculously expensive due to the weight. Second, I didn’t find out until later that Simple Green also has an “Extreme Aircraft and Precision Cleaner” formula. I might try that in the future as they expressly made it to not react with plastics, composites, aluminum, etc.
Heating the Tank
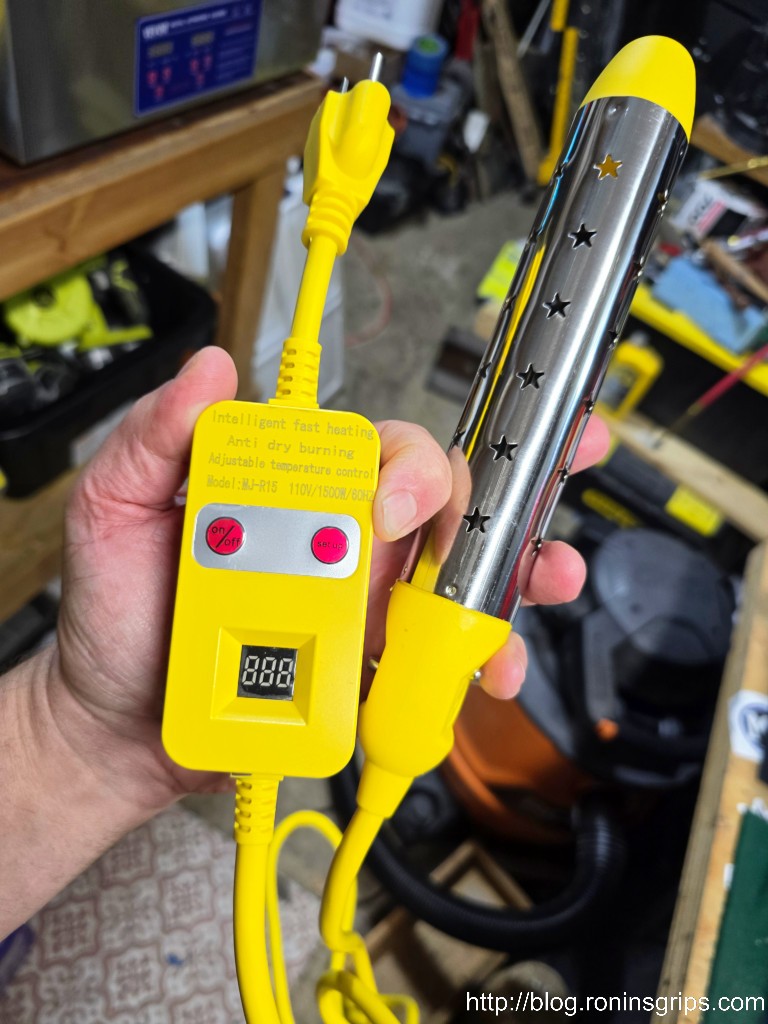
One complaint of folks using the large ultrasonic cleaners is that their internal heaters take hours to heat the fluid up. Well, I can’t wait hours so did some digging on that front and bought an immersion heater. They all have a potential shock hazard so you do not want to put your hand in the fluid while heating it.
I bought an immersion heater made by HAIYEATBNB off Amazon. because it has a temperature regulator and got good reviews — it’s a game changer. Scott bought one after I told him how fast it heated the tank.
To be clear, the immersion heater is to dramatically speed up the heating of the solvent and then it is removed. A quick summary of steps is to put the heater in the fluid, plug in the unit and set the temperature, let it heat it up, unplug the heater, let it cool off a tad before you remove it and set it in a container so it doesn’t drip. The Vevor cleaner’s internal heating unit can maintain the temperature. The immersion heater is just fast forwarding the heating process.
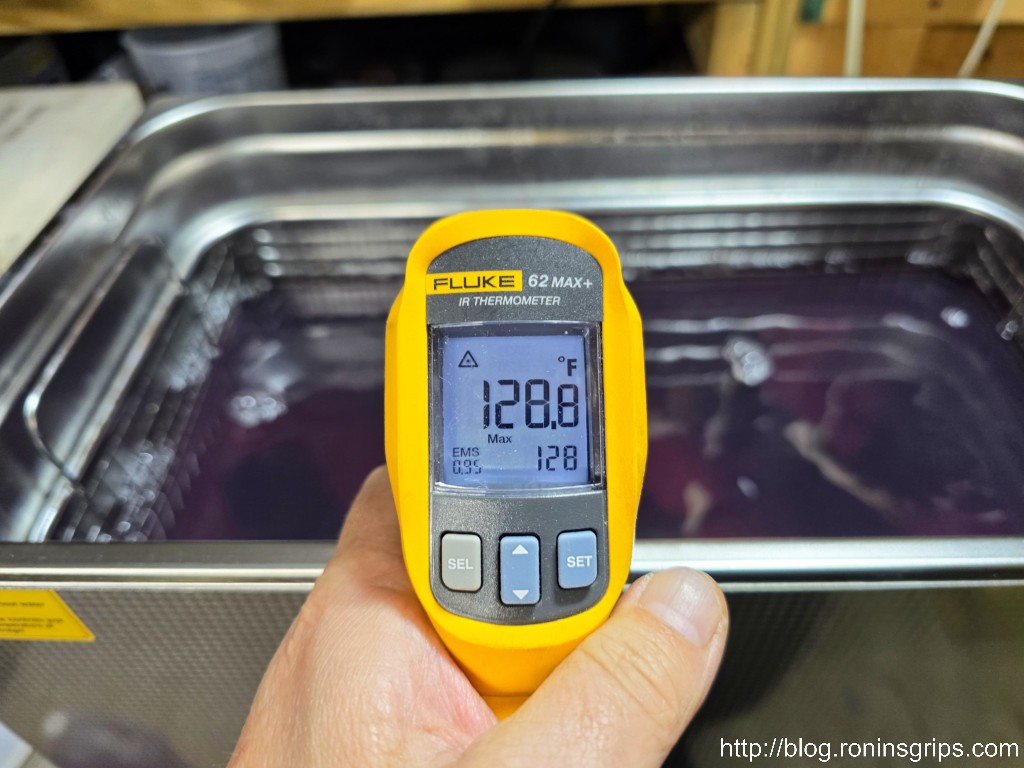
The recommended temperature range for ultrasonic cleaners range from 130-180 degrees Farenheit. The theortetical “best” temperature for cavitation is 158F (70C) and guys report great luck between 155 and 165. Just bear in mind that the hotter you go, the more evaporation you will have also.

Safety comment: There is the potential for electric shock with any immersion heater. We used them on our farm growing up and survived. I’m not too sure I would worry about any freaked out electric shock comments you see in all of the reviews on Amazon across most of the heaters I looked at. Simply put, avoid sticking your hand in there while it is heating. Standing barefoot in a puddle of water that has an earth ground while putting your hand in the solvent during operation of the immersion heater will get you shocked so don’t do that!! Sheesh.
Testing
I timed the ordering with everything arriving so I could immediately put the unit into use. If it was going to fail, I wanted to know as soon as possible so I could return it.
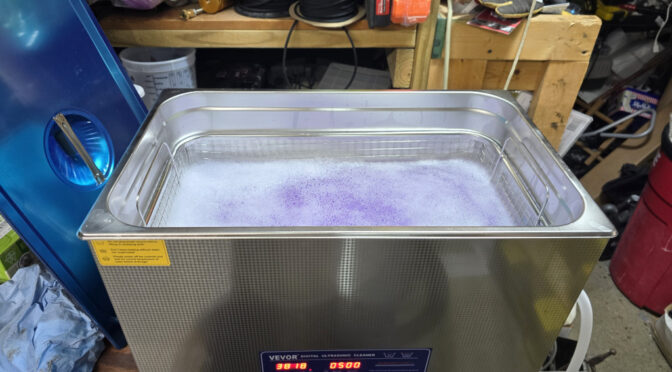
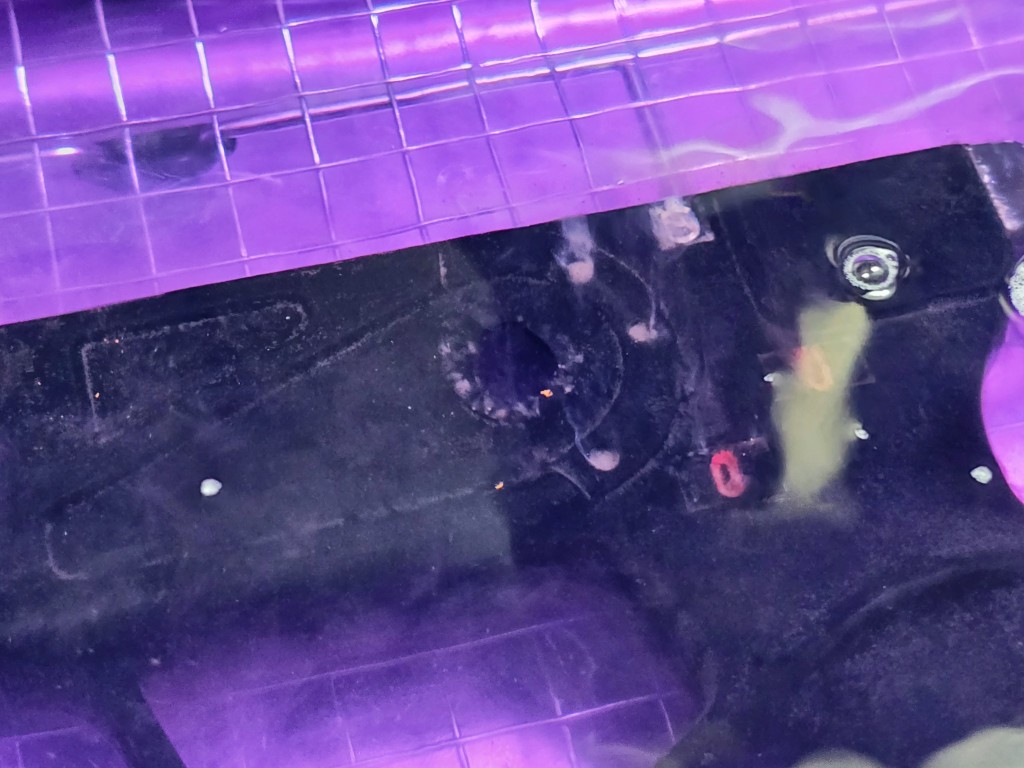
In terms of fluid, Vevor recommends you have at least three quarters full or you may damage the unit. If the fluid capacity is about 7.7 gallons then this puts it at 5.8 gallons of fluid. (The above photos do not reflect this just to be clear – I had about three to four gallons in when I snapped them.)
I then put in the immersion heater and watched the temperatures climb both on the heater and cleaner’s gauges and they didn’t match. That really wasn’t surprising to me. It’s hard to say which is more accurate but I decided to go with the temperature measurement from the Vevor cleaner. They claim their temperature reading is within +/- 5 degrees celsius which would be about +/- 9 degress Farenheit if I am doing my math right.
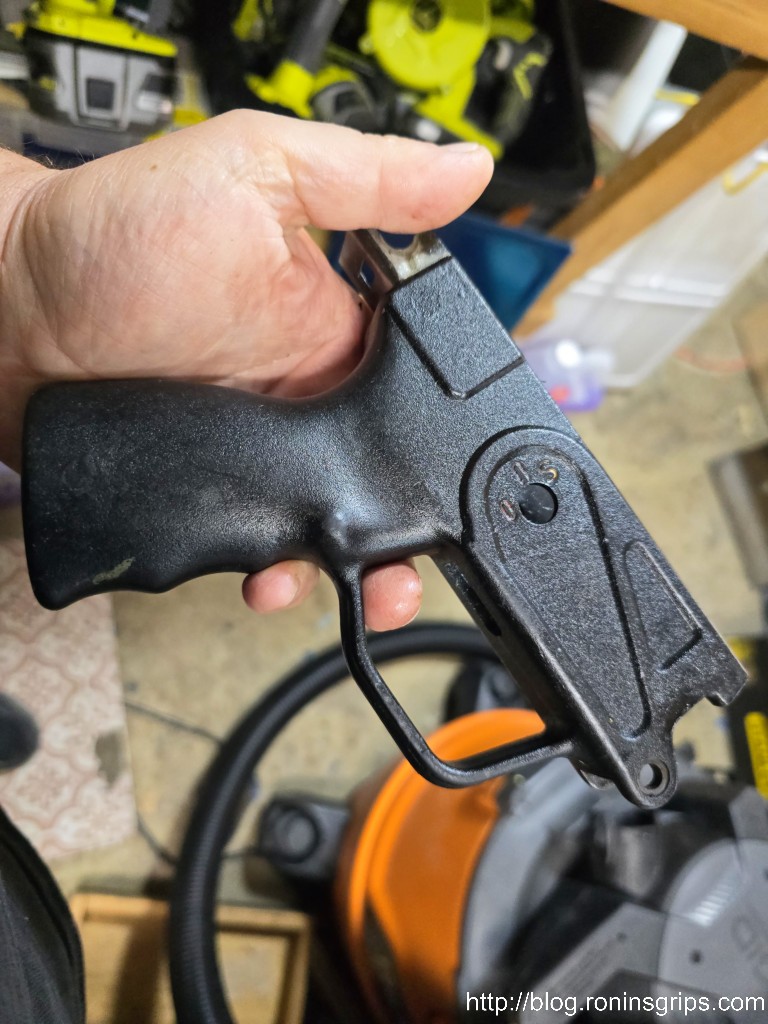
Given the size of the unit I could easily put two grip modules in side by side and that’s what I did. I didn’t try stacking them as that might reduce the cleaning effectiveness. I put the unit’s timer at five minutes and let it run. It was fascinating to watch the crud come off – even the red and white paint filler in the S-U-O symbols on the grip were dissolving.
I read a few complaints about the noise these things generate. The Vevor makes a buzzing sound for sure. Maybe it’s just me but it really didn’t bother me. I didn’t need it to be quiet – I needed it to clean stuff.
The timer went off, I then removed the units, sprayed them down with water to remove the cleaner and then used an air line to blow all of the water out.
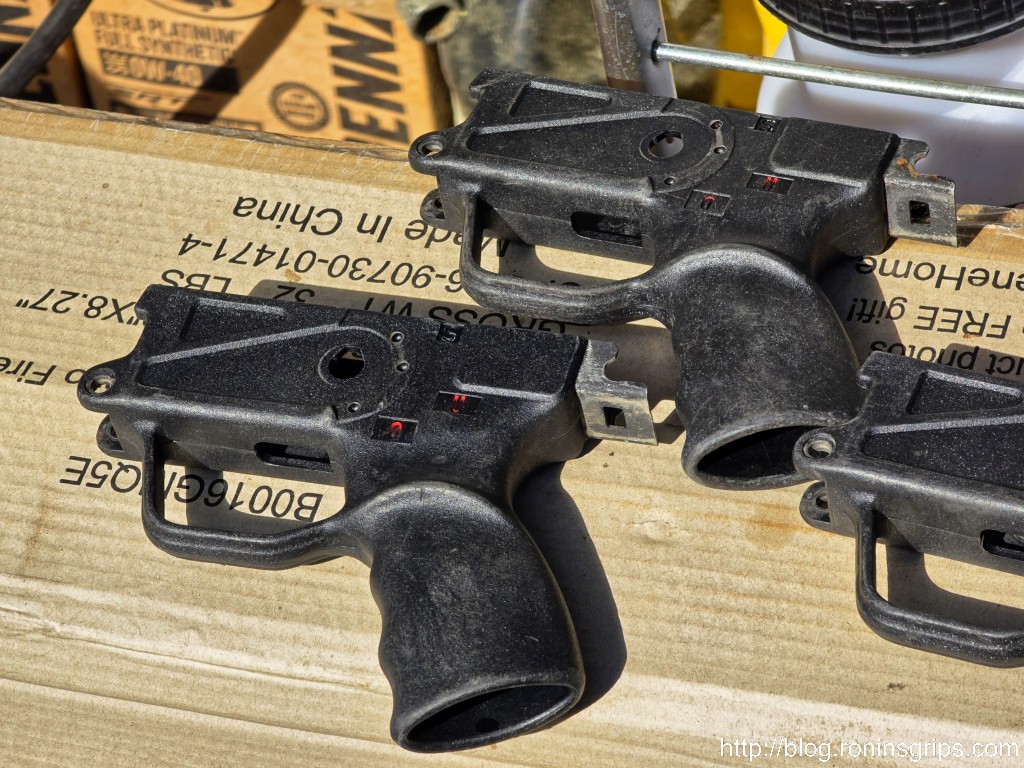
The results were amazing. Scott had warned me that everything comes off – including the “sheen” of the black plastic resulting in a dull charcoal color. I then went on to do about a dozen more. In two or threee cases there was still some caked on cosmoline inside the grips that a second pass got rid of.
Have A Plan to Avoid Rusting Afterwards
I should tell you to have a game plan to avoid flash rust forming on steel items you clean. Ultrasonic cleaners will strip all the oil and grease off so that means untreated steel can form rust when exposed to moisture in the air. “Flash rusting” is a term for when bare steel is exposed to moisture in the air and starts to show visible rust within minutes of exposure.
Spraying WD-40 can help displace water – another option is to use compressed air if you have access to all surfaces – first but then you need something to prevent rust such as a light spray oil or whatever your preference is. My point is to think it through to avoid flash rusting after you clean.
Summary
At this point, I am very happy with the Vevor 30L ultrasonic cleaner. If you have ever wanted to get into ultrasonic cleaning for whatever you are working on, the Vevor units are cost effective and you just need to decide on what size works for you. Click here for a listing of Vevor cleaners on Amazon and here for all brands.
I hope this helps you out.
Note, I have to buy all of my parts – nothing here was paid for by sponsors, etc. I do make a small amount if you click on an ad and buy something but that is it. You’re getting my real opinion on stuff.
If you find this post useful, please share the link on Facebook, with your friends, etc. Your support is much appreciated and if you have any feedback, please email me at in**@*********ps.com. Please note that for links to other websites, we are only paid if there is an affiliate program such as Avantlink, Impact, Amazon and eBay and only if you purchase something. If you’d like to directly contribute towards our continued reporting, please visit our funding page.