Tag Archives: drill

Use an edge finder with a center point to improve drilling accuracy

Growing up on a farm, the only way I knew to locate a hole was to try and get the pointed part of the drill bit over the divot left by the center punch.  In junior high shop class, they showed how to start with a small bit to locate the hole and then go to the correct bit.  At some point in the last 20 years, someone introduced me to center finders.  For guys who eyeball the location of where to drill, these things can make a huge difference and they are usually very affordable.

There are all kinds of edge finders out there – it is a generic label so you need to make sure you get one that will fit your drill press.  My press has a 5/8″ chuck so it can hold just about any diameter edge finder.  The type I use the most has a conical end point that helps you locate where you want to drill via the sharp point or by allowing you to center the press over an existing hole.

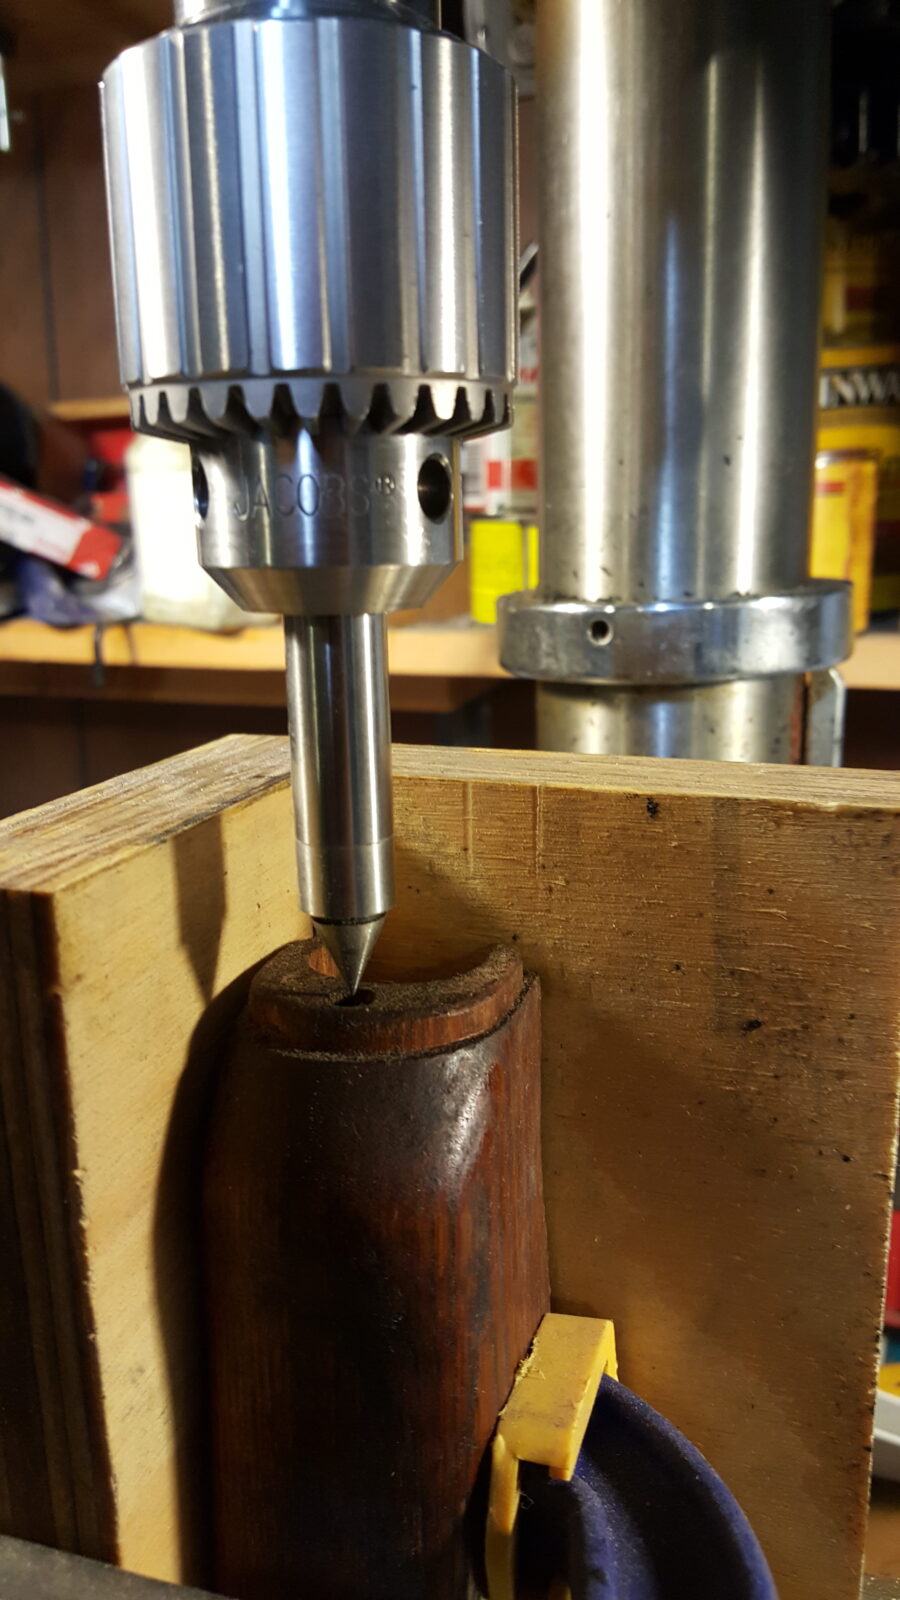
This is the edge finder that I use the most – notice the sharp center:
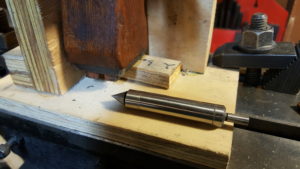
If I am using a center punch, I just make sure all the sides smoothly meet on the edge finder, and adjust the X-Y table until I get the sharp center point exactly over the divot.  I then remove the edge finder and install whatever drill bit I need.  Don’t ram the edge finder into your work or you risk damaging it. By the way, click here if you want to read more about X-Y or Cross Slide tables.

The second use of this type of edge finder is to insert it into a hole to see how you need to adjust the X-Y table, or workpiece directly, to get on center.

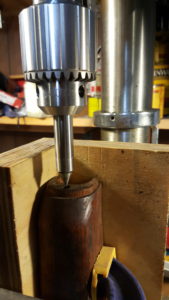
Here is an example of the use.  I chuck it in the press and straighten all the sides so the surfaces smoothly meet.  I then gently lower it into this M72 handguard to decide how I need to move my X-Y table.
Edge Finder

I couldn’t take photos and show the unit in the handguard at the same time, but you can see the chuck is off center because the edge finder’s sections no longer smoothly meet.  What I normally do is keep the spindle down, gently insert the tool into the hole in the work piece and adjust the table until all sides of the finder smoothly meet.  Note, this does require that you have your work piece nice and secure and/or a jig that enables you to accurately position the next thing you want to drill in the same spot.  If your work piece can move, then that makes this whole exercise useless.

Edge Finder

See how all of the sides align in the next photo?  The drill is centered on the workpiece now.
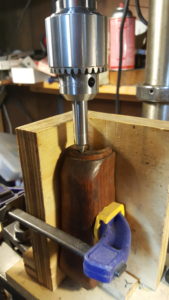
Once the surfaces of the finder smoothly meet, you remove the edge finder, install your drill bit and away you go.  This is really handy if you need to duplicate holes on other similar items, make existing holes bigger or deeper, etc.

I have probably 3-4 of these at least.  I have one by my mill, a couple by my drill and a couple in my tool box with all my gauges.  Why?  Because I used to misplace them until I got better toolchests and I replaced a couple of cheap import models with my precise, easier to move quality units from Mitutoyo, Fowler and PEC – depending on what was on sale when I needed them.  I like my Fowler set as it came with a little case.

I literally use my edge finders several times every week and highly recommend them for folks trying to get more accurate positioning for drilling.


If you find this post useful, please share the link on Facebook, with your friends, etc. Your support is much appreciated and if you have any feedback, please email me at in**@ro*********.com . Please note that for links to other websites, I may be paid via an affiliate program such as Avantlink, Impact, Amazon and eBay.


Put an X-Y table on your drill press to improve accuracy

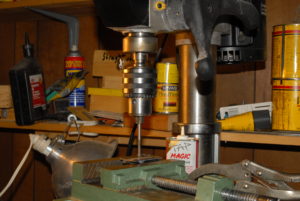
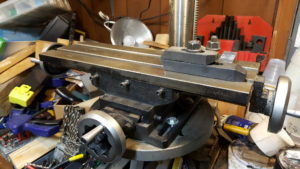
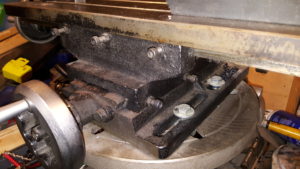
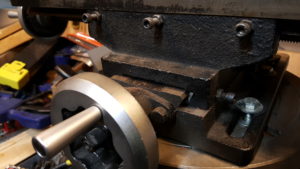
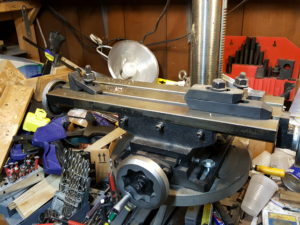
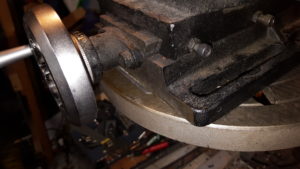
One of the problems with a drill table is that you have a platform to hold work but to position the work, you have to move the table.  Some guys are really good at doing this but I am not one of them.  I want to use something that I can precisely move to get a part right where I need it to drill.  Years ago I invested in what is often called an X-Y table as well as a cross-slide table.  It looks like a milling machine’s table and sits on top of the drill press’ table.  It makes a world of difference.  By rotating the hand wheels you can move it left to right as well as front to back.

My exact table is made by Interstate and is 6″ deep x 19″ wide.  The amount it can travel is about 7.5″ x 11″.  Now the one challenge to factor in with these tables is that they are tall.  Mine takes up 5″ and if you have a small drill press or are are height-constrained for whatever reason, that is something you need to think about.  I’d also point out that these things are heavy – the Interstate is all steel

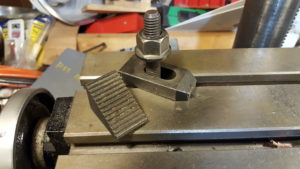
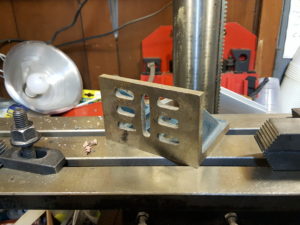
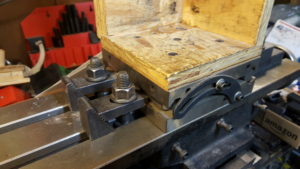
Next, for those of you not familiar with milling machines or it’s been a long time since shop class, those slots in the table are called “T-Slots” and look like an upside down letter T.  The Interstate has 9/16″ T-Slots and I have a clamping set of that size that I use to hold whatever I put on the table – vises, right angles, or even the work itself.  In a couple of the above photos you can see the camping set in the red plastic organizer against the wall.

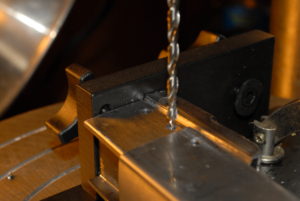
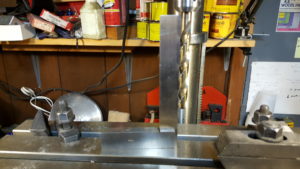
The X-Y table must be bolted to the drill press table.  To true the table to the press, use either a framing square or a machinist square to line up to a long bit.  On my table it can tilt left and right so I tap it with a mallet to adjust it.  However, my press, and many others, do not have a means to adjust the front-to-back angle so shims must be inserted under the front of the table to lift it up until it is true with the bit.  My press is a Harbor Freight industrial series and it has many admirable aspects, such as a switch that is still working after literally over 10,000 cycles (each grip requires at least three drill operations plus it gets used for many other things as well and I’ve had it for at least 10 years) and the motor is still holding up.  When I took the photos I noticed left-to-right was fine (I check that all the time) but that I needed to re-shim it to get the front-to-back angle back closer to being true.

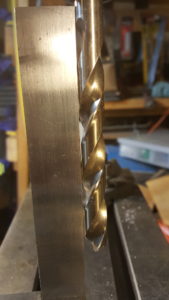
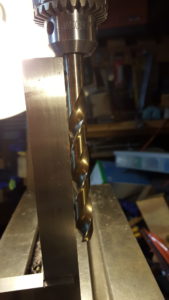
Something has shifted on my press as you can see it is no longer true from front to back based on the square.

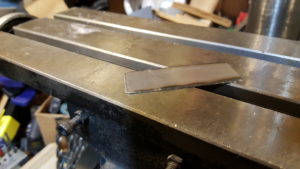
I took a few minutes and fabricated a front shim using a piece of 22 gauge sheet metal, my plasma cutter and belt grinder.  So, with just a bit of work, it’s all nice and true again.  By the way, the reflection on the bit makes it look like there is a gap but the square is nice and flush from top to bottom and it’s sitting square on the table.

As an aside, there is an alternative to tables known as  X-Y vises, sometimes called “cross-slide” vises, that can give you some adjustment but I don’t use them because you are limited to work that can fit in the jaws and you only have the jaws as a means to secure the work.  If that is enough for you, then great.  For me, I prefer the flexibility of a big table with T-Slots so I can do whatever I want to hold work.

So, what are the pros of using a drill press X-Y table:

  • You can dial in the work to right where you want it
  • Big work area with clamps
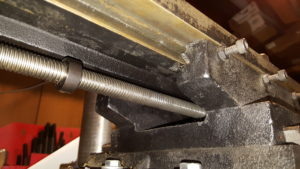
  • Can adjust the table to move easily or very tightly via the socket head screws you see in the photos

Cons:

  • It does take up space – especially vertically – that might be at a premium
  • It’s fairly heavy and not something for a lightly made press – confirm the weight of your table before you buy it

By the way, one safety note.  This does not turn your drill press into a milling machine.  A mill is designed to handle the sideways stresses and you see this in the bearings, the way the mill is held, etc.  If you try to do milling with a drill press you risk at least ruining the bearings if not having the chuck fail and dangerous metal parts flying everywhere.  In short, it look like a mill but do not use it like a mill.  If you need a mill, buy a mill.

I bought my table years ago from Enco, that is now part of MSC.  They still sell it so click here to see it.

Like so many imported tools, it may be the case that it is made in a factory in China, or where ever, and then sold under other brands.  I notice that Grizzly has one that looks just like it:

You can also find a ton of them on eBay.  I’d do some digging because some of the no-name models do not have very good reviews.  Plamgren is very good and I like my Interstate but some on there may not be so red hot.

You will see wild differences in pricing for tables, clamp sets and what have you.  Check out MSC, eBay and Amazon plus where ever else you find via Google, or recommendations from guys on forums, Facebook, etc. for you before you buy.

Also, if you search on Amazon for cross slide vise, you’ll also see not so well rated vises.  For me to feel good about something, I really want to see at least 30 reviews to have a good sample (this comes from stats for folks who remember that class) and I want the majority of scores to be fours and fives.  When you see five stars and one or two ratings, you have no idea who those people were – they could be employees of the vendor selling them or perhaps they don’t have much experience.  In short, the greater the number of reviews, the better off you are.

The following are links to pages that will open in a separate tab so you can see current product listings:

May 15th:  For all the folks who emailed and called me out on the work area being a mess – you are absolutely right.  I’ll get it cleaned up.  I have a ton of excuses but no valid reasons for it being a mess.

Also, two guys posted saying how happy they are with their Wilton cross-slide vises so that is good to know and share also.


If you find this post useful, please share the link on Facebook, with your friends, etc. Your support is much appreciated and if you have any feedback, please email me at in**@ro*********.com . Please note that for links to other websites, I may be paid via an affiliate program such as Avantlink, Impact, Amazon and eBay.