The Crosman 2240 has to be one of the most popular, if not the most popular, .22 caliber C02 pistols available. In part because it is a cheap and reliable design but also because there is a HUGE aftermarket parts industry out there. There is one negative right out of the gates though. It has, in my opinion, quite possibly the worst trigger I have ever felt in my life. The trigger isn’t very wide so it feels weird on your finger, there is a ton of slop and it is heavier than sin. Not surprising, there are a ton of tricks and aftermarket parts out there to rectify this. The focus of this blog post isn’t so much about replacing the trigger and tuning everything. It’s really about what to do if the basted safety spring and detent ball fall out so I am going to get to that point quickly and post later about my trigger tuning efforts.
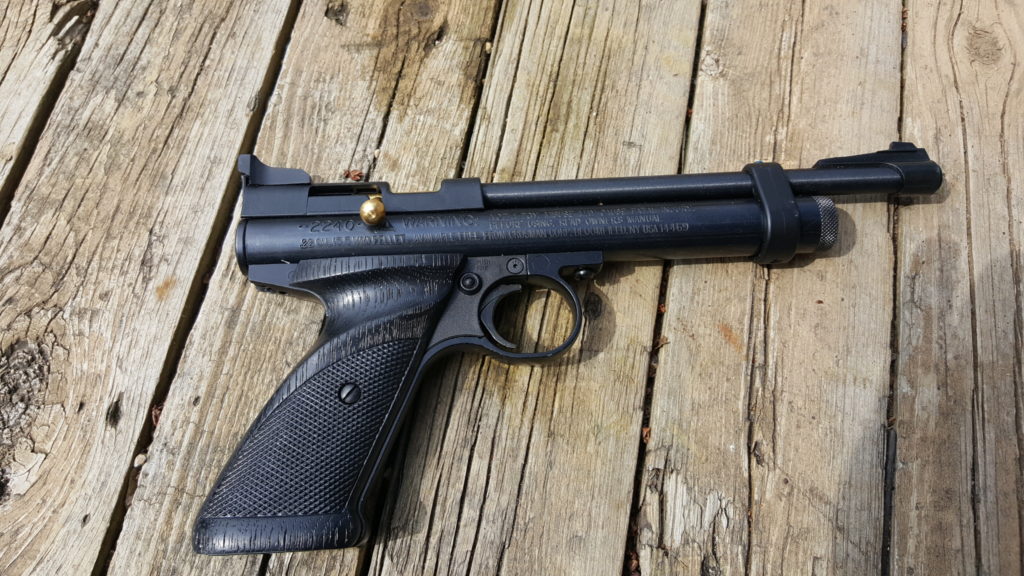
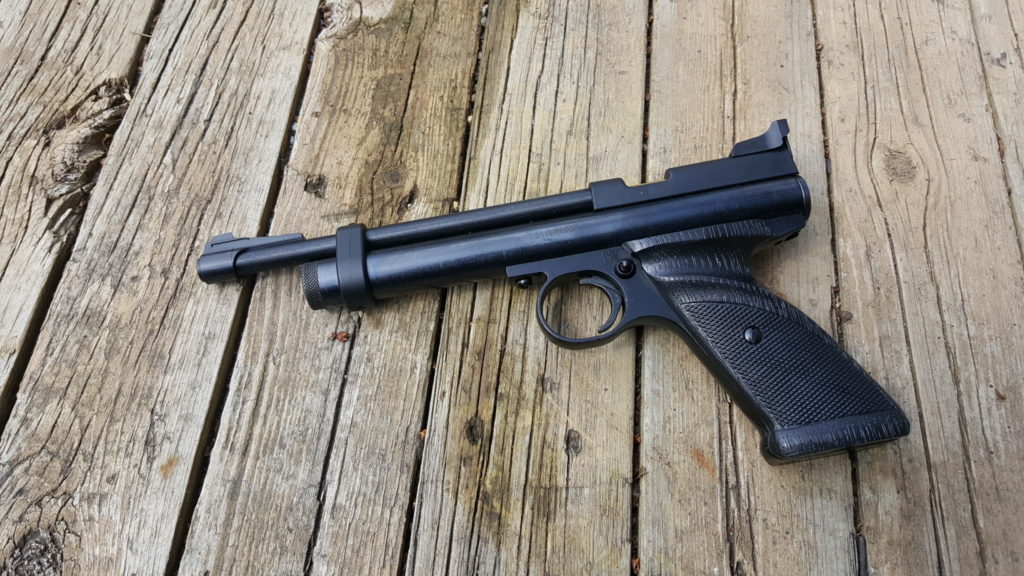
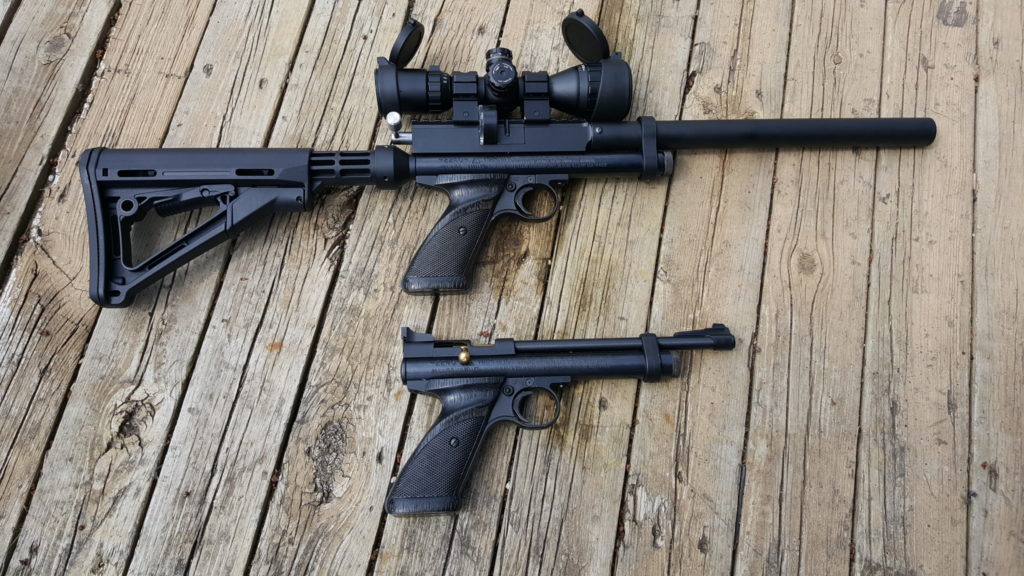
Before you do anything, make sure the pistol is empty and that there isn’t any Co2 in it plus make sure the pistol safety is set to fire or you risk losing the spring and detent. Notice that last part. It’s a heck of a good warning to bear in mind – have it set to fire and protect it from being bumped. That doesn’t always work out so well hence this post.
Second HUGE recommendation – Be sure to have one of the fuzzy work mattes. I’m not telling you this to be cool – they serve a real purpose. The fuzzy surface cushions soft parts so they don’t fly away. There is an unwritten shop law, the smaller the part, the further than darn thing will bounce never to be found or not without some monumental search with magnets, flashlights and a clairvoyant.
So here are the steps bearing in mind we really want to talk about the safety spring and detent:
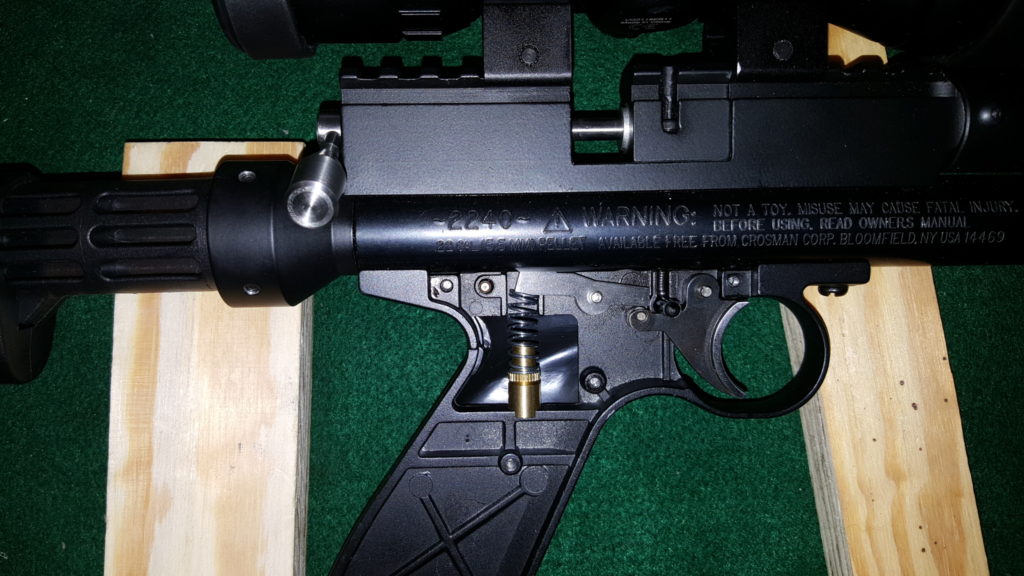
1. When you go to work on the trigger. you remove the right side grip plate and you are looking at a plate held in by 2-3 screws. On my six month old 2240, it is three small 1/16″ allen screws.
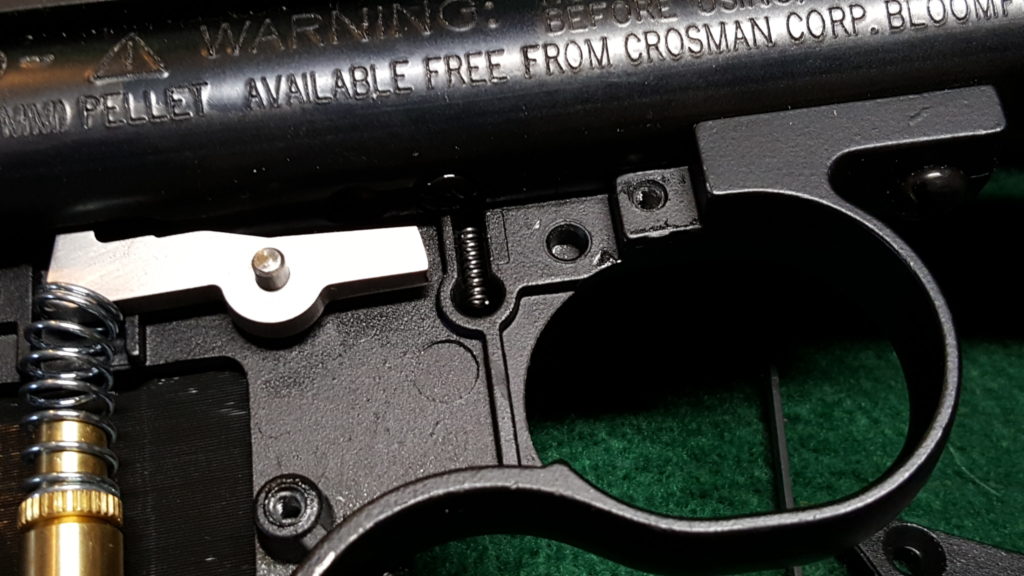
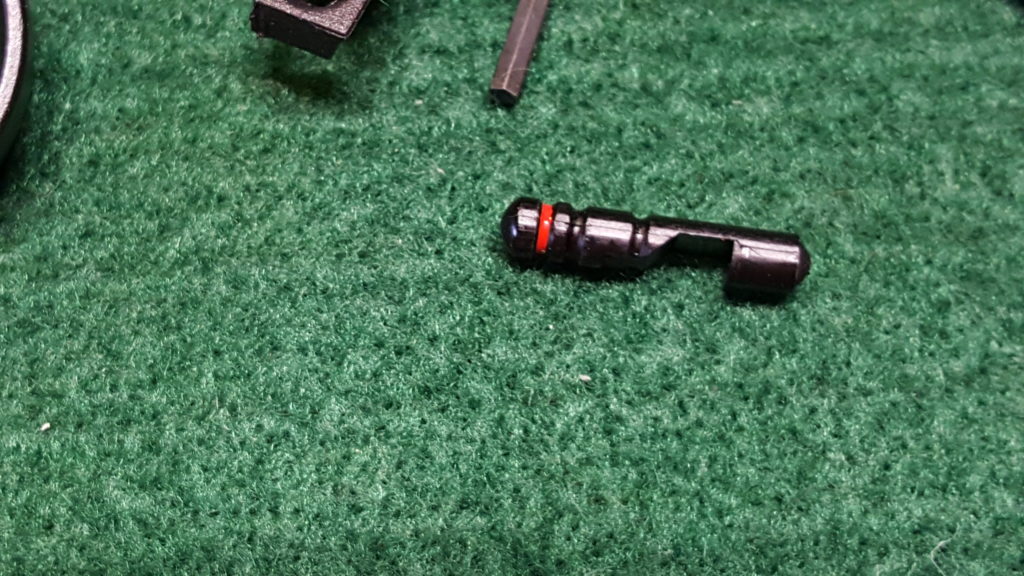
2. When you do pull that plate off, make very sure that cheap plastic safety pin doesn’t pull out with the plate. That is exactly what happened to me. Boy was I pissed. I was distracted, lifted the plate and watched it shoot out. Luckily the green matte caught the little detent ball and the spring stayed in the grip frame. I looked at it and wondered how the heck it went back in.
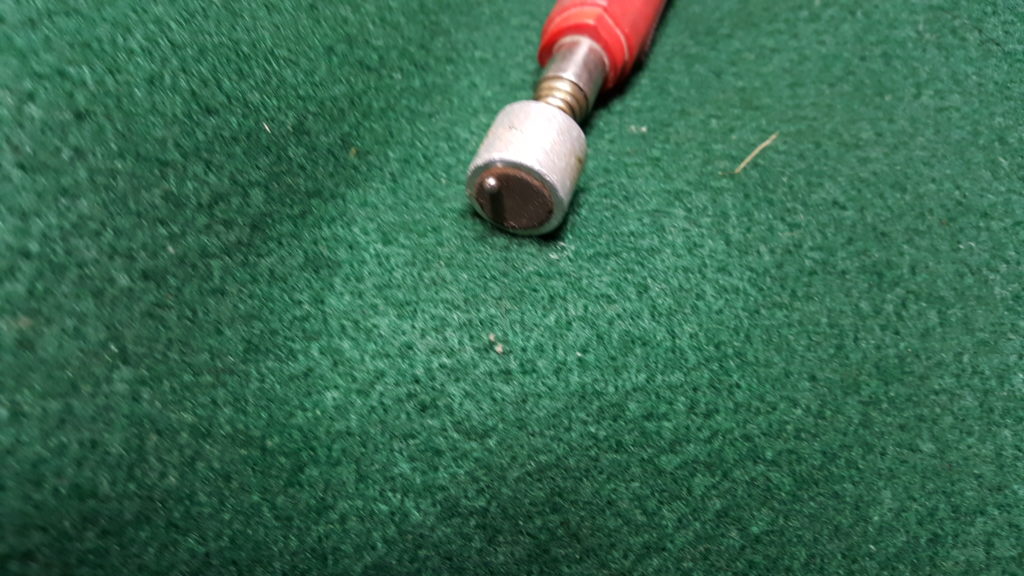
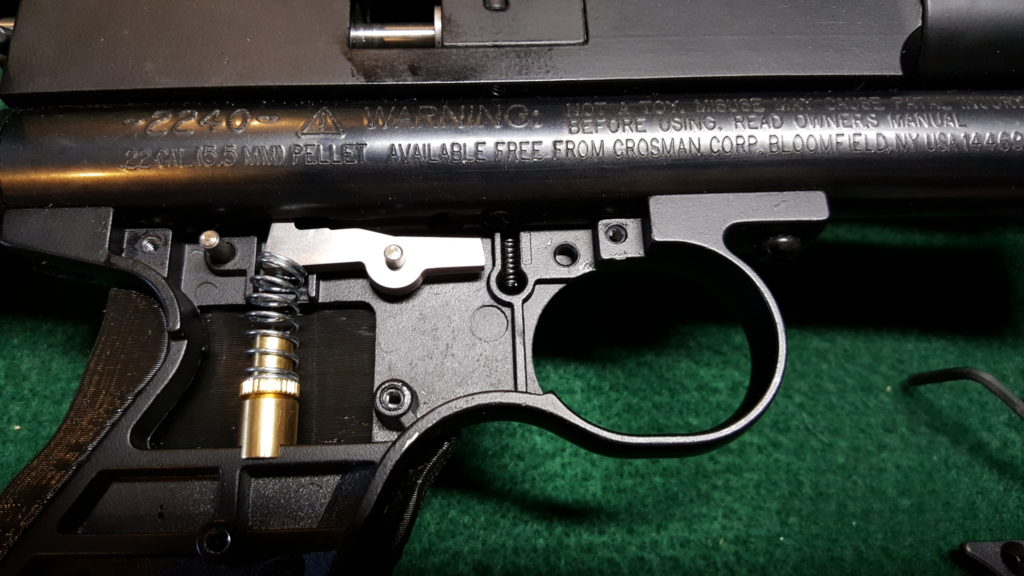
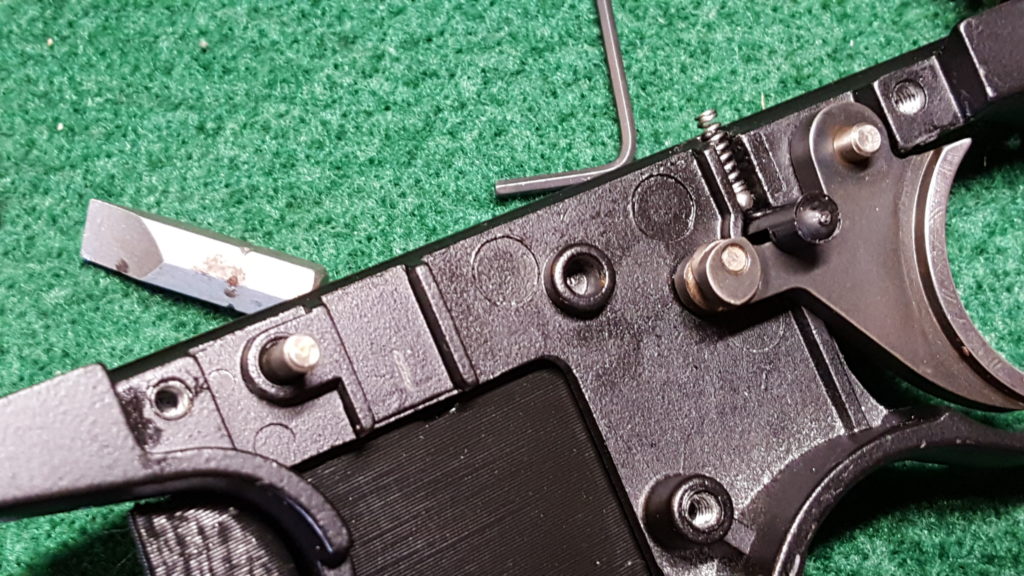
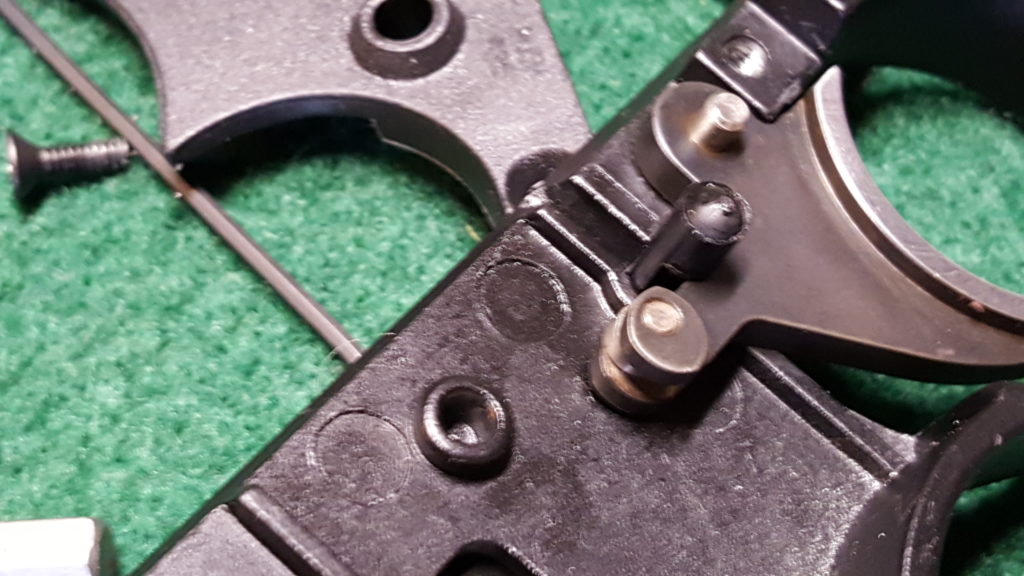
3. Modifying 2240s is something I’ve taken up experimenting with so I had another stock 2240 sitting near by. If you’ve ever done an AR, you know the detent pins and springs go in the end opposite the pin. So, I carefully took the grip frame off the gas tube and sure enough, there was the spring sticking straight up. It is the hole on the left side of the grip from straight above the hole for the safety cross pin.
4. So, with the mystery solved, I carefully assembled my 2240 with the new roller trigger, stainless sear and adjustable sear spring. I made sure it all looked good, oiled it, and put the side plate back on (you must put the plate on or it the spring will shoot out – I lost one that way). Note, the red side of the safety should be on the left side of the grip frame.
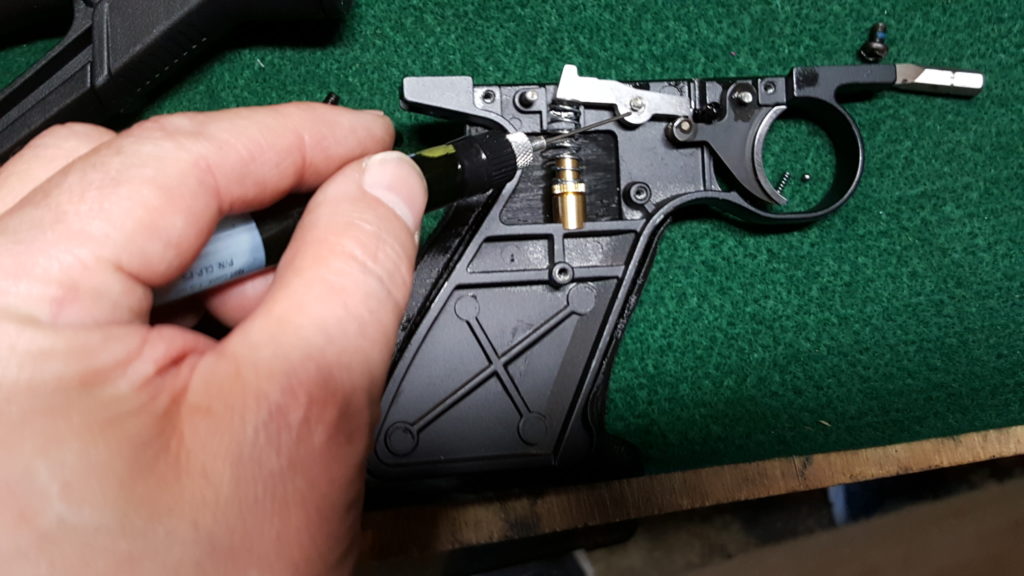
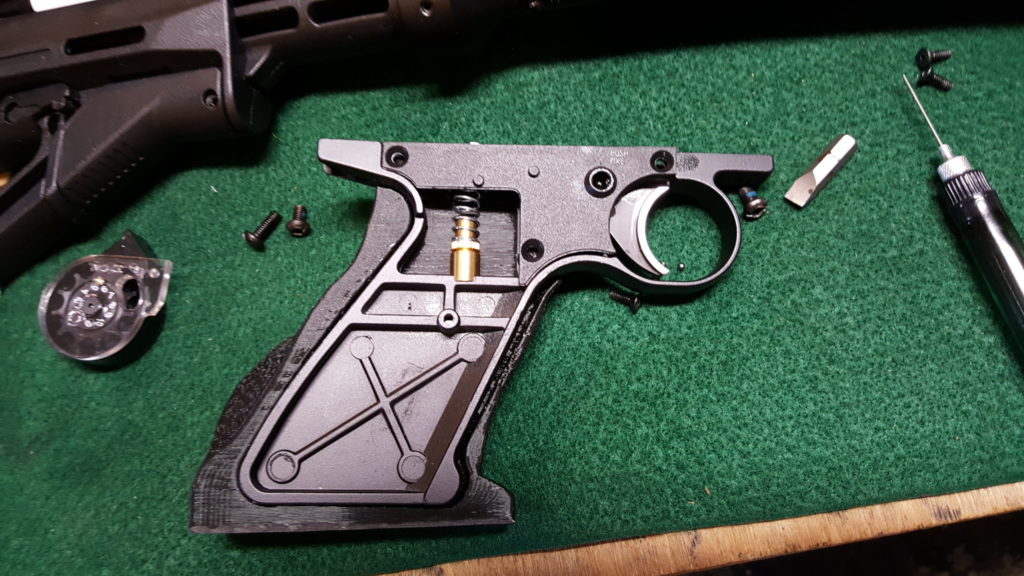
5. Having had many bad experiences in the past trying to go too fast, I know to always function test. I made sure the safety worked first by sliding the safety on and making sure the trigger would not fire. I then slid the safety off and made sure it would fire. I also made sure to watch the sear to ensure it was articulating when I pulled the trigger. That is a basic trigger function test.
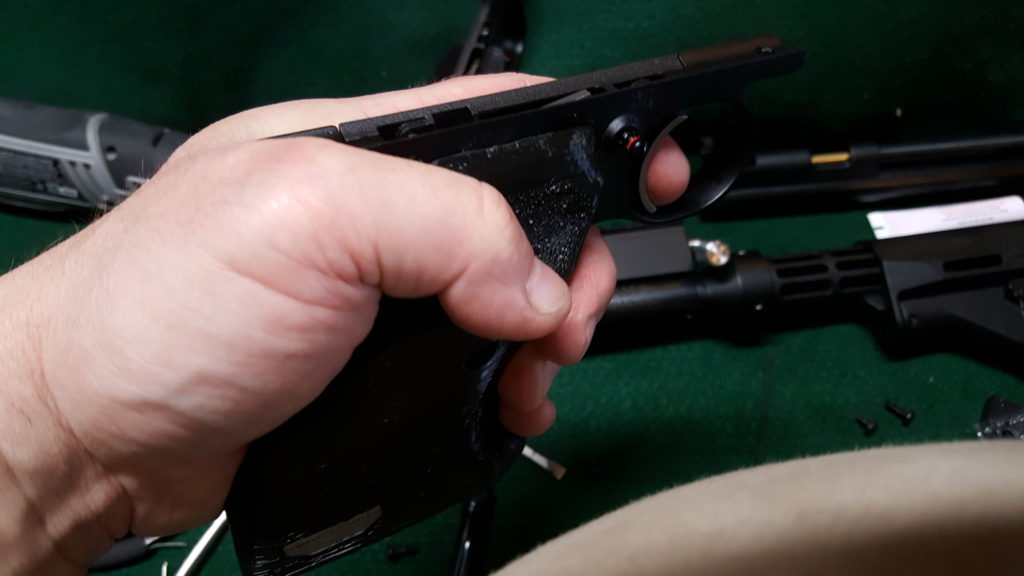
6. I then carefully dropped the tiny detent ball down the hole. The next step is just me – I put a dab of grease on the side of the spring to keep to from easily sliding out. I view it as cheap insurance to reduce the odds of the spring falling out if I accidentally tilt the grip frame. You can certainly skip the grease if you want.
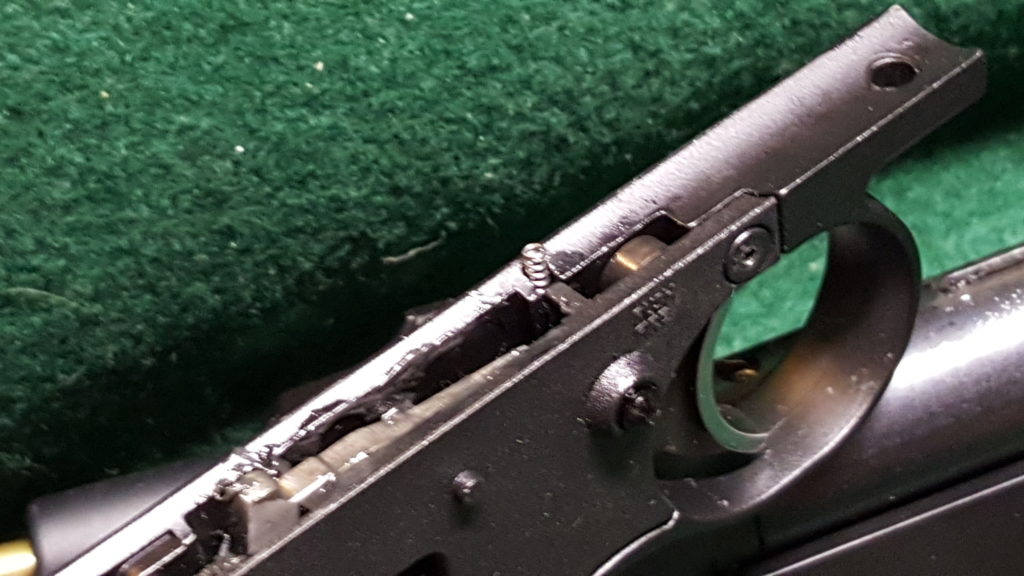
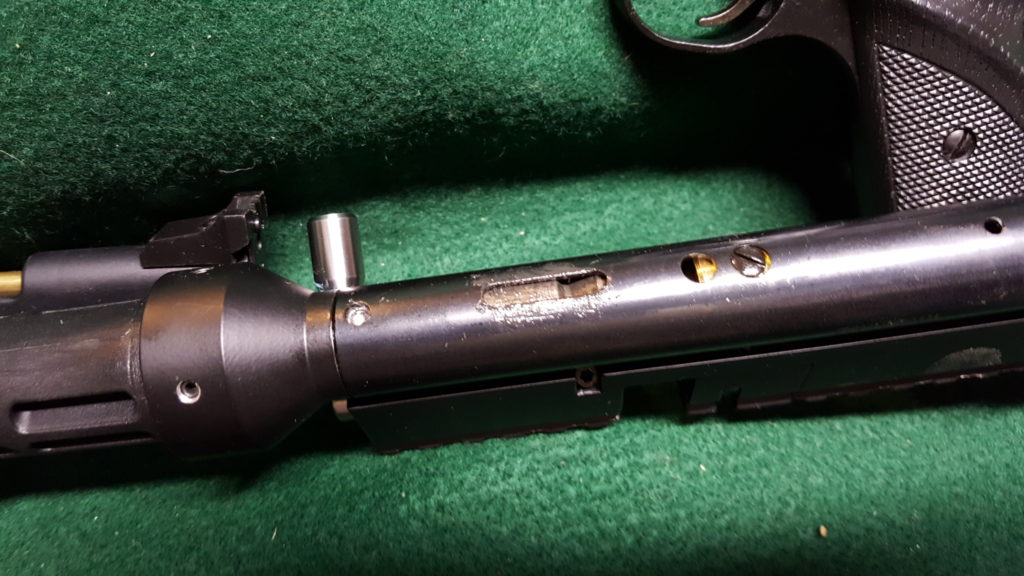
7. I put a dab of grease where the sear rubs on the valve. There’s an old adage that if it slides, grease it — so I did.
8. Next, I carefully mated the grip assembly face up to the gas tube in order to keep the detent spring in place and gently screwed in the front screw (the longer screw) into the frame and then did the back. Be sure to leave the front a tad loose so you can position the back. Then tighten them both down.
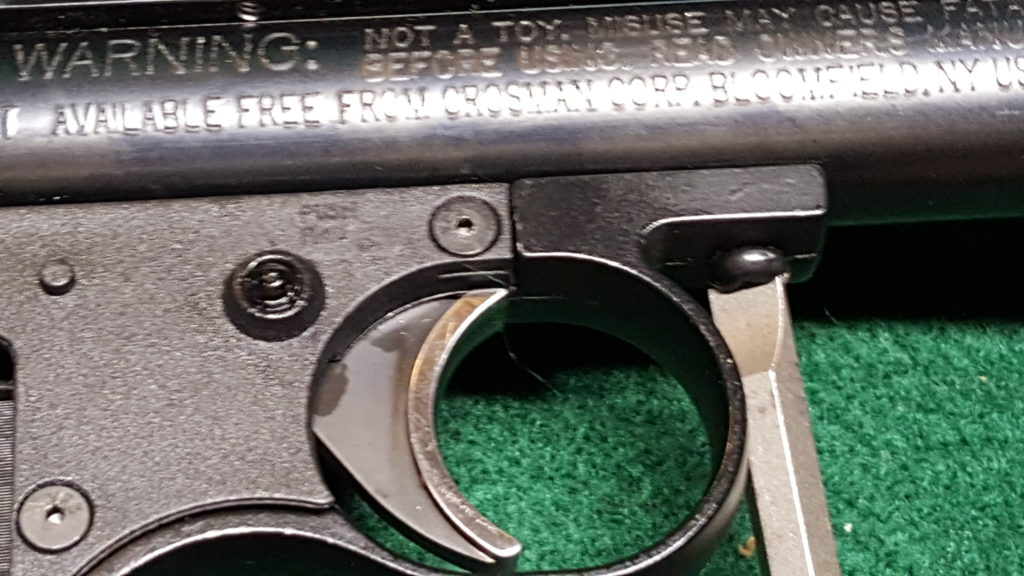
9. I did another function test but this time actually cocked the empty pistol to make sure it would fire and that the safety worked.
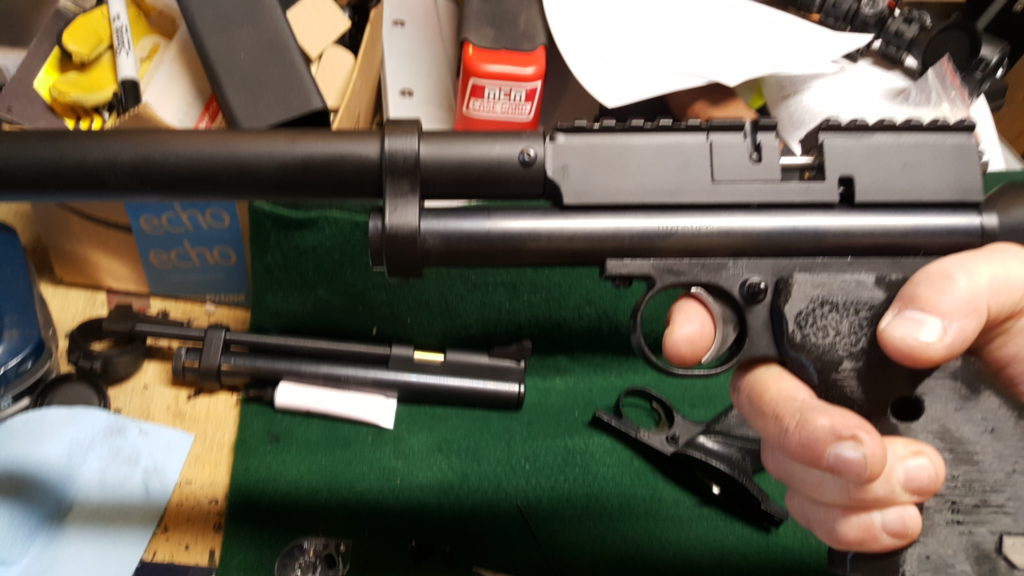
That’s what it takes in a nutshell.
I hope this helps you out. Click here for a post about the BNM breach and shroud for the 2240
If you find this post useful, please share the link on Facebook, with your friends, etc. Your support is much appreciated and if you have any feedback, please email me at in**@*********ps.com. Please note that for links to other websites, we are only paid if there is an affiliate program such as Avantlink, Impact, Amazon and eBay and only if you purchase something. If you’d like to directly contribute towards our continued reporting, please visit our funding page.
