After going over my new Bergara B14 HMR, I realized there was actually nothing I needed to change in the base package itself. You need to understand, it is very rare that I don’t fiddle with a firearm and change things. The B14 HMR is a hidden gem in my opinion. A shooter wanting sub-MOA accuracy can buy one of these and then add the muzzle brake, bipod (if they want one) and a scope of their choice.
You’ll notice the brake and scope mirror what I added to my Aero Solus – I wanted to be able to compare the two rifles side by side. I always want a bipod option and that required a different tact with the B14 HMR than the Solus given the different chassis designs.
To do the work, I mainly used my Tipton Ultra Standing Gun Vise. If you need a free standing rifle vise, the Tipton is solid.
Muzzle Brake
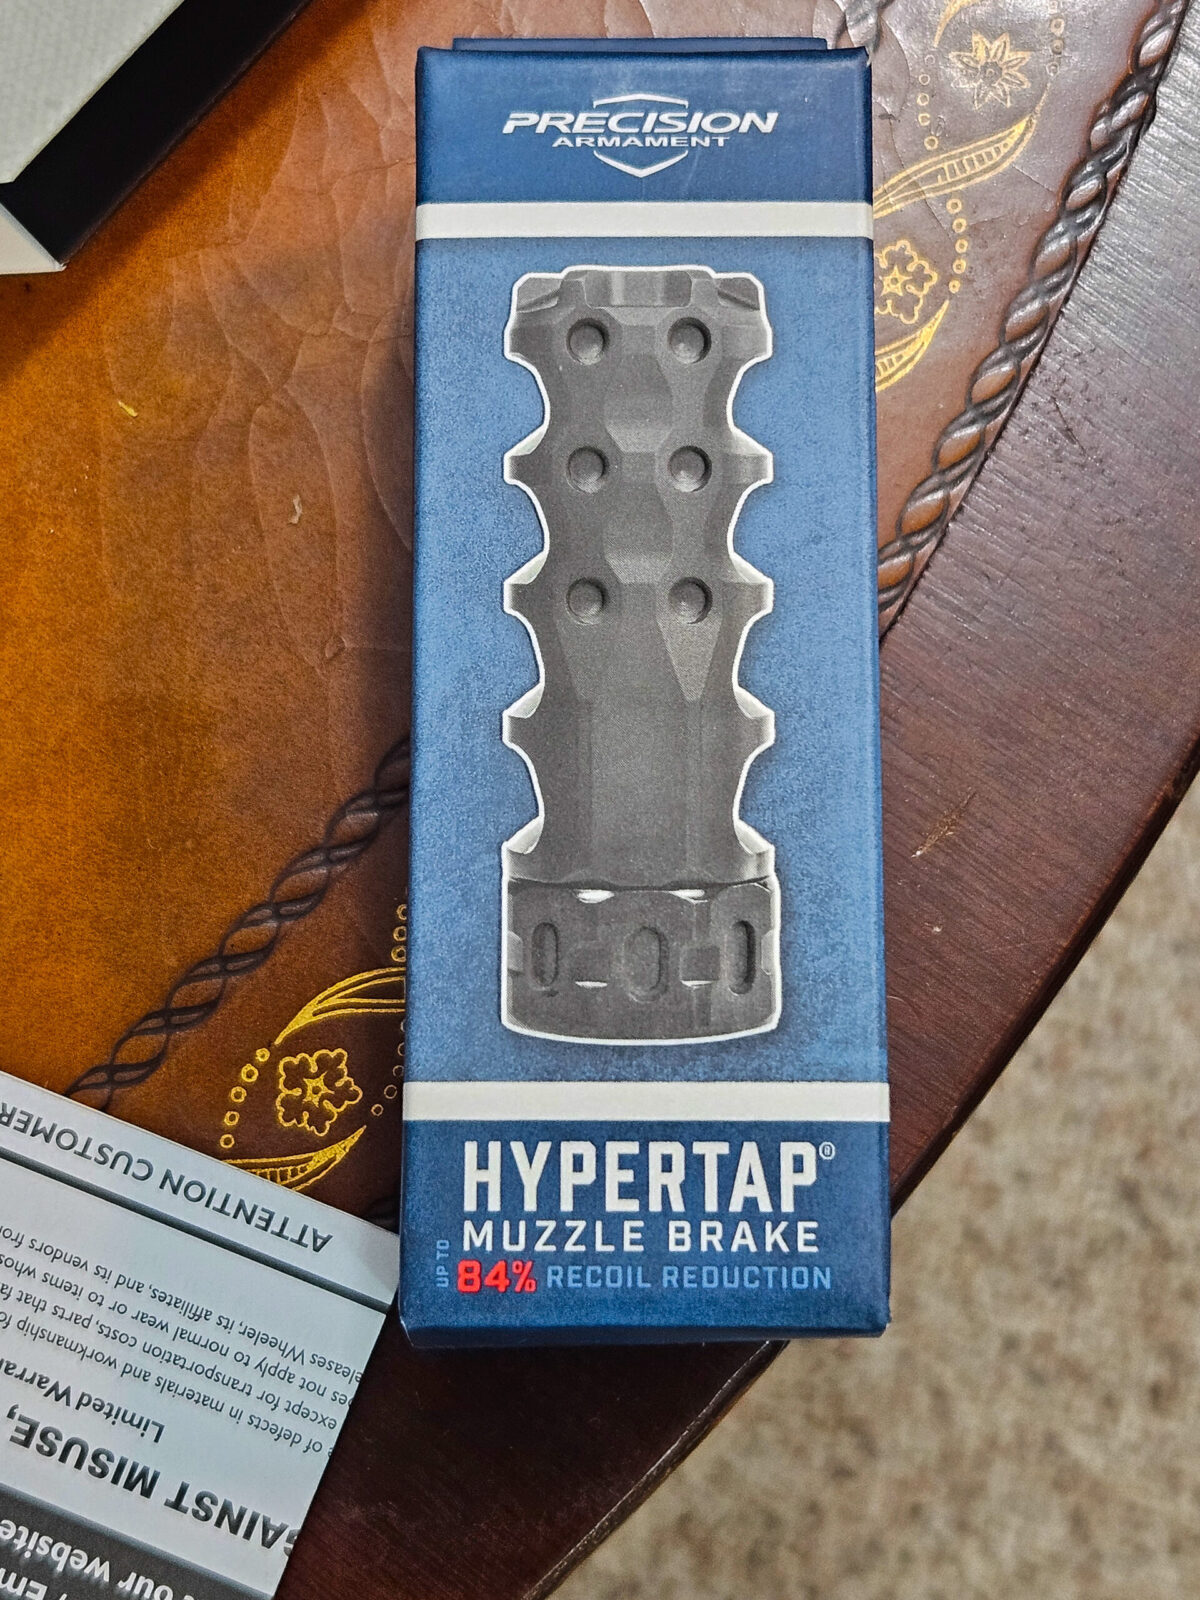
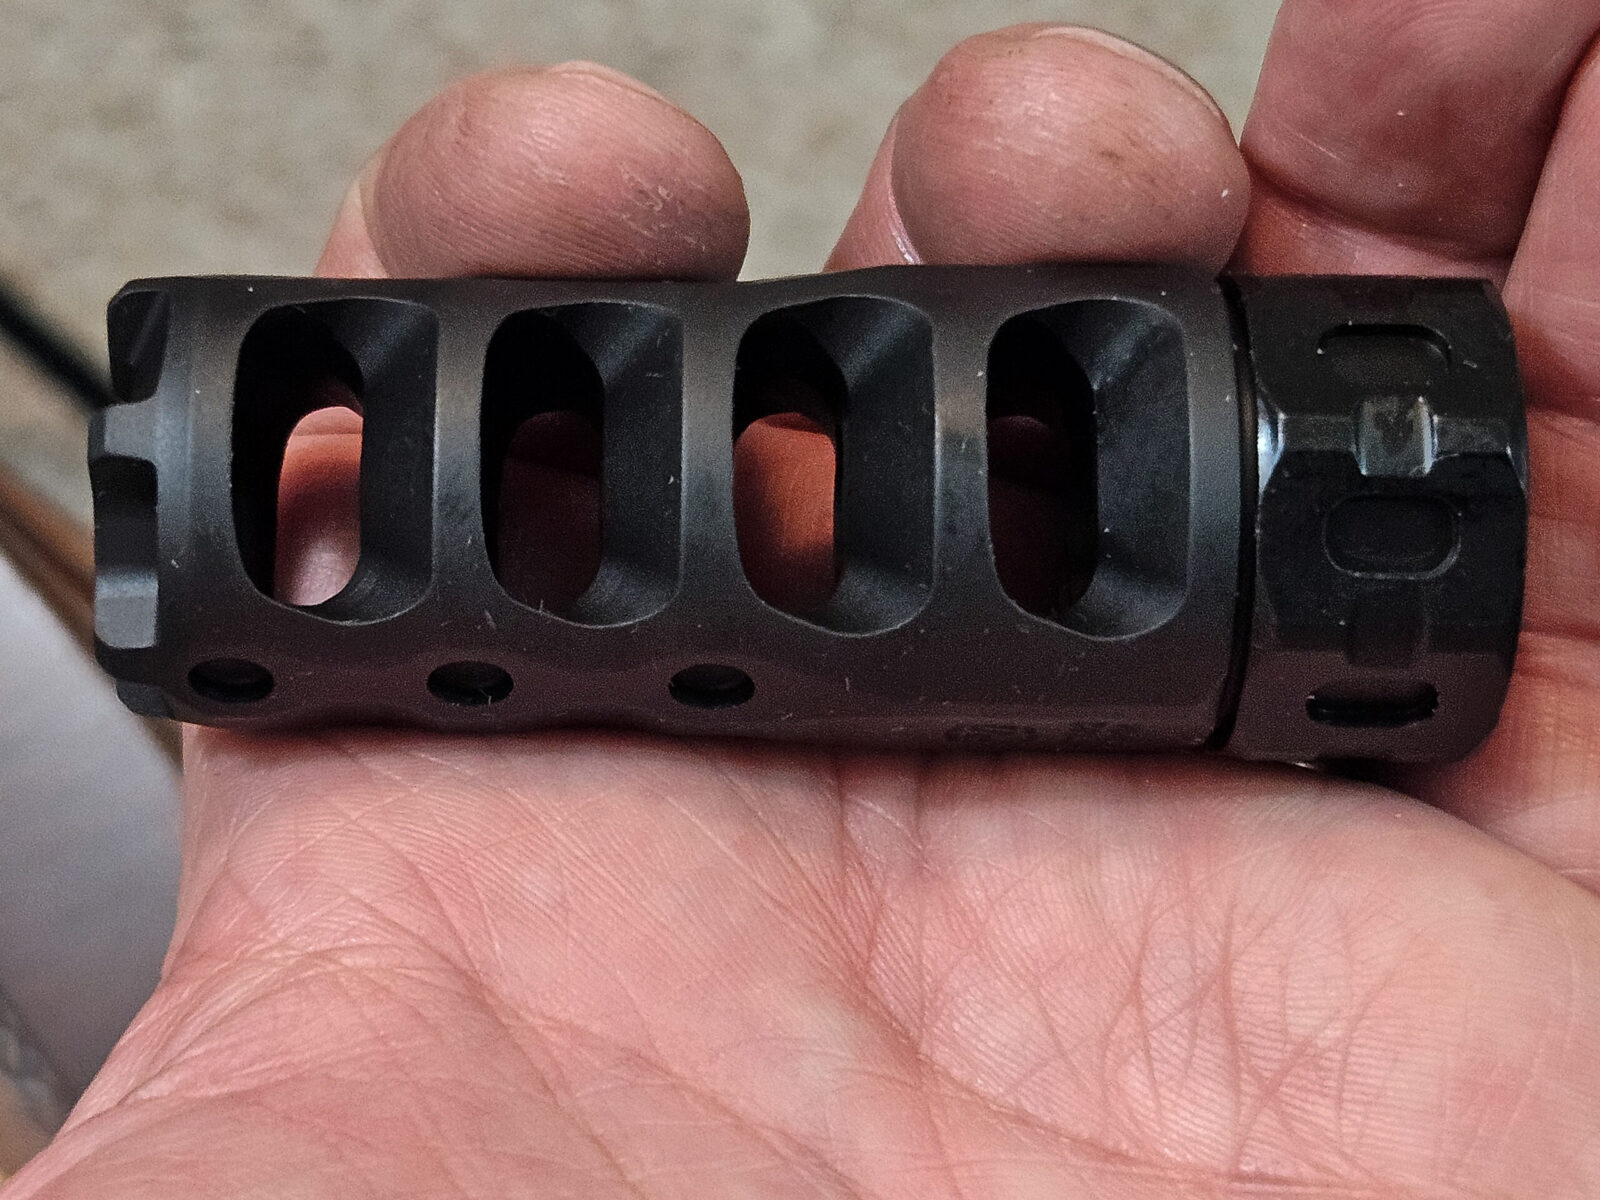
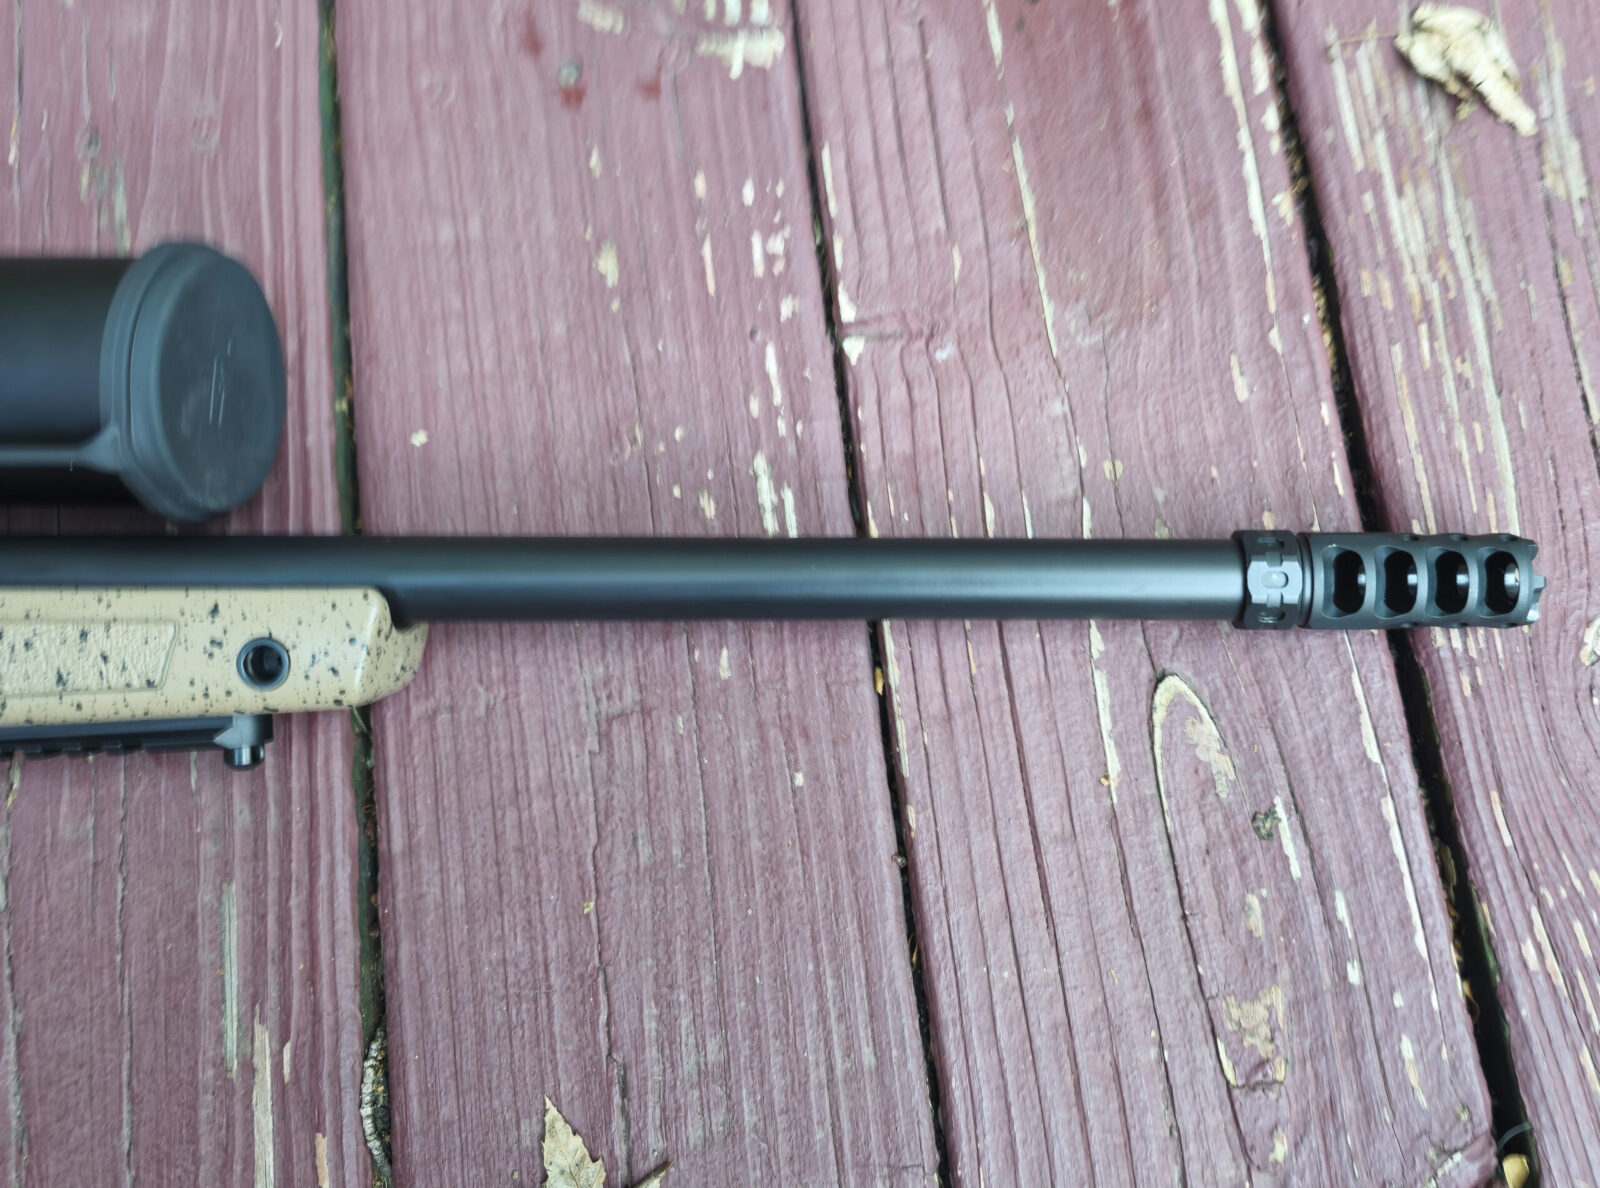
I went with a Precision Armament Hypertap. It can cut felt recoil by up to 88% with little to no impacts on accuracy. Click here to visit their site.
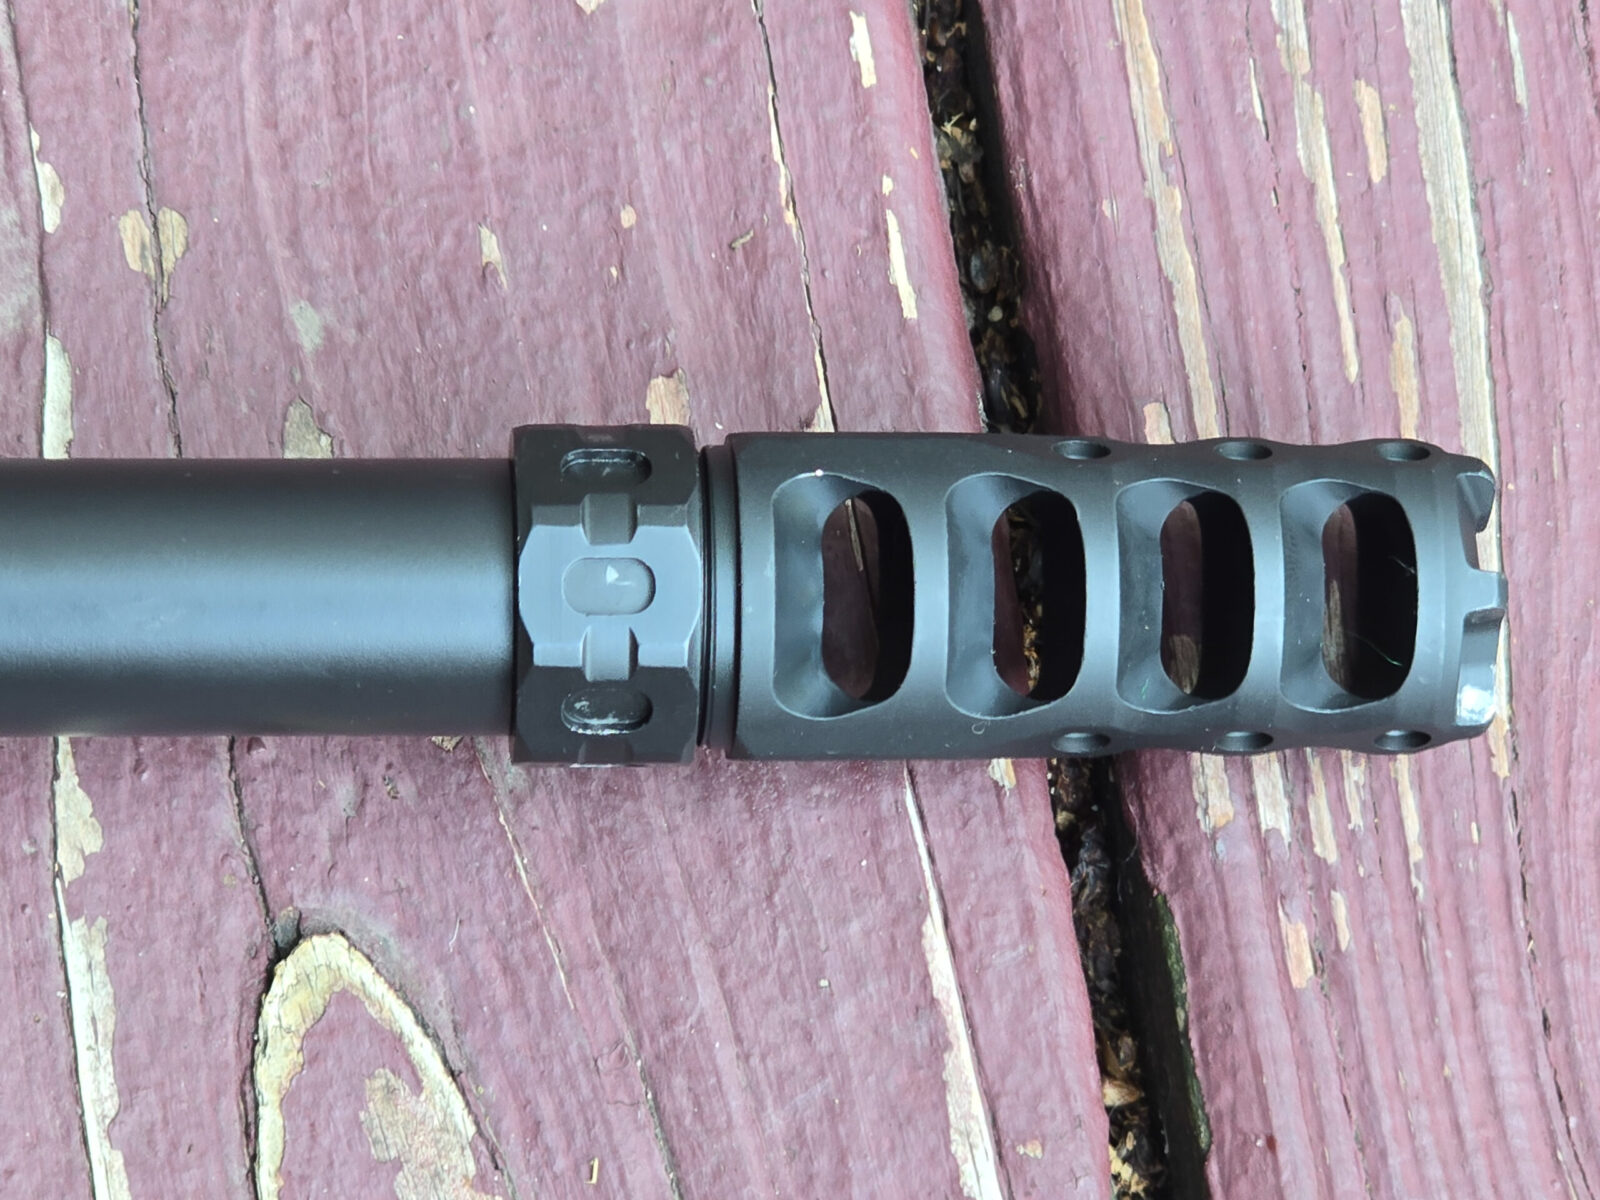
I really like the Hypertap brakes.The Hypertap has the big rear-angled exhaust ports to push the rifle forward and offset the recoil. The integral locking collar on the right allows you to time (rotate) the brake you want and secure it by tightening down that rear nut. The “dimples” you see on the body are locations you could drill additional gas ports to customize the venting of gasses to offset vertical forces.
Bipod
I like Picatinny rail mounts for bipods and the Bergara stock did not have one. I installed an Atlas BT17 4″ rail adapter that goes under the existing dual sling swivel studs to create a solid mounting point. This then enabled me to use an Atlas bipod.
You could install a bipod that mounts on the sling swivels if you wanted. In my case, I prefer having a rail on the bottom so I used an Atlas BT17 4″ rail adapter that uses the sling swivels. The rear slot gives you some “wiggle room” to allow for different distances between the first and second sling studs.
I haven’t settled on which exact bipod to use yet but it will be one of my Atlas units – either a BT65 or BT46 with an American Defense Manufacturing (ADM) clamp.
Base, Rings & Scope
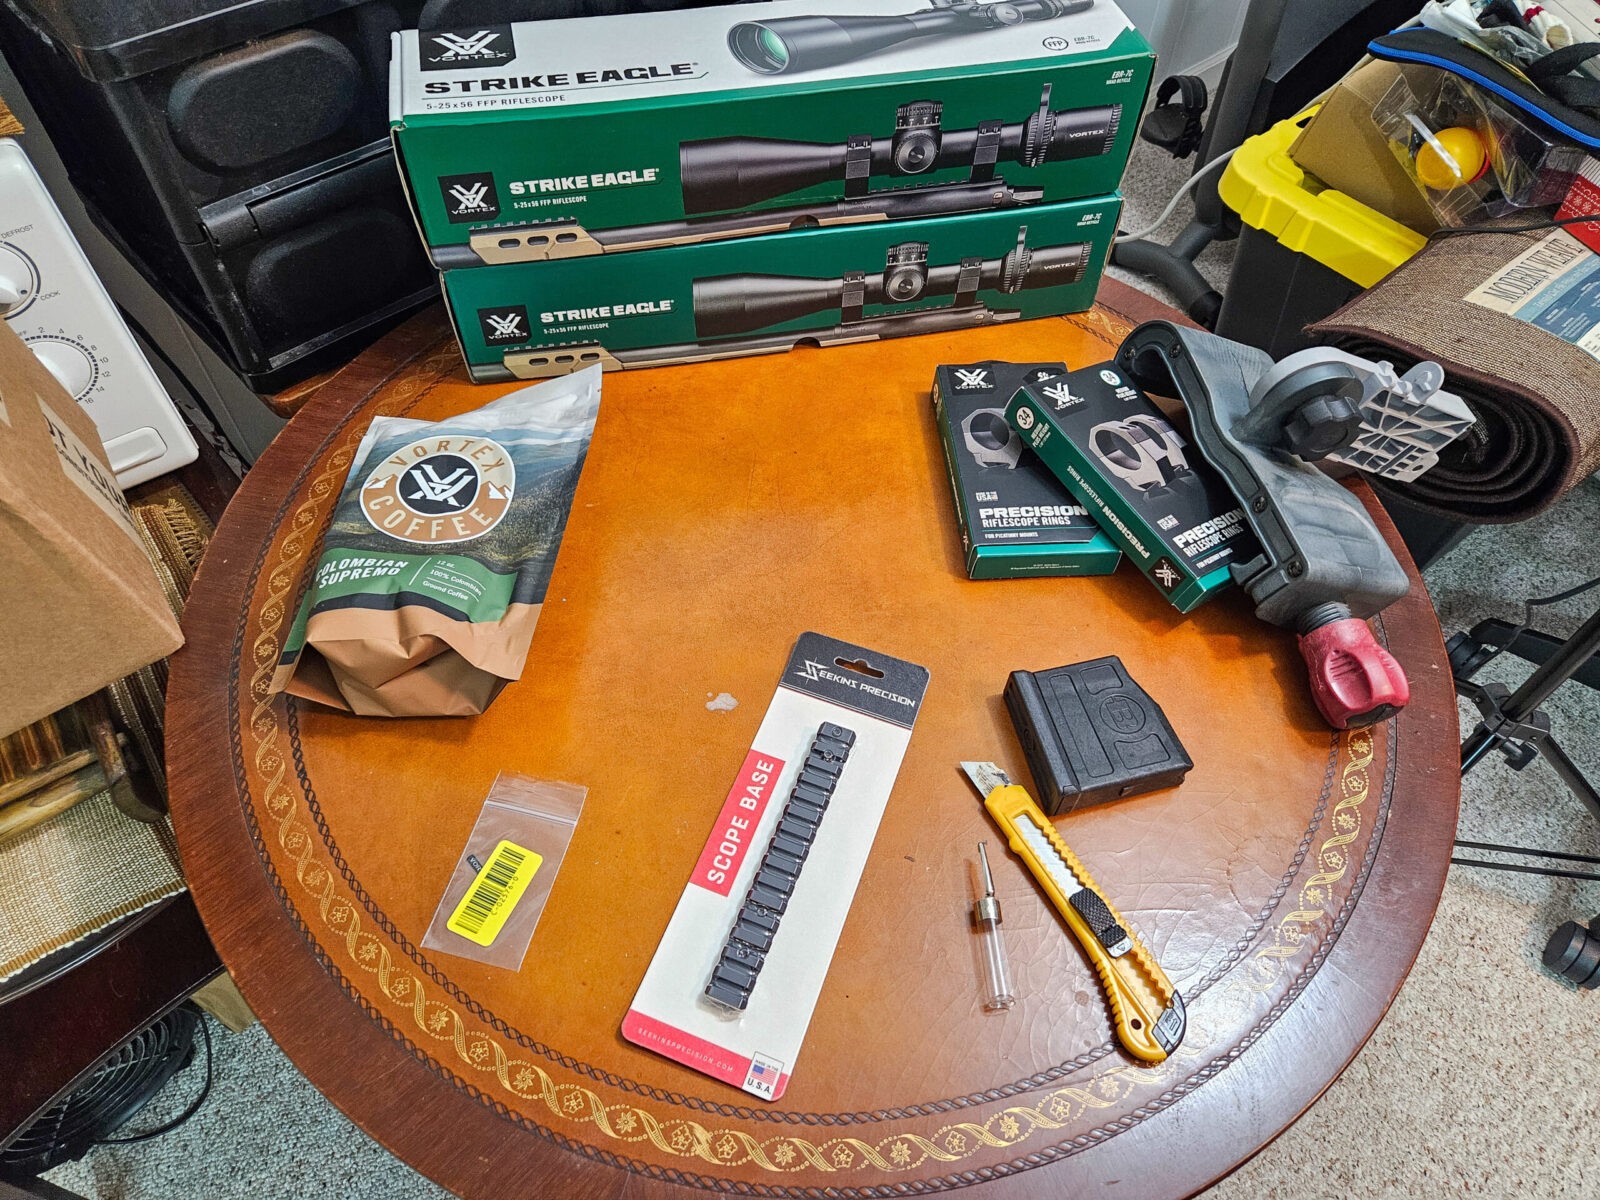
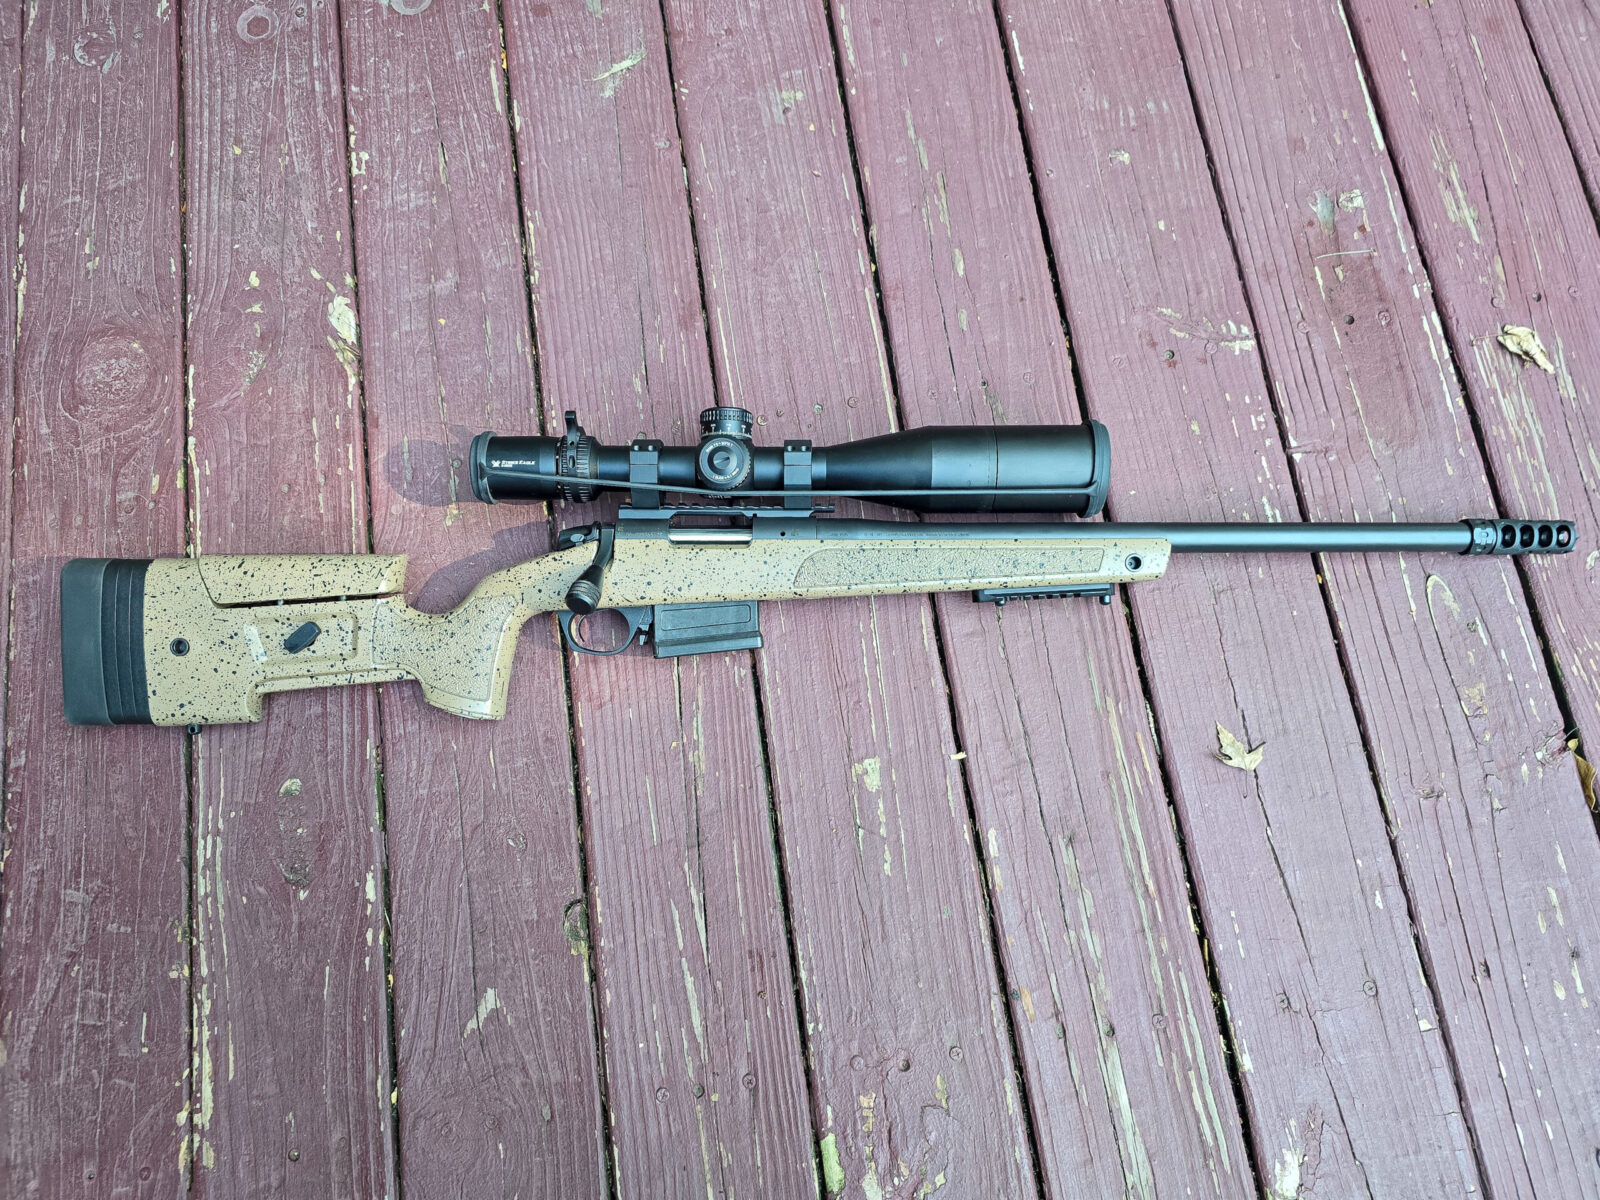
The Bergara is drilled and tapped for a scope mount and uses the same pattern as a Remington 700 short action receiver. I installed a Seekins 0-MOA aluminum rail segment to accomodate Vortex Precision Rings and a Vortex Strike Eagle Scope.
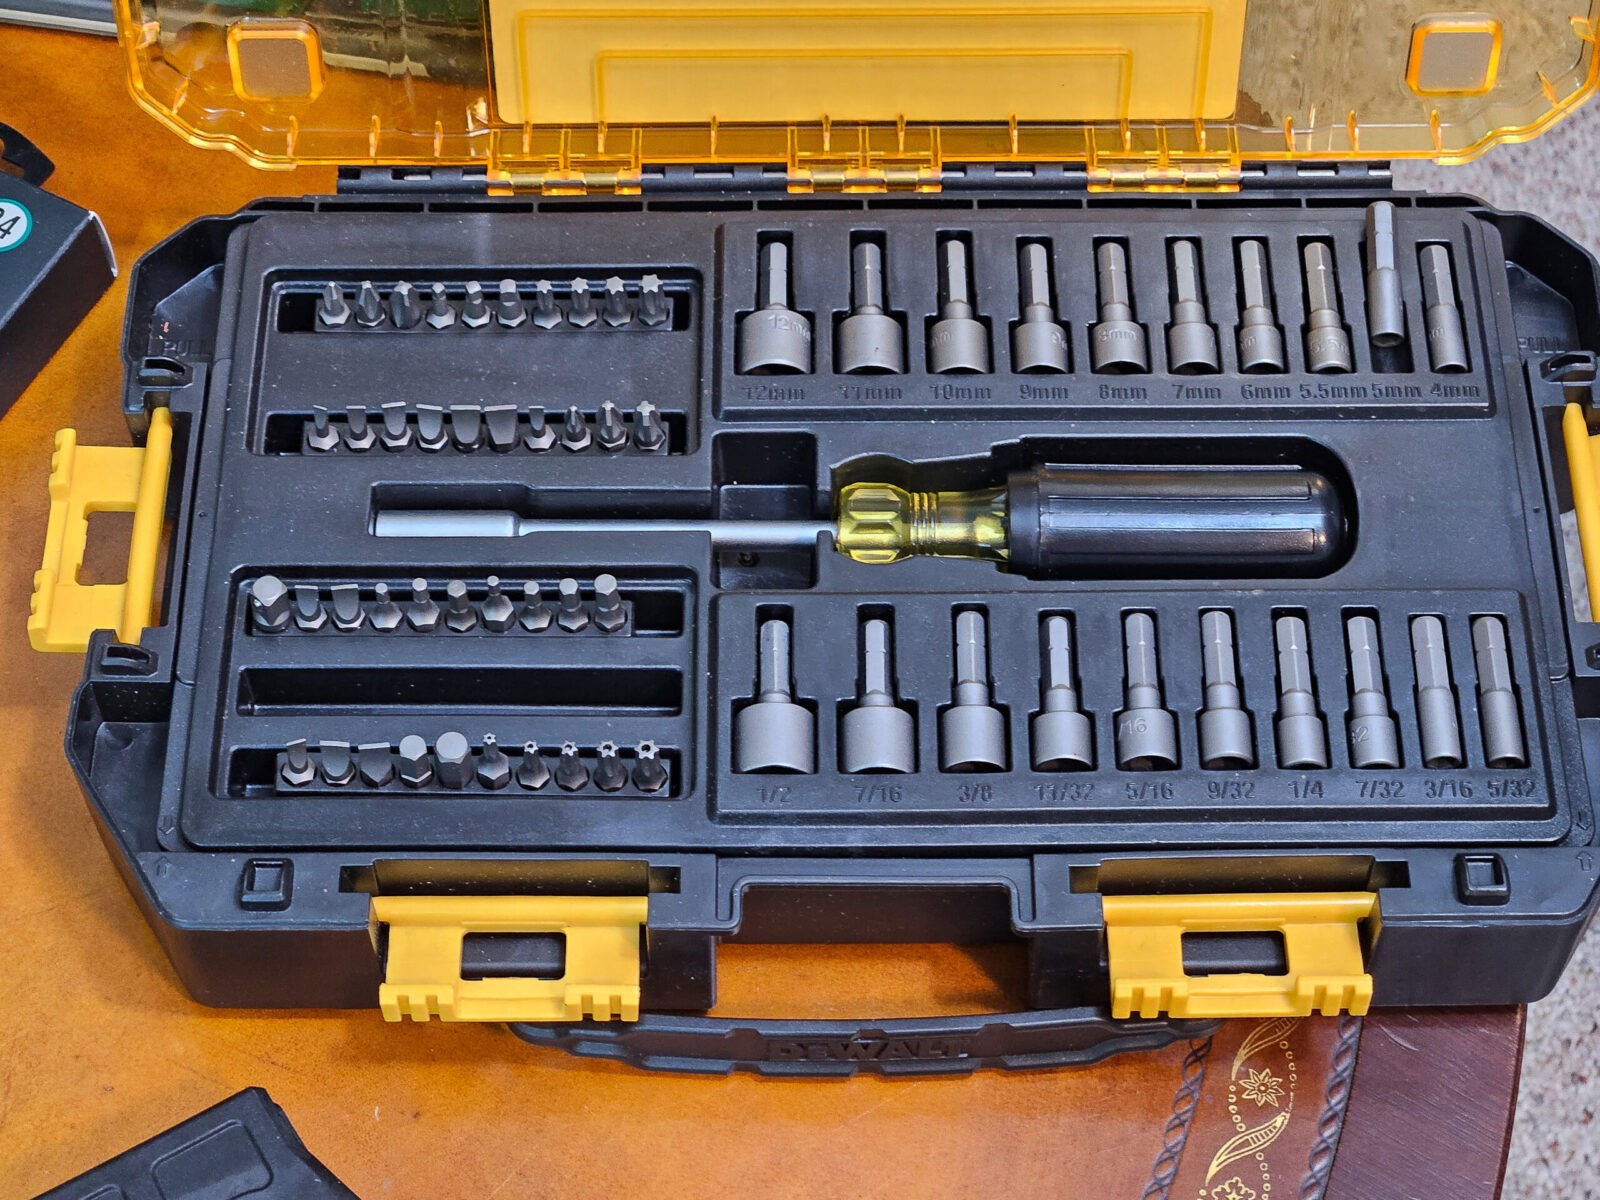
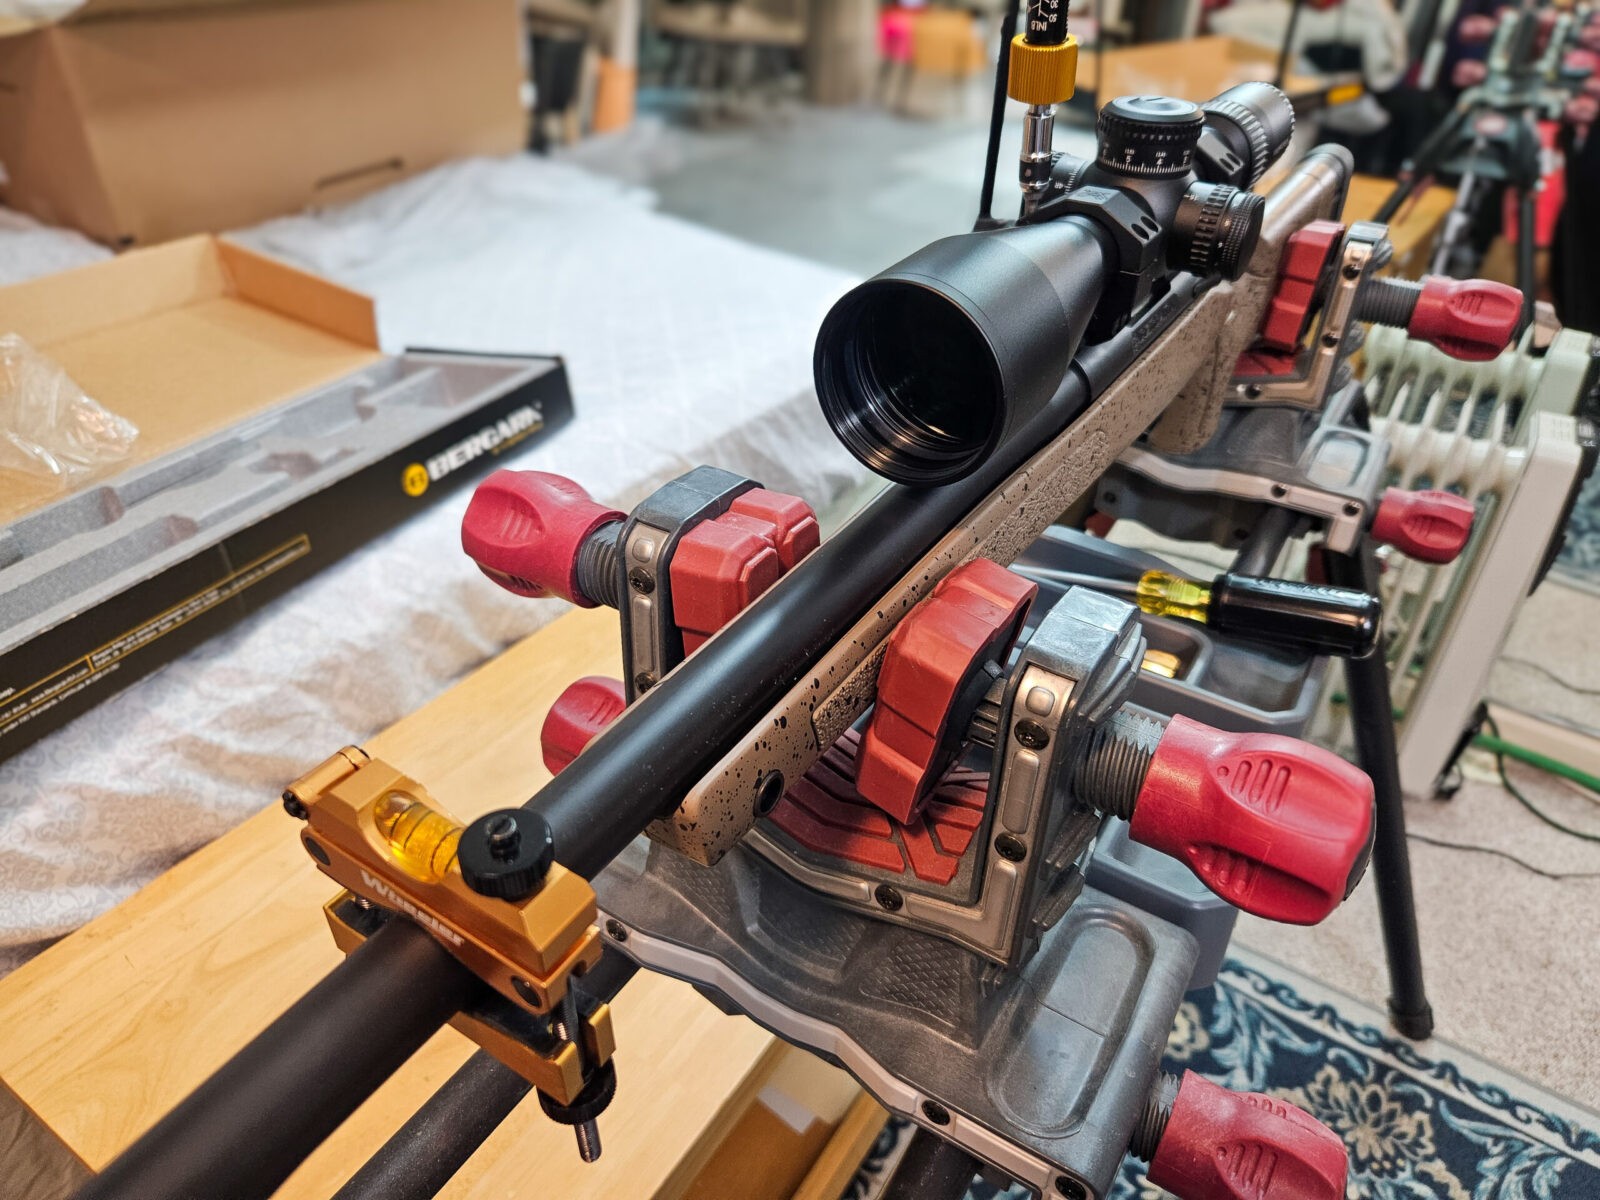
I was working on the Aero Solus and Bergara B14 HMR back-to-back and bought the scopes and rings at the same time. The Bergara needed a mount and I bought a Seekins 1-piece 0-MOA Picatinny rail base. Vortex gave me a pleasant surprise in the box – a bag of their own Columbian Supreme coffee – it was surprisingly good.My current go-to bit set is from Dewalt. I used a Wheeler for a while and slowly the most used hex head bits started rounding over so I bought this kit. It’s very nicely done plus I can use the bits in my Vortex torquing screwdriver.Installing the scope mount. I applied blue loctite to the screws before installation. The longer screws go to the back – check that the bolt moves freely before you call it done.I used a Vortex torquing screw driver (they refer to it as a wrench) to finish installation. It’s served me well for years and I always return the torque to zero to unload the spring in the driver. There are a ton of look-alike knock offs on Amazon. You have no guarantee of their accuracy or how they will hold up over time.I really like Vortex Precision Rings. You can really dial in the height you want to get the scope close to the bore but also allow the bolt handle to clear the scope. By the way, a huge difference you will see witth quality rings is that they will give you torque specs because the material can handle it. Cheap rings and the marvel mystery metal they are made from are a “best guess” in terms of torque and often strip out. Quality rings also are true with the tube to correctly hold the scope.To this day, I always enjoy opening a new scope and seeing it. This is a Vortex Strike Eagle 5-25x56mm Front Focal Plane (FFP) scope with 34mm tube. The images are bright and crisp and it has a cool MRAD reticle.I use a Wheeler Scope Level tool kit to make sure the scope and reticle are perpinduclar to the bore. The Wheeler unit is the easiest model I have found. There are cheap knock offs out there but I have no idea of their quality. I’d recommend sticking with the Wheeler unit.I like using a Wheeler professional laser bore sight. I have one with a green laser but you may find the red laser model available at a very decent price. It attaches via a magnet to the muzzle and while it is quick to attach, the end of the muzzle must be cut perpendicular to the bore. I’ve found it doesn’t work well on barrels that have the muzzle sloppily cut or muzzle devices that aren’t true to the bore or unevenly machined as well.
Plano All Weather Hard Case
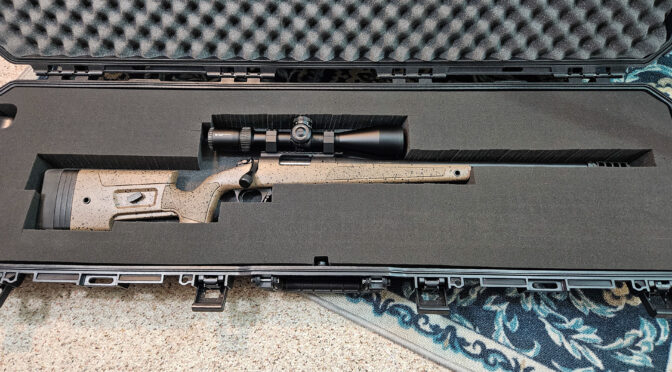
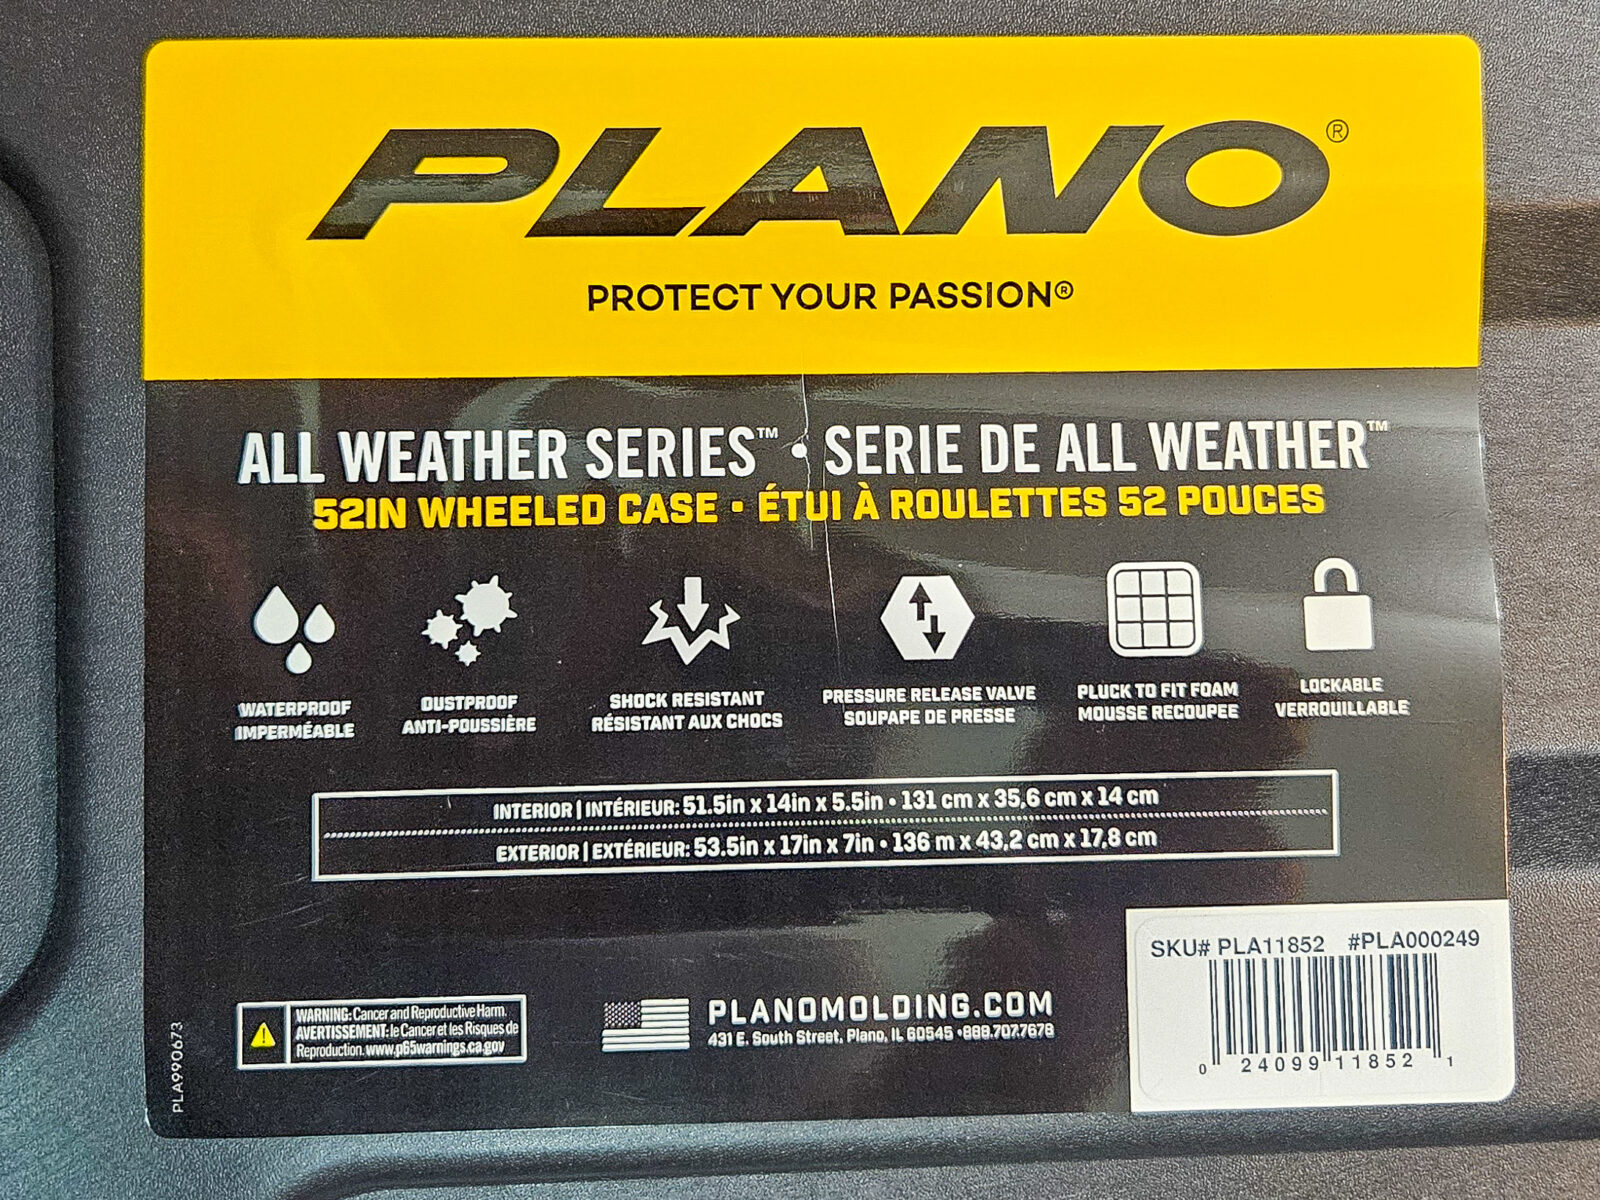
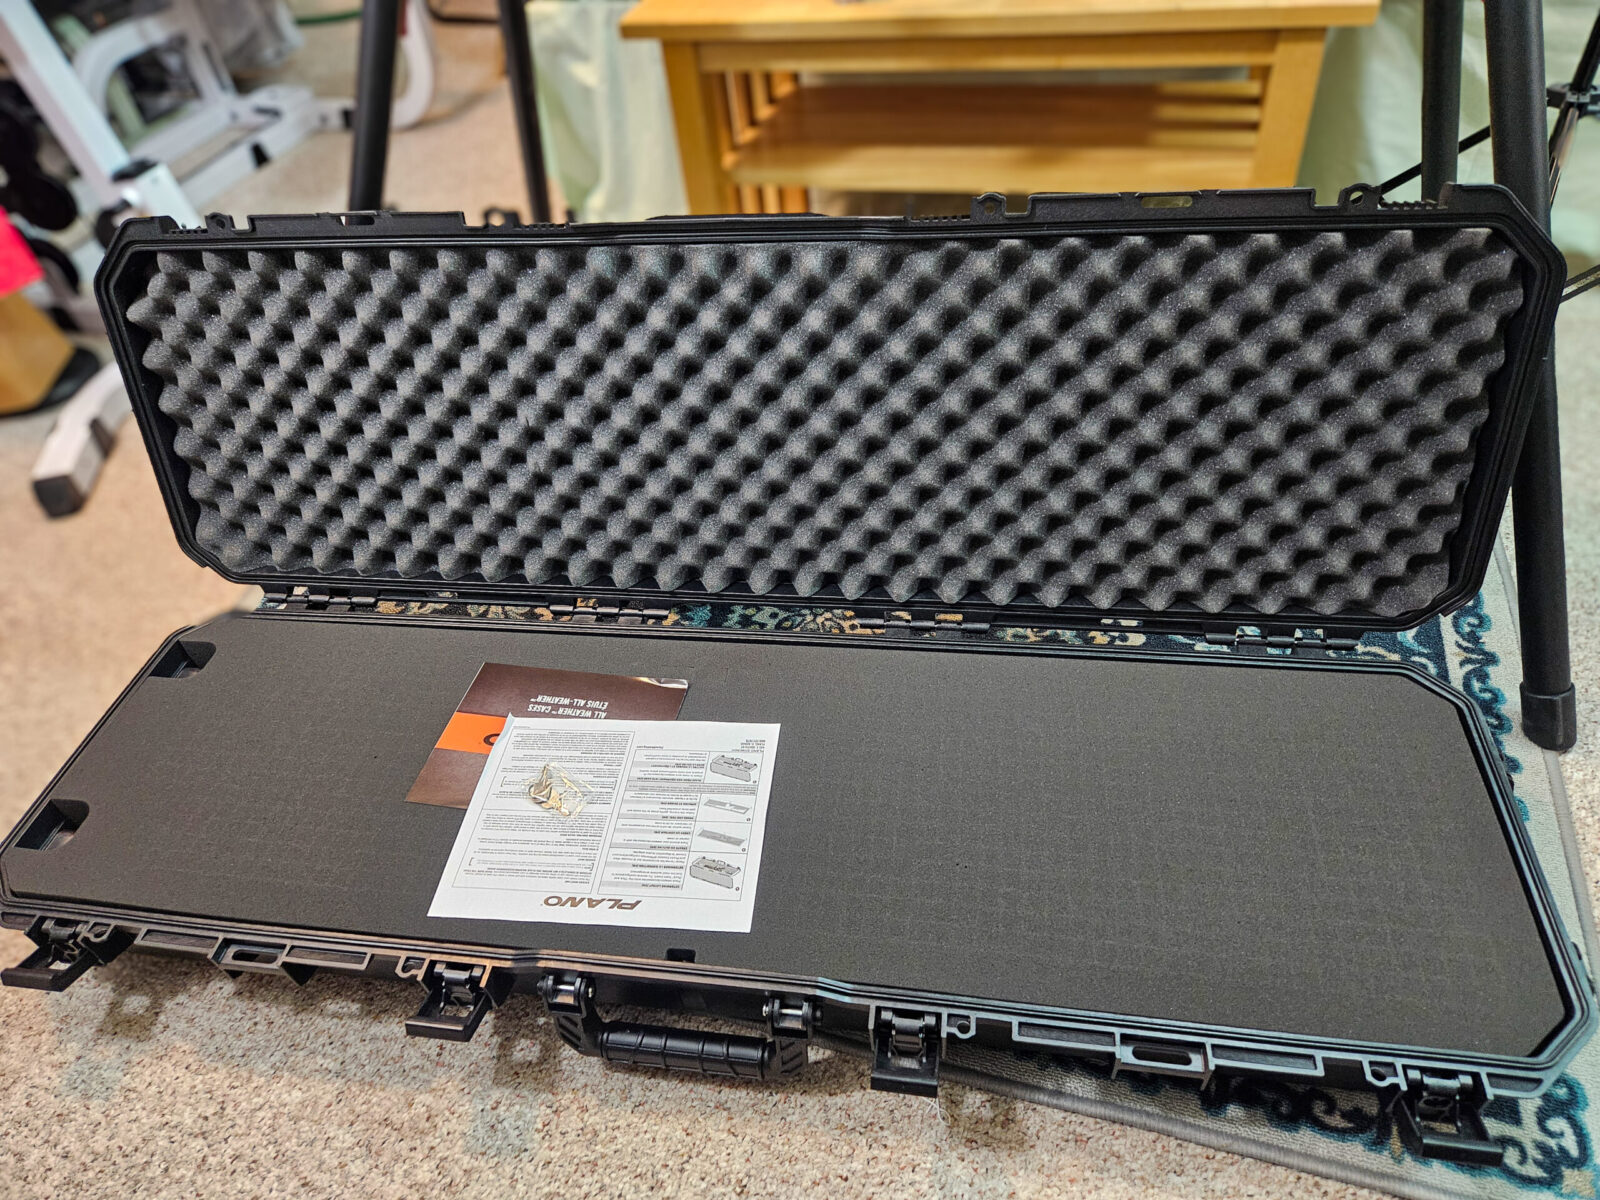
I’m a fan of Plano’s All Weather hard cases. Maybe you haven’t encountered them but they are solid, waterproof, and have pluckable foam so you can easily custom fit whatever firearm(s) you want to store.
It’s a big case for sure. ID is 51.5x14x5.5 inches. OD is 53.5x17x7 inches.The pluckable foam makes customization easy and there are keys for the locking latches.I lay my rifles on the foam and then pluck out the sections until I get the fit I want.Once I get the rifle situated, I’ll then do whatever other “pockets” I need for magazines, ammo, etc. In general, I like to keep the weapon away from the edges as much as I can to ensure protection. Once everything is done, I spray the bottom of the pluckable foam layer (it is removable) and then spray it with 3M Super 77 spray adhesive to lock it in place.
Result
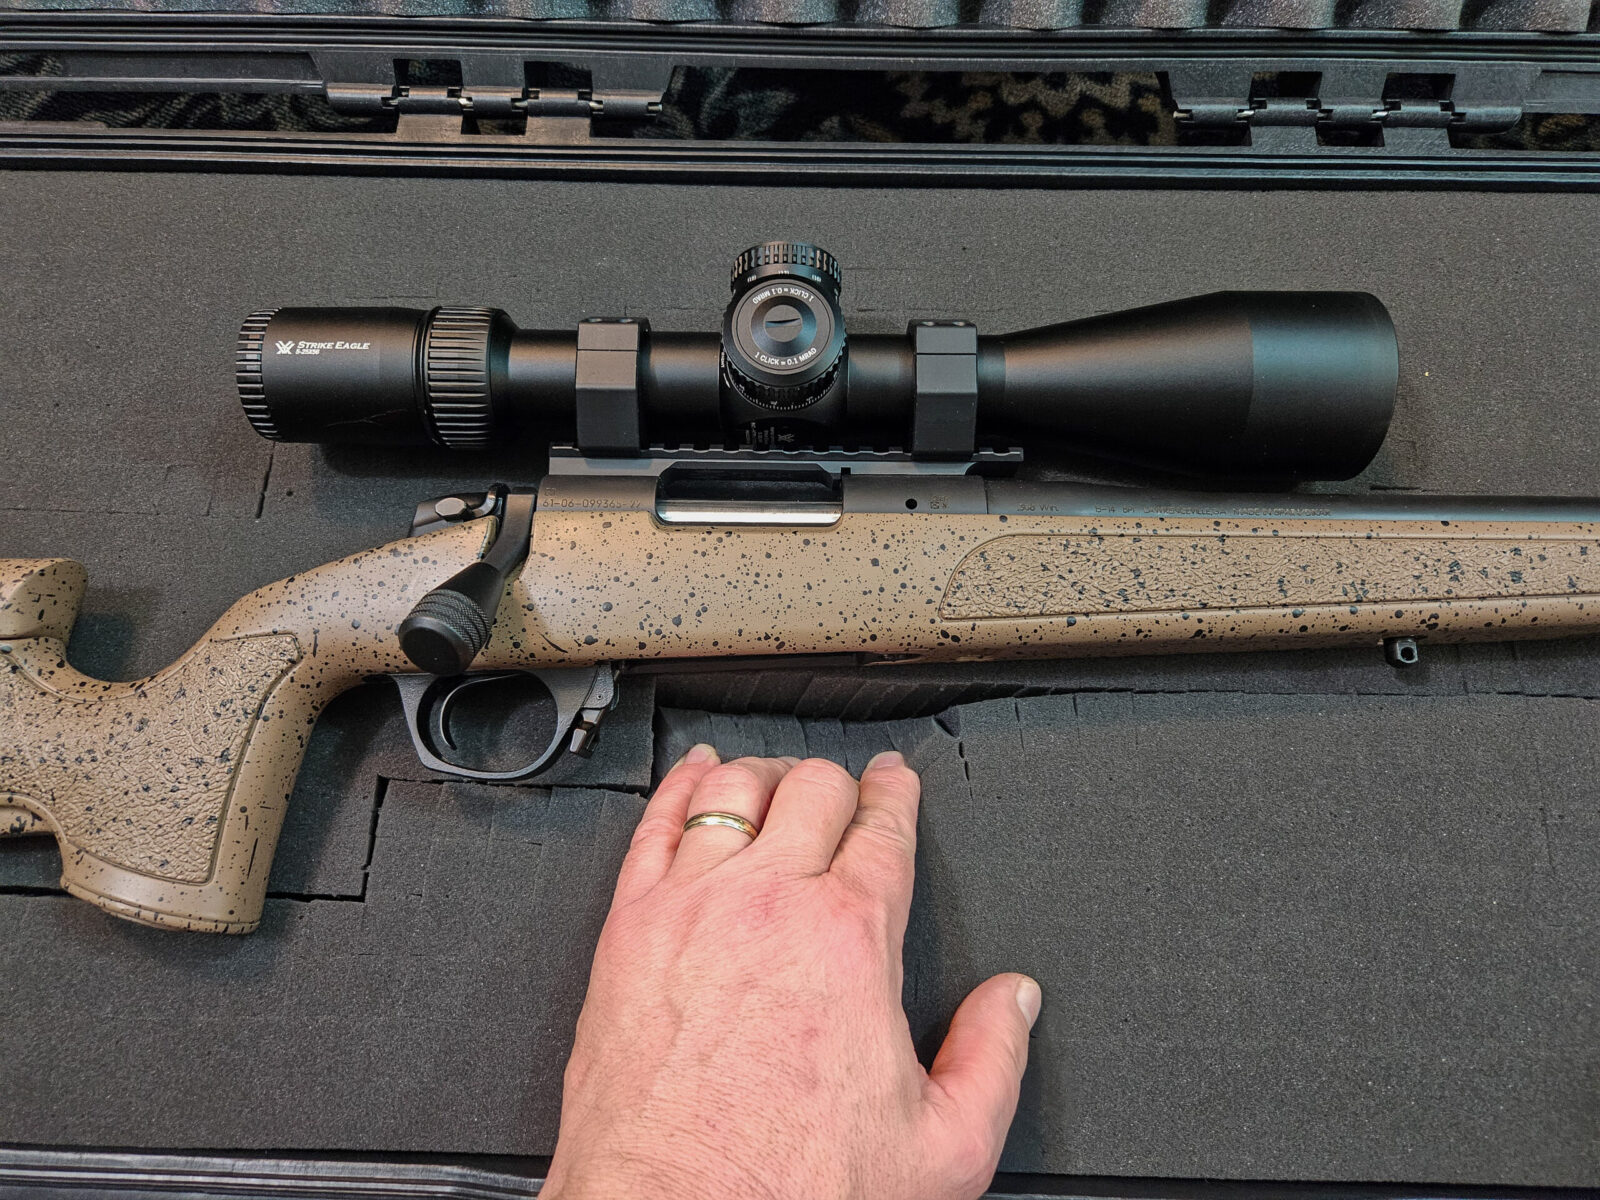
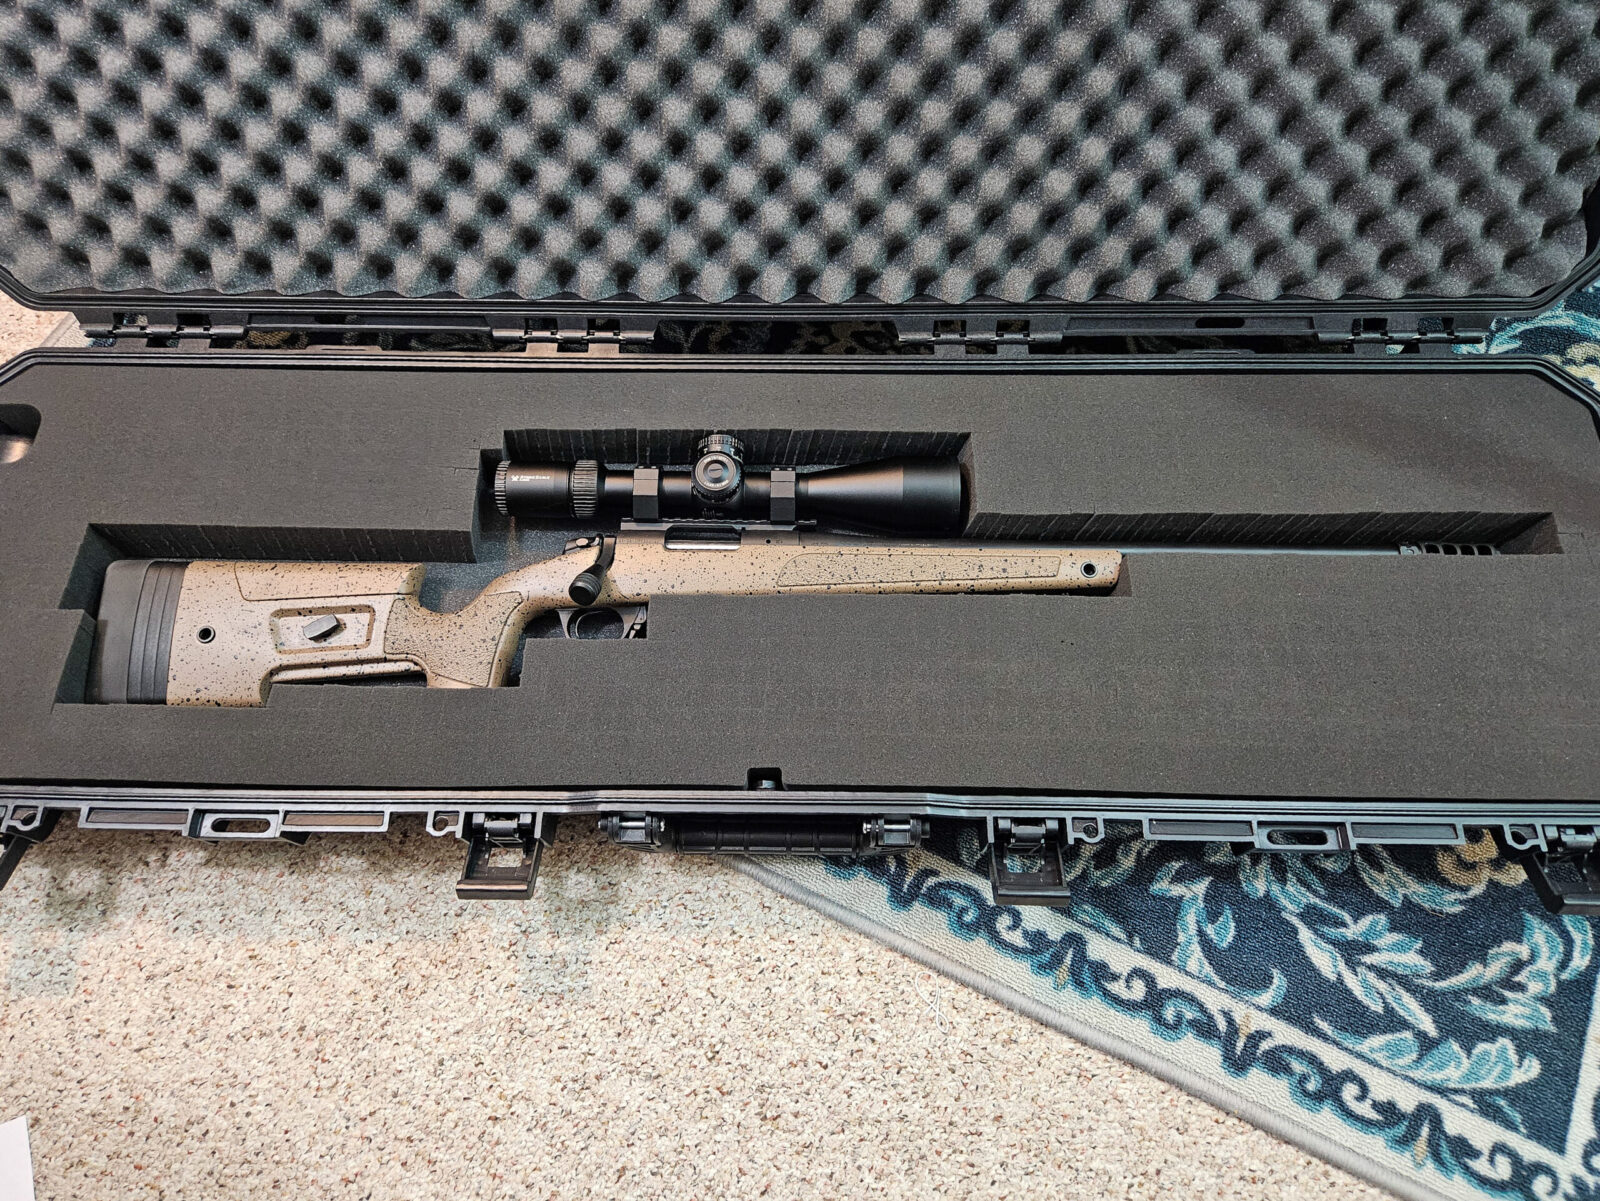
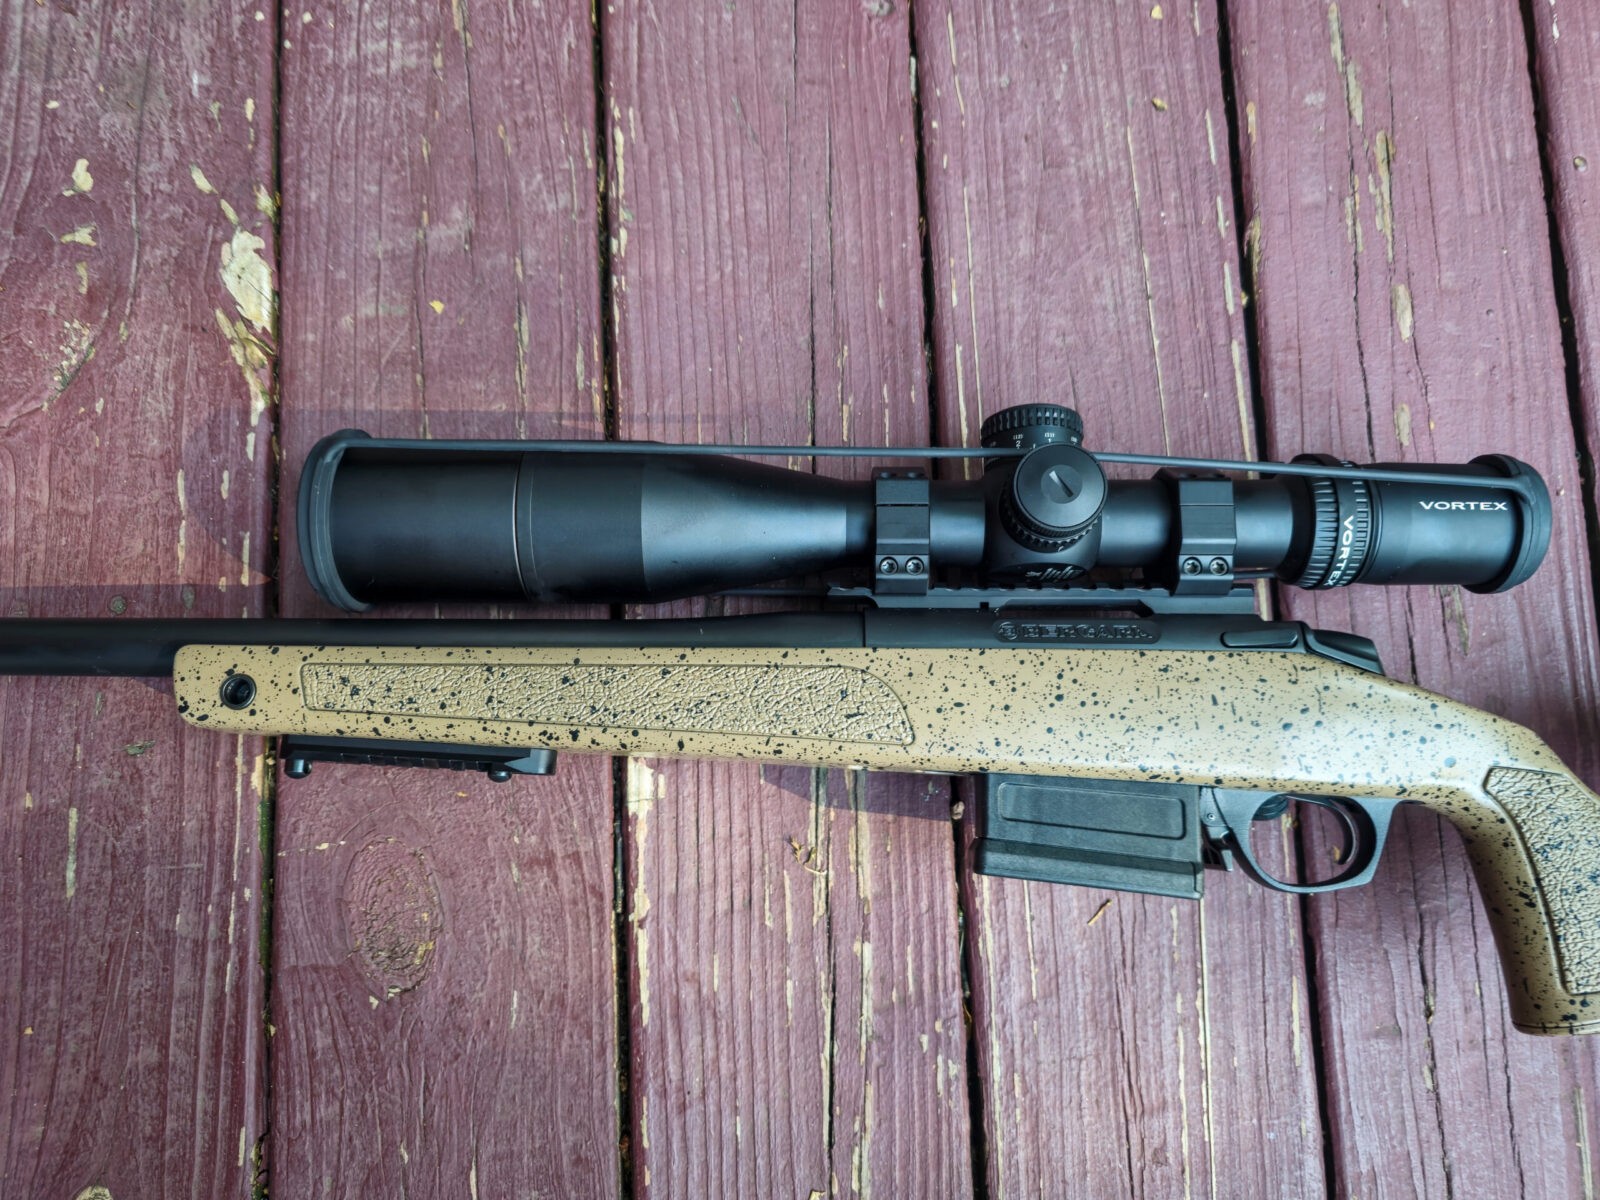
Here’s the rifle with the muzzle brake, bipod rail adapter, and Vortex scope. Note the three spacers to the left of the recoil pad and the adjustable cheek piece is raised up just a tad.A tad closer view of the scope.Here’s the rifle laying in the other direction. I find the brake design intriguing with it’s big ports and the ability to fine tune.
Summary
The base Bergara B14 HMR is a solid rifle to then do the final touches on. I added the things I like – the brake, bipod adapter and scope. With that done, it was ready for the range.
I hope this helps you out.
Note, I have to buy all of my parts – nothing here was paid for by sponsors, etc. I do make a small amount if you click on an ad and buy something but that is it. You’re getting my real opinion on stuff.
If you find this post useful, please share the link on Facebook, with your friends, etc. Your support is much appreciated and if you have any feedback, please email me at in**@*********ps.com. Please note that for links to other websites, we are only paid if there is an affiliate program such as Avantlink, Impact, Amazon and eBay and only if you purchase something. If you’d like to directly contribute towards our continued reporting, please visit our funding page.