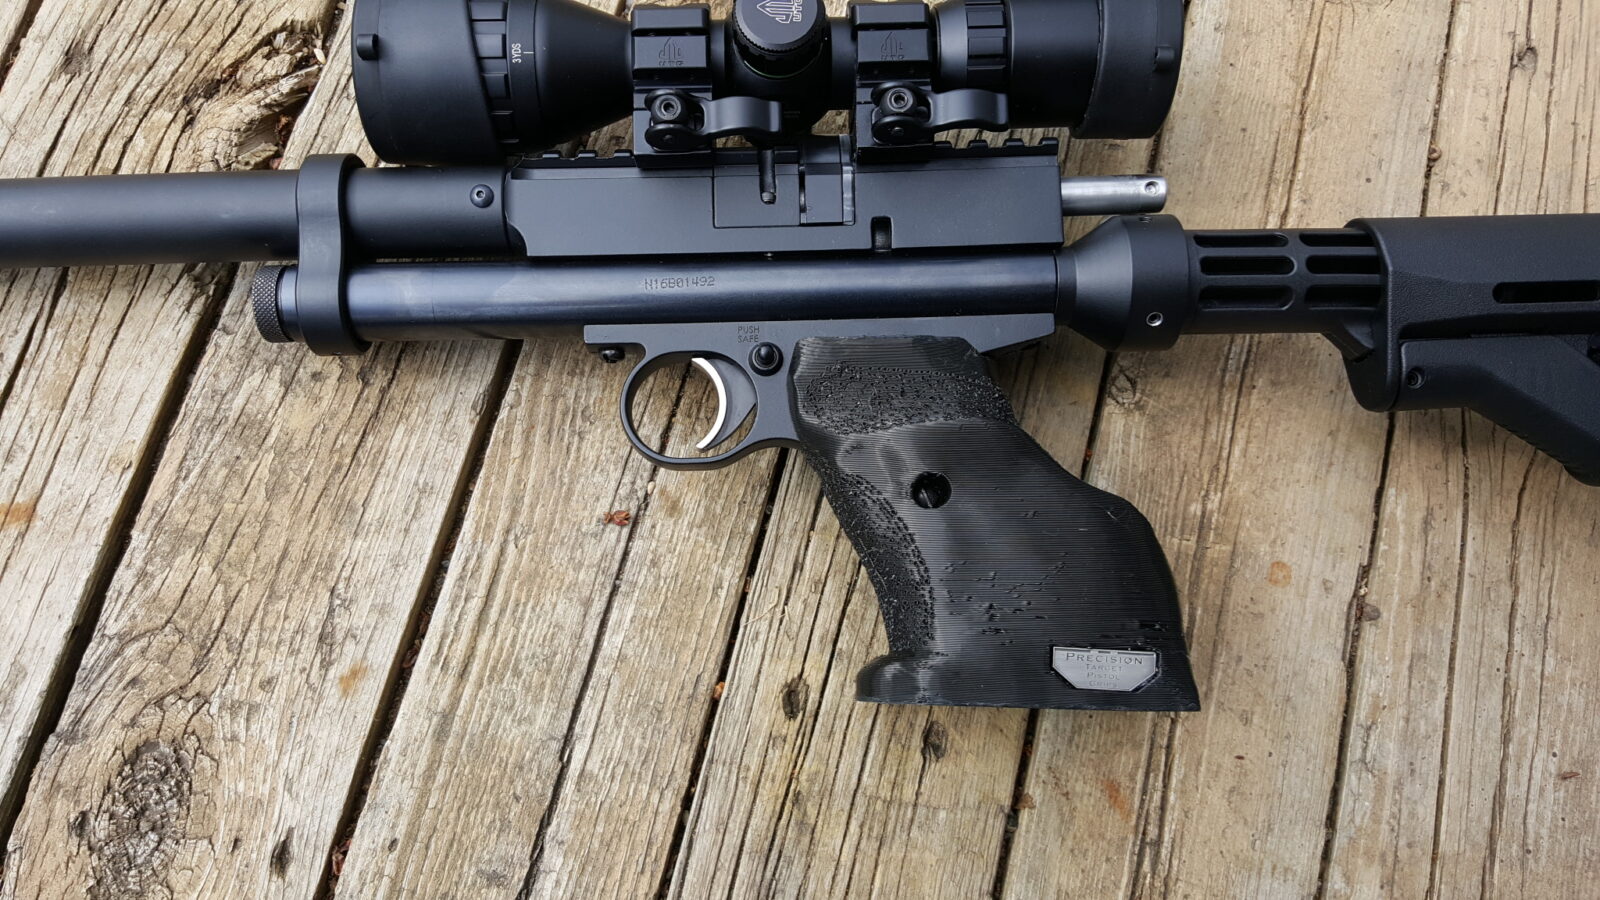
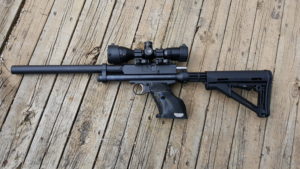
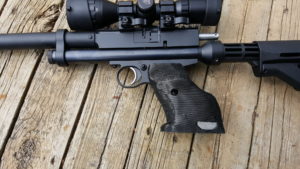
I bought a cool CP1002 pistol from BNM Custom Airguns. Now they focus on making exceptional breaches and that Tippmann stock adapter is very cool also. In talking with Sergio, because there is such a strong aftermarket with businesses that specialize on certain aspects, he has not bothered with the trigger. Now that makes sense – triggers are really something that an individual has to decide on – do they want one stage or two? Long pull or short pull? Light pull or heavy pull? and so forth.
After doing some reading, I decided to install a roller trigger, thicker sear and adjustable sear spring. They were all available from Alchemy Airwerks on eBay so I bought them and a few other items to try in the future. Now there are a ton of options and I’ll try some others as well but this was a first try and it did help.
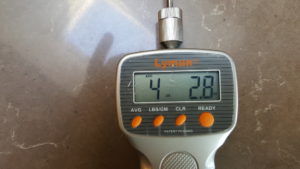
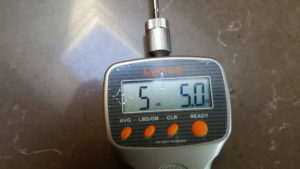
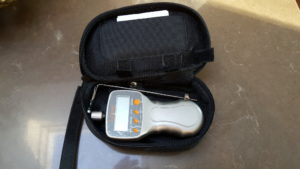
Years ago, I bought a digital Lyman trigger gauge that I am very fond of. You basically install a 9 volt battery, hold down READY to zero it and then press Ready again to take the measurement. You do this by putting the black fitting on the feeler on the trigger in the same spot as you slowly pull the trigger with the gauge. My readings were all over the place from 4lbs 2.8oz up to 5lbs 5 oz. In other words, it was heavy and inconsistent. Couple this with how thin the stock trigger is and it really makes for a poor trigger.
Before you do anything, make sure the pistol is empty and that there isn’t any Co2 in it plus make sure the pistol safety is set to fire or you risk losing the spring and detent. Notice that last part. It’s a heck of a good warning to bear in mind – have it set to fire and protect it from being bumped. That doesn’t always work out so well hence this post.
Second HUGE recommendation – Be sure to have one of the fuzzy work mats. I’m not telling you this to be cool – they serve a real purpose. The fuzzy surface cushions soft parts so they don’t fly away. There is an unwritten shop law, the smaller the part, the further than darn thing will bounce never to be found or not without some monumental search with magnets, flashlights and a clairvoyant.
So here are the steps bearing in mind we really want to talk about the safety spring and detent:
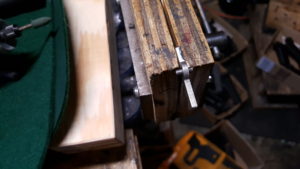
- When you go to work on the trigger. you remove the right side grip plate and you are looking at a plate held in by 2-3 screws. On my six month old 2240, it is three small 1/16″ allen screws. Notice how I have the pistol up on wood blocks to ensure the safety is not pressed. You absolutely want that to stay on the fire setting.
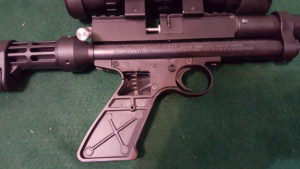
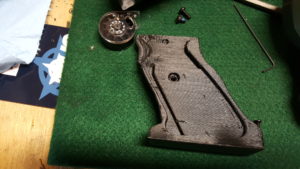
- When you do pull that plate off, be very careful to press the safety pin down. It is made from cheap plastic and may pull out. That is exactly what happened to me and the tiny detent ball and spring flew out. Luckily the fuzzy matte caught both parts. Click here if you need to learn how to reinstall the detent ball and spring – a new tab will open with a blog post I did about just that.
- Back to this story, with the plate off, you can see the trigger internals. The big spring on the left is the sear spring, the plate at the top is the sear and then you have the trigger to the right. I would recommend you take a quick photo with a digital camera or your phone so you can see how everything is oriented. Out of habit, I always take photos now when I am working on complex stuff – guns, cars, etc. This has saved my bacon many, many times.
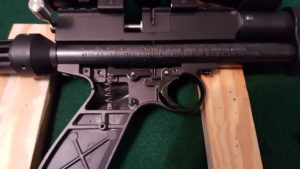
- So my goal for this experiment was to replace the fixed sear spring with an adjustable one to lighted the pull, the thin sear with a thicker polished sear to improve consistency and the trigger with a trigger from Alchemy that both had a wider face to distribute load on the finger and a roller to ride the sear.
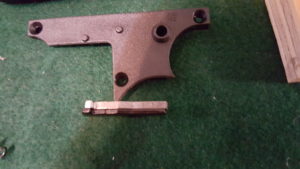
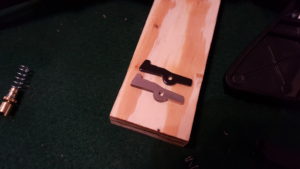
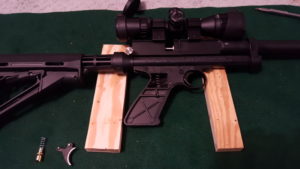
- Remove the existing parts. I have big fingers so I use needlenose pliers on everything. Depending on the angle, either long precision needlenose pliers or right angle pliers. Do not lose your parts. Put them in a cup or baggie for the future. You will need to use the sear pin so keep it out.
- The new thick stainless sear was a tight fit on the sear pin. I used a benchblock and hammer to gently tap the pin into the sear. The pin should be sticking out equally on both sides.
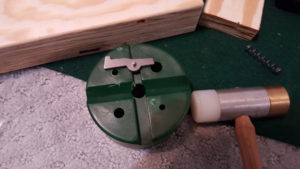
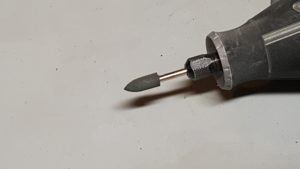
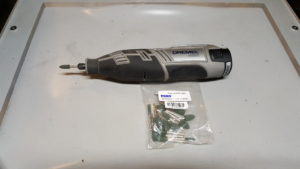
- My next step was to use my Dremel with a rubberized polishing bur to make the trigger contact surface smooth and shiny on the sear before I installed it.
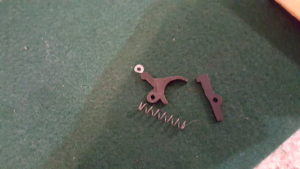
- I installed the trigger first by slotting it into the safety and putting it in the pin hole. There was a spring washer on the original that I did not both installing. I then installed the sear and the adjustable sear spring. In terms of the adjustable spring, I overcompressed the spring to soften it and dialed the adjustment wheel down as far as it would go to lighten the load. The first photo shows the original parts that were removed and the next two shows the new set up.
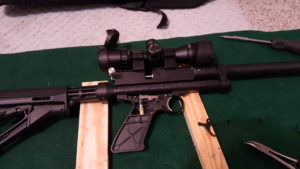
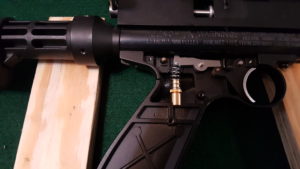
- Next, I used a pin point CLP applicator to lubricate the sear pin and hammer pin on both sides. This photo was taken when I had the grip frame off the gun. You do NOT need to do that. The main thing is the application of the CLP, or whatever oil/lubricant you want to use.
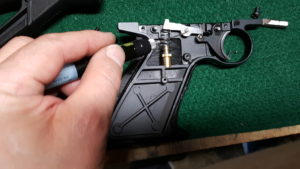
- I then put the plate back on the trigger group and function tested it making sure the safety worked, that the weapon fired and that bumping the gun didn’t cause an accidental discharge.
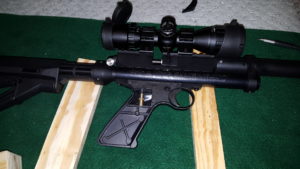
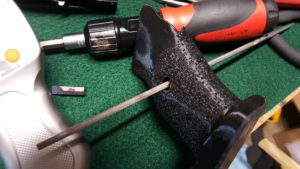
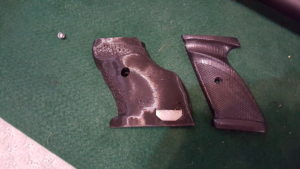
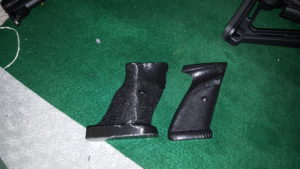
- Next, I bought custom target grips made on a 3D printer to fit my hand by PrecisionTargetGrips.com. They are pretty interesting and really fill my hand. I did need to use a chainsaw file on the right side to get the hole in the grip to match up with the hole in the grip frame. I also needed to grind the screw down about 1/16″ so it would tighten all the way on that side. The left was just fine. I liked the result but it is very different from what I am used to.
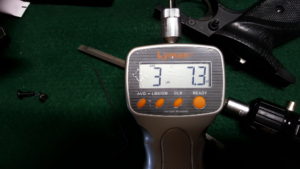
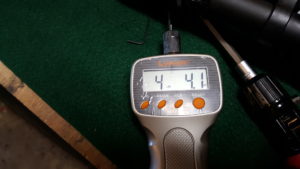
- Okay, the trigger felt better but what did the Lyman gauge show? The average was 3 pounds 7.3oz and the highest I saw was 4 pounds 4.1oz.
- So the next step was to test it at 25 feet. I like Splatterburst targets – they are cheap and self-adhesive so I stuck an 8″ target up. I went for the center first and had to get used to the new set up. It was shot a 5 round group at about and inch. The next 5 round set was at the bottom and it was around 3/4″ and then I shot the top and it was between 1/2-3/4″. All were with the 15.89 JSB Diablos.
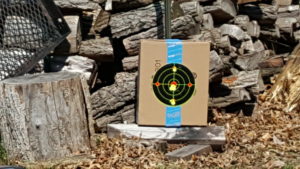
So, the experiment did yield a lighter and more consistent trigger. The wider trigger face also made it more comfortable. I used a MTM stand to hold the airgun while testing to have a steady platform by the way. It reduced my tremor a lot and I am sure the weapon could have fired tighter groups if I had an even steadier stand. For me, a heavy weapon is better as it absorbs my tremor more. With a lighter gun, I really need a rock solid stand and bench to fire for accuracy.
All in all, I am very happy with the results. I could lighten the pull up more but will stick with what I have for a while and see how it goes with pests. I definitely recommend the BNM repeater. Boy is it slick.
Next up in a few weeks will be installing a BNM system on my Crosman Custom Shop 2400KT. I have the BNM parts on order, the 2400KT and am still deciding on the stock and scope.
2/25/20 Update: I’m sad to say the website somehow lost the second post after this. I tinkered with the airgun for a while and then sold it like so many of my projects.
If you find this post useful, please share the link on Facebook, with your friends, etc. Your support is much appreciated and if you have any feedback, please email me at in**@*********ps.com. Please note that for links to other websites, we are only paid if there is an affiliate program such as Avantlink, Impact, Amazon and eBay and only if you purchase something. If you’d like to directly contribute towards our continued reporting, please visit our funding page.
