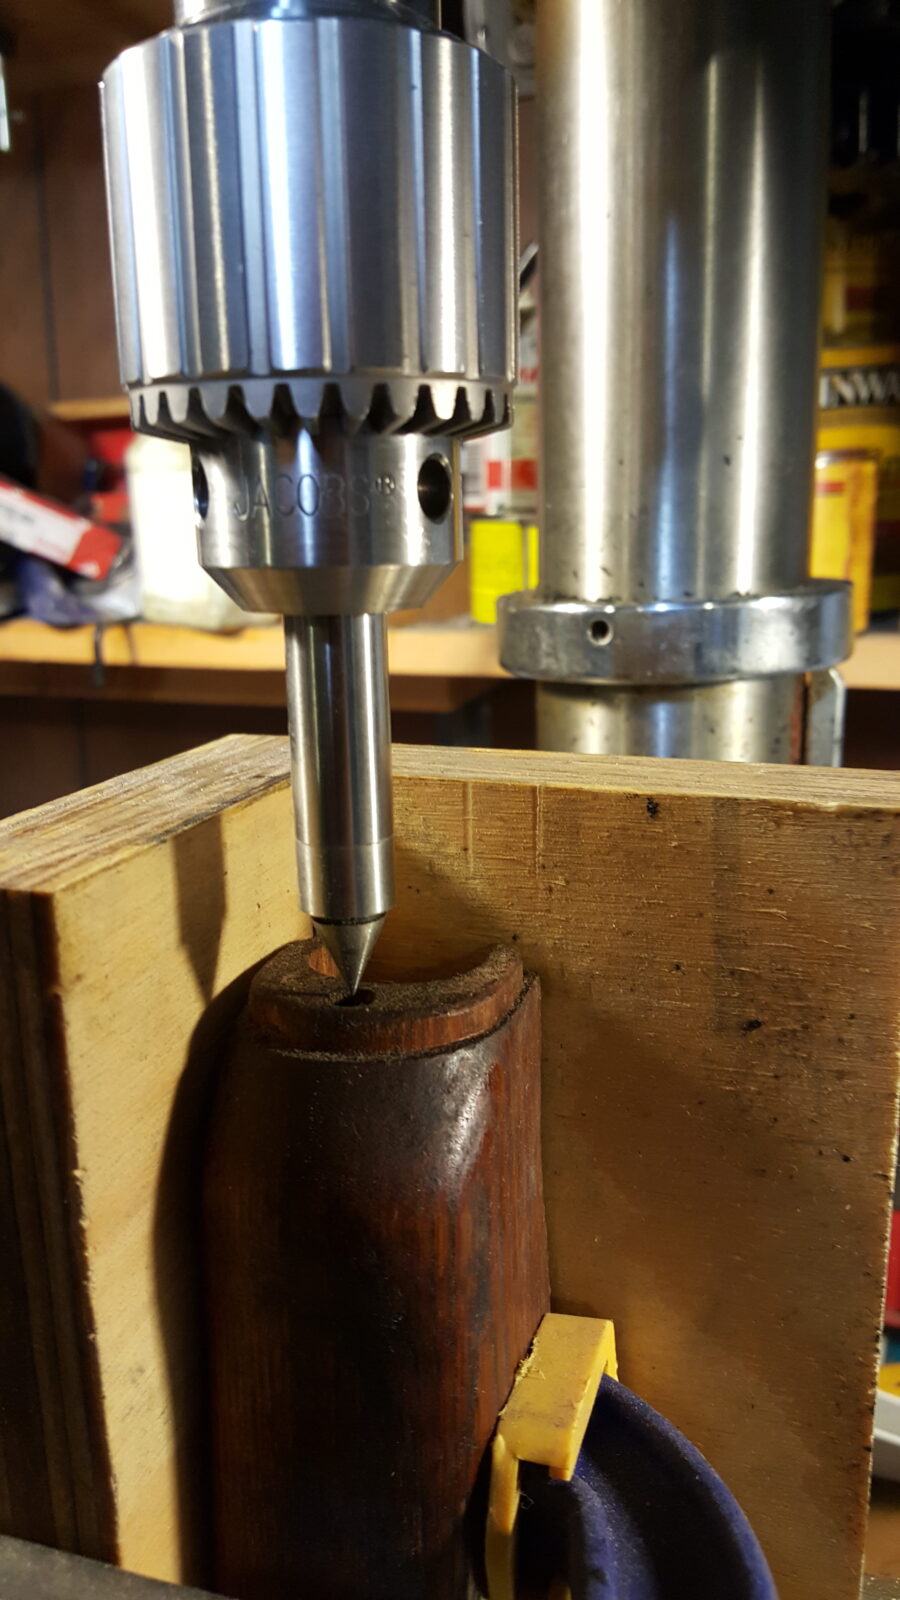
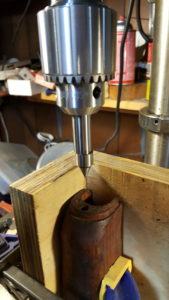
Growing up on a farm, the only way I knew to locate a hole was to try and get the pointed part of the drill bit over the divot left by the center punch. In junior high shop class, they showed how to start with a small bit to locate the hole and then go to the correct bit. At some point in the last 20 years, someone introduced me to center finders. For guys who eyeball the location of where to drill, these things can make a huge difference and they are usually very affordable.
There are all kinds of edge finders out there – it is a generic label so you need to make sure you get one that will fit your drill press. My press has a 5/8″ chuck so it can hold just about any diameter edge finder. The type I use the most has a conical end point that helps you locate where you want to drill via the sharp point or by allowing you to center the press over an existing hole.
This is the edge finder that I use the most – notice the sharp center:
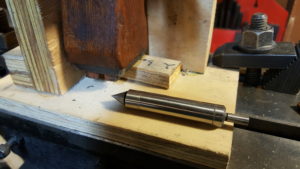
If I am using a center punch, I just make sure all the sides smoothly meet on the edge finder, and adjust the X-Y table until I get the sharp center point exactly over the divot. I then remove the edge finder and install whatever drill bit I need. Don’t ram the edge finder into your work or you risk damaging it. By the way, click here if you want to read more about X-Y or Cross Slide tables.
The second use of this type of edge finder is to insert it into a hole to see how you need to adjust the X-Y table, or workpiece directly, to get on center.
Here is an example of the use. I chuck it in the press and straighten all the sides so the surfaces smoothly meet. I then gently lower it into this M72 handguard to decide how I need to move my X-Y table.
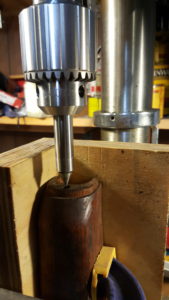
I couldn’t take photos and show the unit in the handguard at the same time, but you can see the chuck is off center because the edge finder’s sections no longer smoothly meet. What I normally do is keep the spindle down, gently insert the tool into the hole in the work piece and adjust the table until all sides of the finder smoothly meet. Note, this does require that you have your work piece nice and secure and/or a jig that enables you to accurately position the next thing you want to drill in the same spot. If your work piece can move, then that makes this whole exercise useless.
See how all of the sides align in the next photo? The drill is centered on the workpiece now.
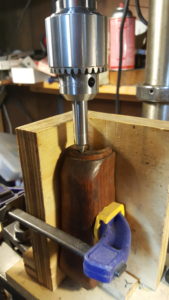
Once the surfaces of the finder smoothly meet, you remove the edge finder, install your drill bit and away you go. This is really handy if you need to duplicate holes on other similar items, make existing holes bigger or deeper, etc.
I have probably 3-4 of these at least. I have one by my mill, a couple by my drill and a couple in my tool box with all my gauges. Why? Because I used to misplace them until I got better toolchests and I replaced a couple of cheap import models with my precise, easier to move quality units from Mitutoyo, Fowler and PEC – depending on what was on sale when I needed them. I like my Fowler set as it came with a little case.
I literally use my edge finders several times every week and highly recommend them for folks trying to get more accurate positioning for drilling.
If you find this post useful, please share the link on Facebook, with your friends, etc. Your support is much appreciated and if you have any feedback, please email me at in**@*********ps.com. Please note that for links to other websites, we are only paid if there is an affiliate program such as Avantlink, Impact, Amazon and eBay and only if you purchase something. If you’d like to directly contribute towards our continued reporting, please visit our funding page.
