I tell you what it is really hard to get by without a compressor but it can also be but it can also be a real headache if the circuit breaker regularly, or even unpredictably, trips when the compressor tries to top off the tank. There a couple of really easy modifications we can do to the compressor but before that, let’s step through a couple of things first just in case there is another issue at hand:
Safety Stuff
I actually spent more time trying to think about the what-ifs than actually writing the two options to make your compressor start softer but I do want you to approach this safely. I am assuming you are handy with a basic understanding of electrical wiring and compressed air to do this work.
First, you should be using a properly sized circuit or at least one that is very close. If your compressor needs far more than what your circuit is sized for, say 30 amps and you only have a 15 amp circuit, then the fix I am going to tell you may not help. It does often help when you have a circuit that is very close to the required amps but when there is a heavy draw, it exceeds the circuits capacity so the breaker trips. My experience is that consumer air compressors list a low draw number like 15 amps and can draw more than that under peak load. So, for example, if you have a 15 amp circuit and a compressor that says it needs 15 amps – you may be having some challenges that this modification might help with.
In terms of properly sizing a circuit, engineers and others can give you rules of thumb such as doubling the circuit capacity to allow for spikes in demand or to allow 6 amps per 1 HP for 1 phase or 1.25 amps per HP for 3 phase. Doing this means running new wire and installing new breakers. DO NOT JUST PUT IN A BIGGER BREAKER! The breaker is protecting the wiring from over heating and catching fire. Each thickness, or gauge, of wire has a limit to the number of amps it can carry. Never put a higher capacity breaker on a smaller cable – you are asking for trouble in the worst way.
Second, plug the compressor directly into the wall. An extension cord will likely introduce too much resistance and cause the breaker to trip so do not use an extension cord (assuming your compressor is not an air nailer or air brush model – they draw so little that they can use extension cords).
Third, I have only encountered this a few times over the years but breakers can wear out over time. If you investigate and it seems that you should have enough capacity and can’t figure out why your breaker is tripping, then try installing a new breaker and see if that helps. Again, install the right size and don’t put the wiring at risk of fire. If in doubt, bring in an electrician to straighten things out.
Fourth, if you look at your outlets and/or wiring and they look burned, there is any trace of soot or a burned smell stop and get an electrician to inspect the line. It may sound funny but I have seen lines fail over the years for a ton of unexpected reasons.
Now, on to making a compressor softer starting
IMPORTANT SAFETY ANNOUNCEMENT – BE SURE YOUR SYSTEM IS FULLY DRAINED AND THE COMPRESSOR IS UNPLUGGED (ENSURING THERE IS NO WAY IT CAN TURN ON) BEFORE YOU DO ANY WORK. The pressures involved can hurt you and we do not want that.
Make sure the unit is unplugged also just to be safe.
So, with those things said, let’s say you need to make your compressor work better with the circuit you have for whatever reason, let’s talk about what some folks call a “soft start” modification. It’s called this because it makes it easier for the pump and compressor to start and come up to speed before a heavy load is introduced.
The way a compressor works is that a motor has to turn the pump and send air through a filler tube into the main tank. Between that little tube and the tank is a check valve that screws in right at the top of the tank that keeps air from rushing backwards. Now when the compressor fills the tank each time, the switch controller opens a bleed off valve to empty the air in the filler tube to make it easier for the compressor to start next time. The problem is that the volume of air in that tube is relatively small and when your compressor starts, it can only turn a few times before the tube is full and then the motor must work much harder and thus draw more amps to overcome the check valve to put air in the tank. Depending on the amps required, this can then trip the breaker.
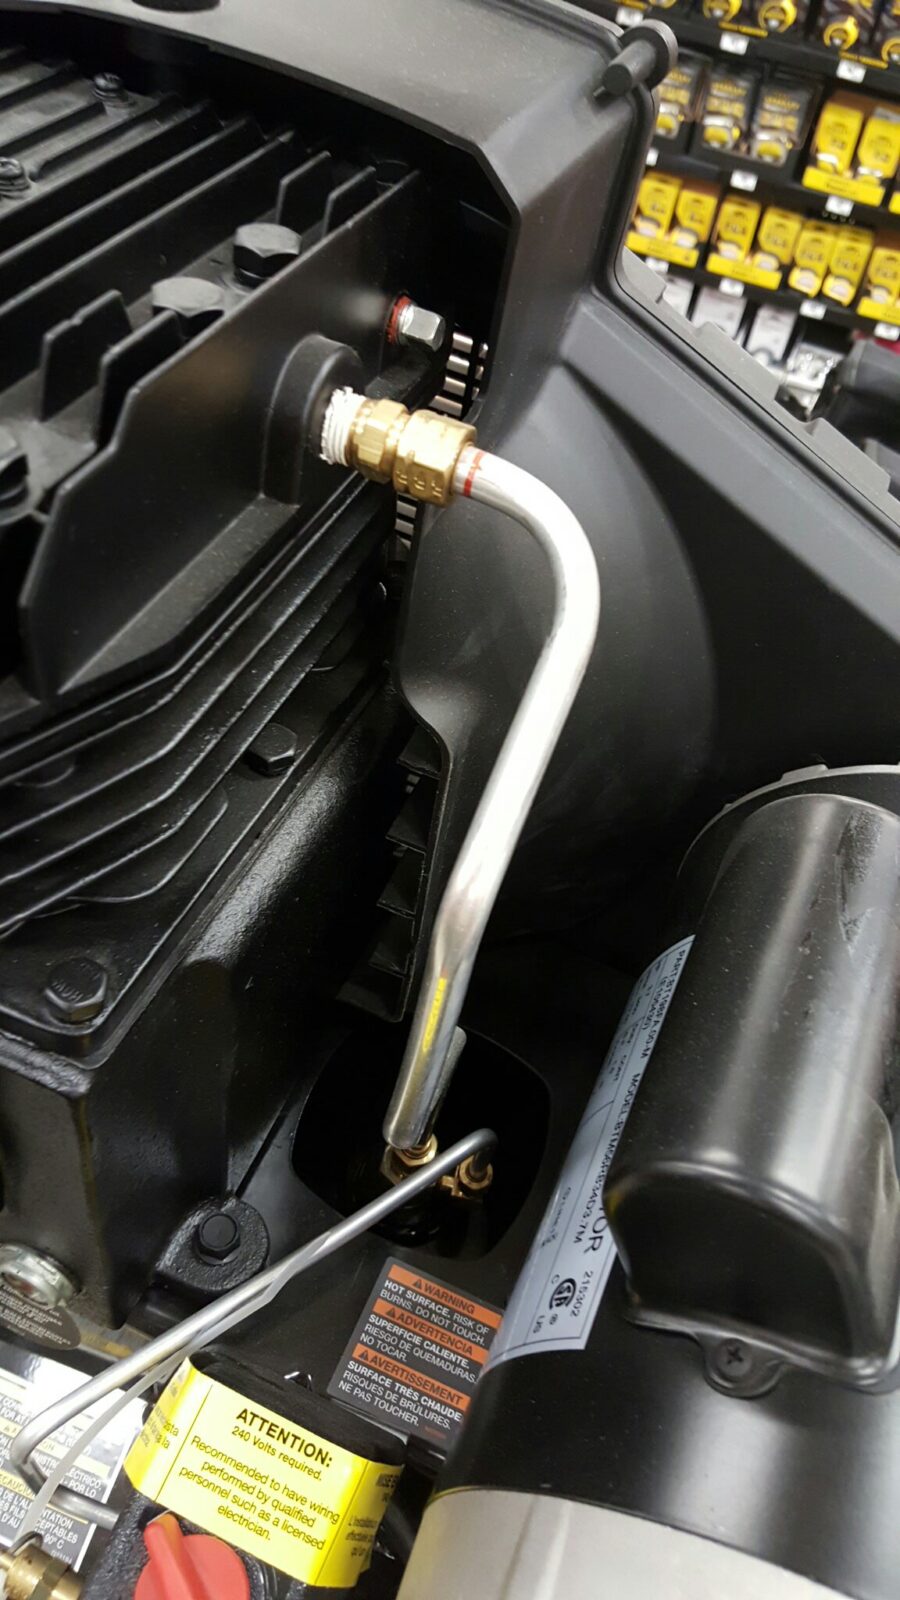
Look at this next photo. See how short and small that left tube is? The pump can only turn a few times before that left tube is pressurized – it never has a chance to build up speed and momentum in the flywheel. As a result when the pressure of the tank is reached it puts a lot of strain on the motor.

Note, the second smaller tube, which is often a flexible plastic, provides pressure to the cut off switch that automatically turns the motor off when the tank reaches a specified pressure. We are interested in the larger tube that runs from the head (top) of the compressor pump down to the top of the tank. It is usually much larger than the pressure switch tube.
The fix is simple – increase the air capacity between the pump and the tank! You want the motor to be able to start and the heavy flywheel build up momentum before it encounters the pressure behind the check valve.
Option one: Simply make a longer tube so there is more potential volume to fill
There are two options to make this softer starting. One is to just add a long length of copper tubing in between the compressor and the tank. You roll it into a coil and it kind of looks like a moonshine still and it does the job. The con is that it looks really funky. I did this with one of my early compressors and the photo below shows about 8 to 10 foot of tubing installed. I would replace whatever the original tubing was with the same size so you would do the same. You need to replace the compression fittings also and you can do the job in about 30 minutes. Note that I used hose clamps to keep the coils from rattling. Ugly as heck but it worked until I finally wore out the pump. I checked the date on my photos and I ran this setup from 2010 to 2014 – it does hold up.

Option two: Add a reservoir to really increase the volume
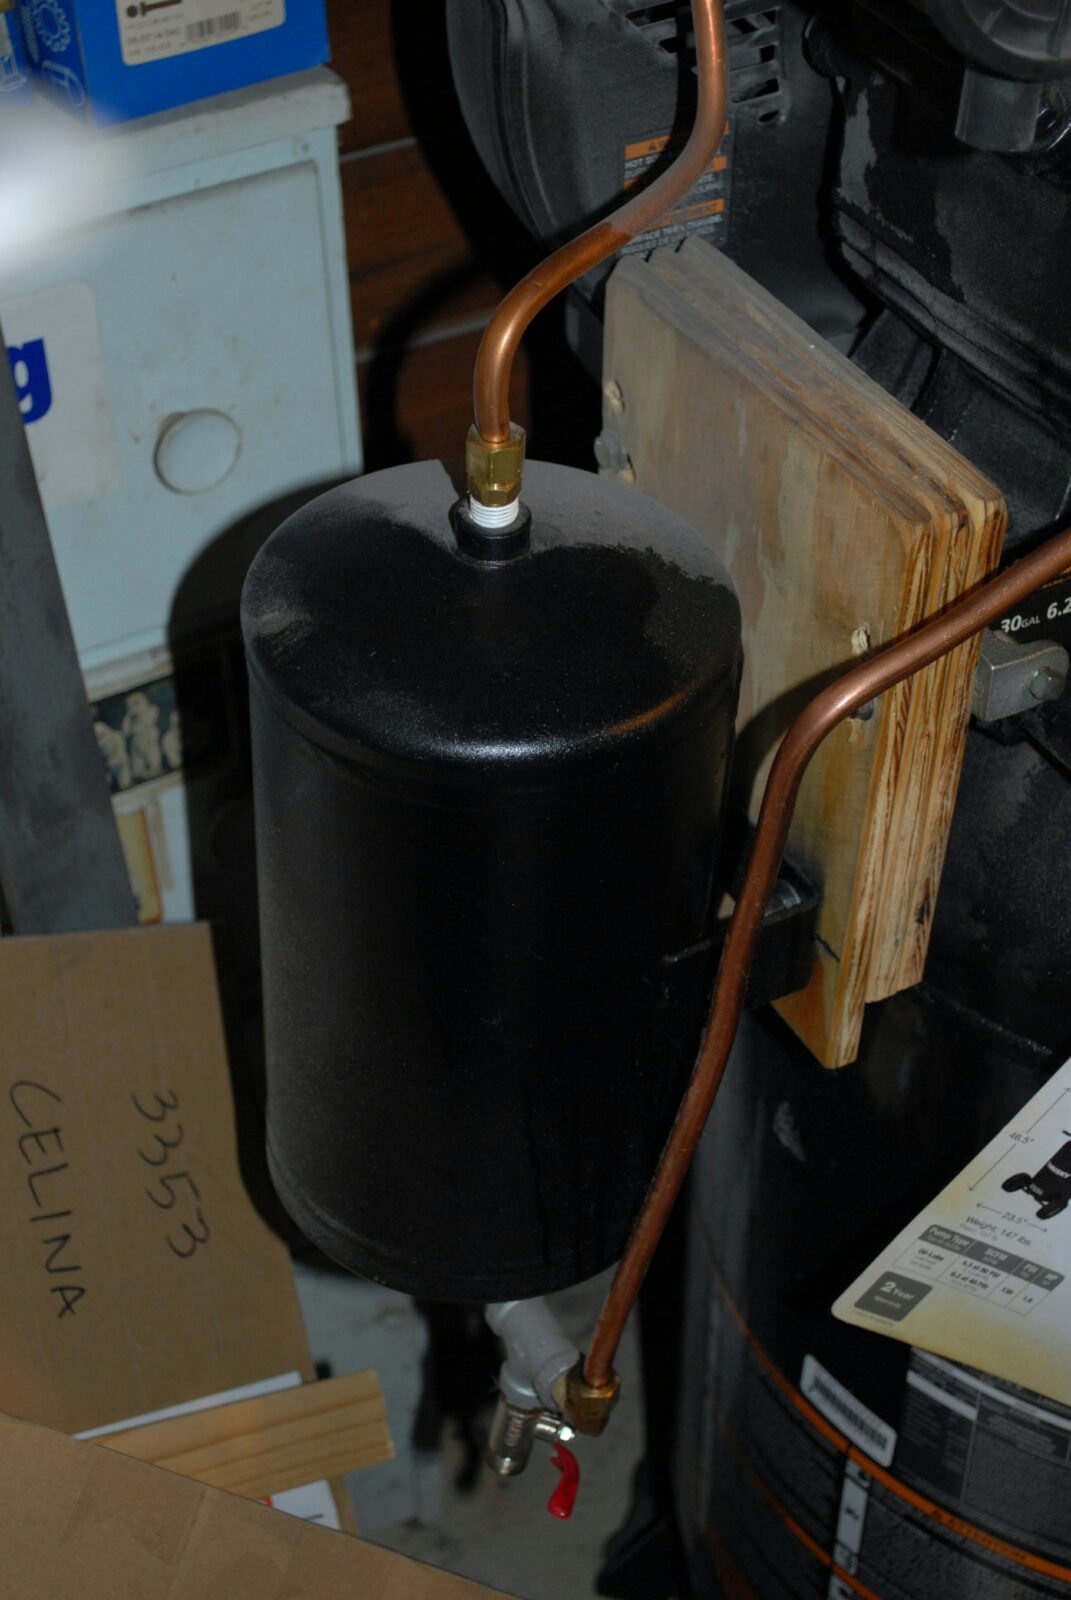
The second approach is a little bit more elaborate and involves putting a 1/2 to 1 gallon small air tank between the compressor and the tank. This allows the pump and motor to come up to speed before they must overcome the check valve. This works great. The only slightly annoying thing you will notice is that once the pressure is reached and the compressor cuts off, the pressure relief valve opens and the air runs out longer because there is more air in the line.
A couple of quick design considerations:
- I carefully bent the aluminum using a tubing bender and tried to avoid abrupt turns.
- The small tank you see is a Firestone 9125 1 gallon 150 PSI tank. The compressor filled the main tank to 135 PSI so the tank needed at least that rating to be safe. Be sure your tank is at least rated as high as your compressor.
- Factor in the length of tank and if you will have enough room. The one pictured is 12″ long.
- The tubing should be at least the same diameter as the original and the tank’s fittings should be adequately sized. This is a fairly small compressor in the photo.
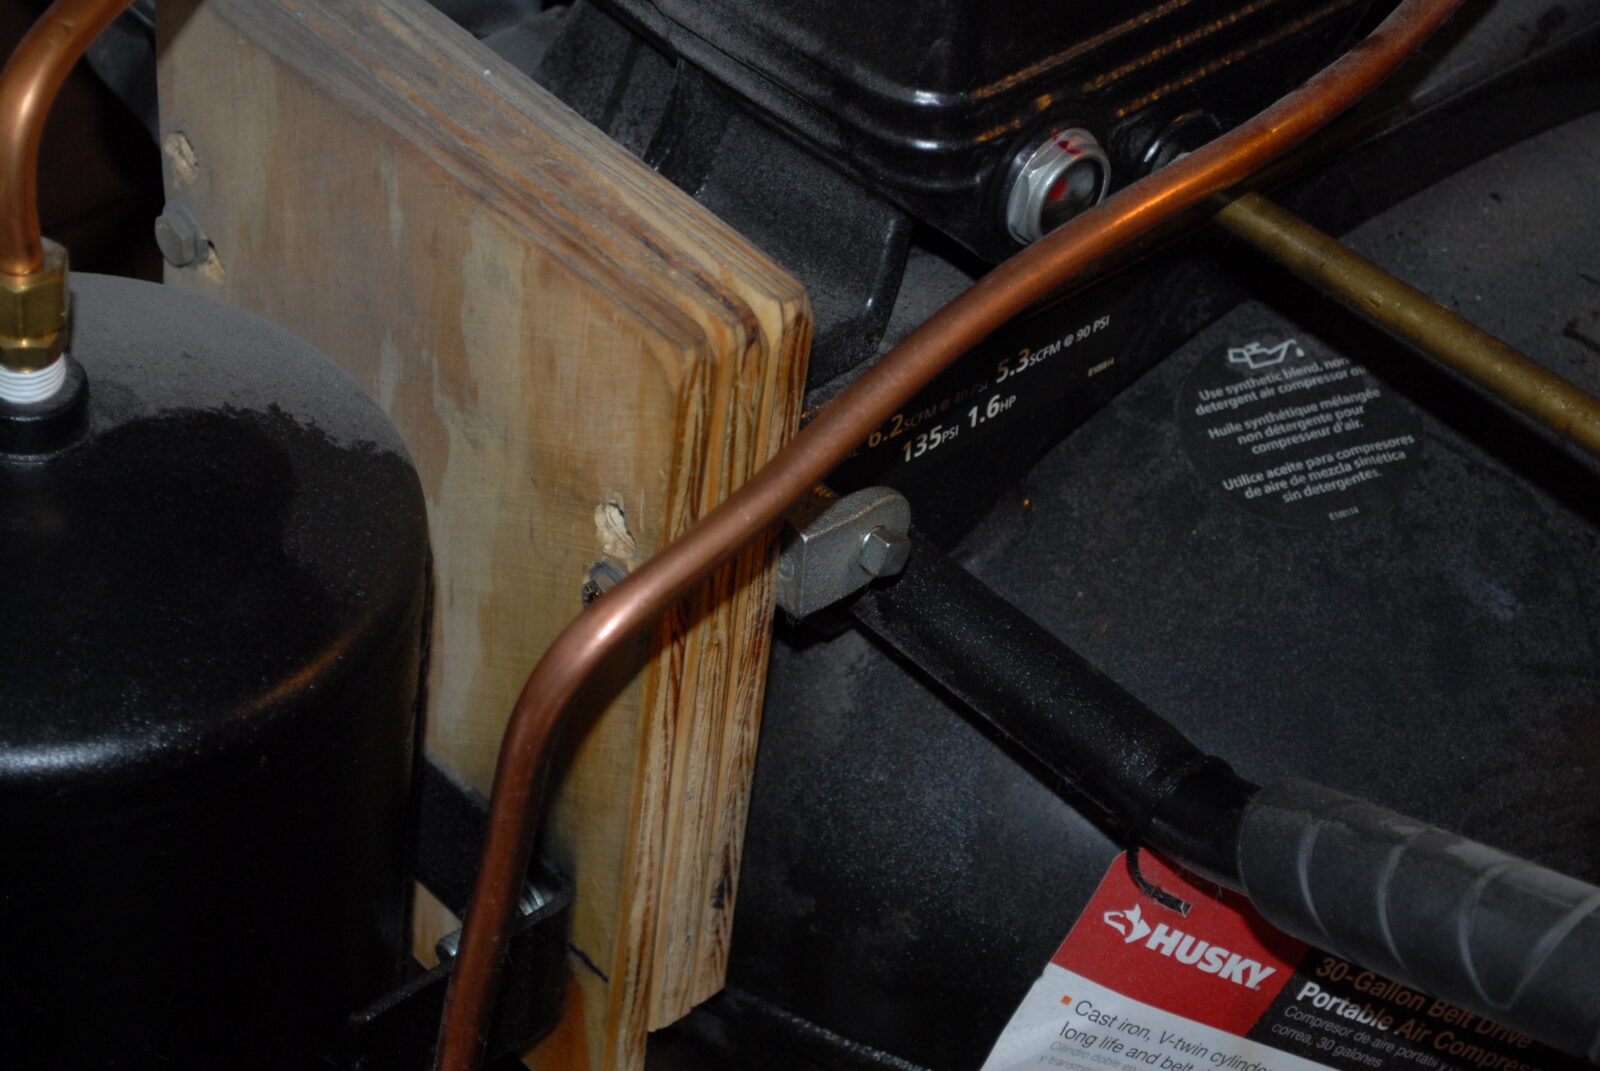
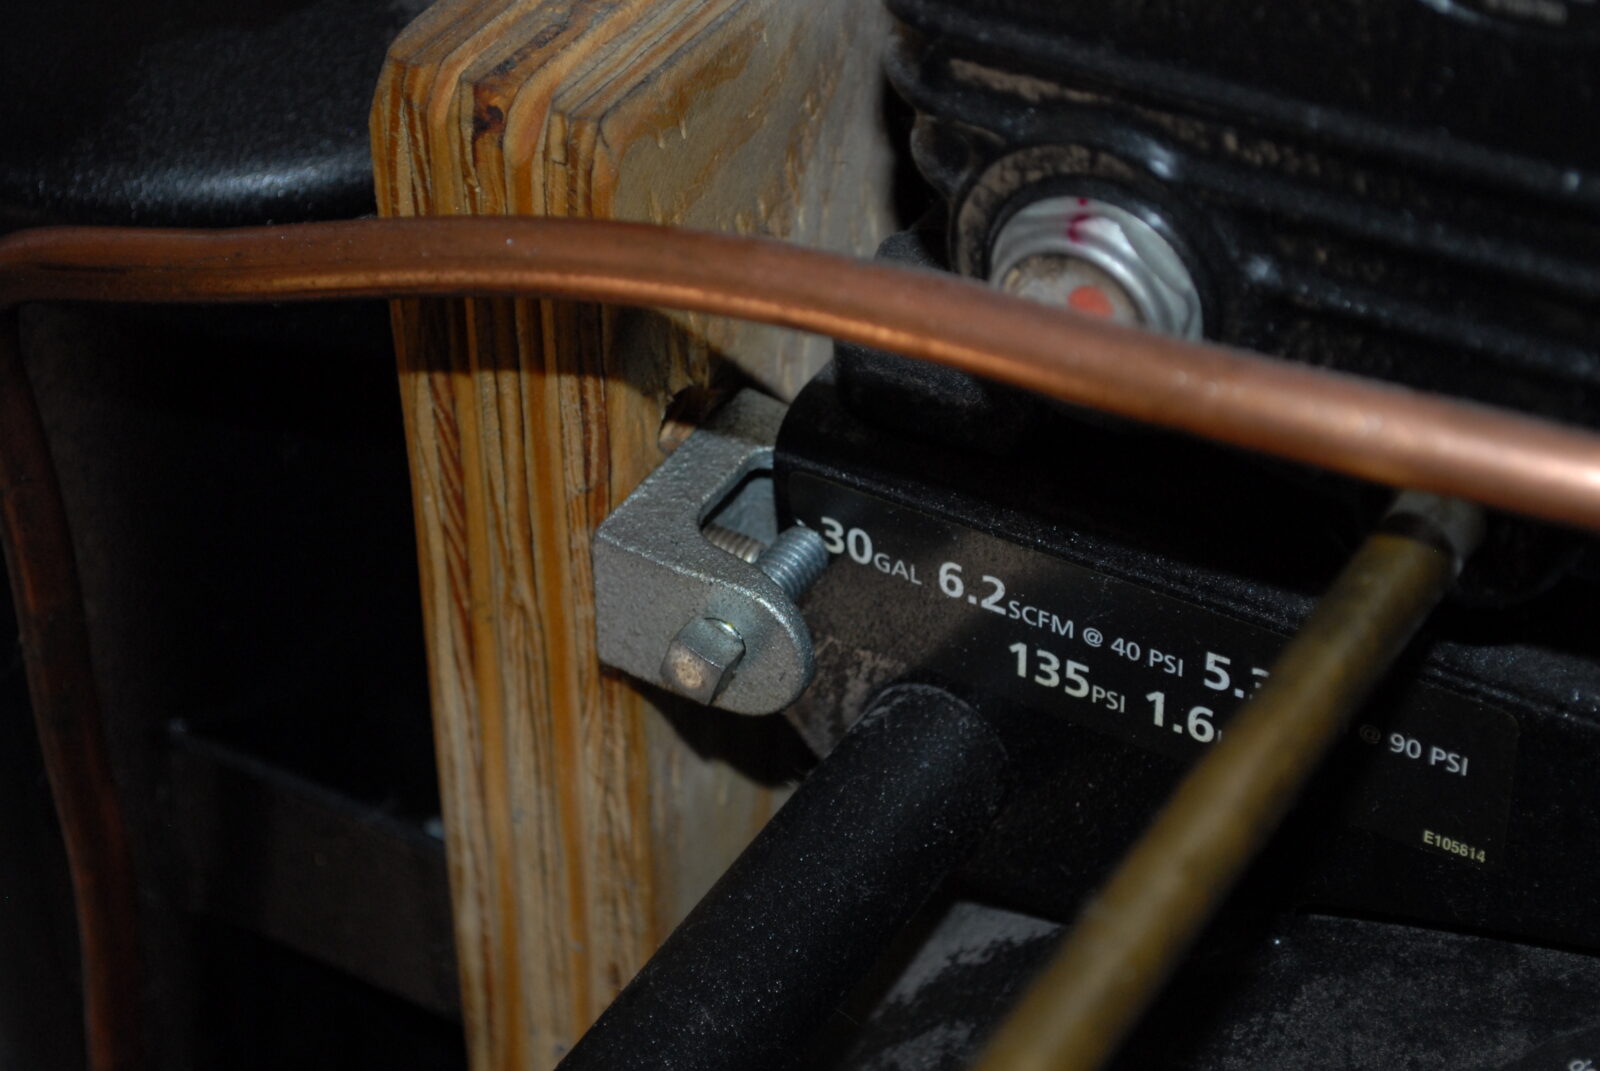
- I secured the tank to plywood and the plywood to the original compressor using the screw hanger fittings you find with conduit. I wanted it to be relatively portable and I also wanted the wood to take up some of the vibration.
- I installed a T-fitting at the bottom of the tank to drain off moisture and never really found any. I would recommend you still add it even if it just gives you an ability to bleed off air if something happens.
- Use quality Teflon/PTFE tape on all of your fittings to prevent leaks
- An optional recommendation I would urge you to do is to either use brake-line wrenches or at least quality fixed wrenches to avoid rounding over the fittings. It is easy for an adjustable wrench to slip and round over the edge of a fitting. You need to tighten things firmly so they do not leak or come loose.


I got by with the above for a number of years until I could afford to both get a bigger compressor and pay an electrician to run a 240 volt service into my shop. I don’t need it now but these two approaches got me by for almost six years before I bought my current Ingersoll Rand.
If you find this post useful, please share the link on Facebook, with your friends, etc. Your support is much appreciated and if you have any feedback, please email me at in**@*********ps.com. Please note that for links to other websites, we are only paid if there is an affiliate program such as Avantlink, Impact, Amazon and eBay and only if you purchase something. If you’d like to directly contribute towards our continued reporting, please visit our funding page.